We have uploaded all of the videos from our 2018 Christmas Light Show to YouTube. If you didn’t get a chance to see them in person, or want to watch again, here they are for you to enjoy!
https://www.youtube.com/playlist?list=PL2qL9iEAA6l8M9mqKi6MUZr6c7uP62HDH
Author: Justin
2018 Prop Building
Over the last week or so, our team has been building many of the new props for this year’s display.
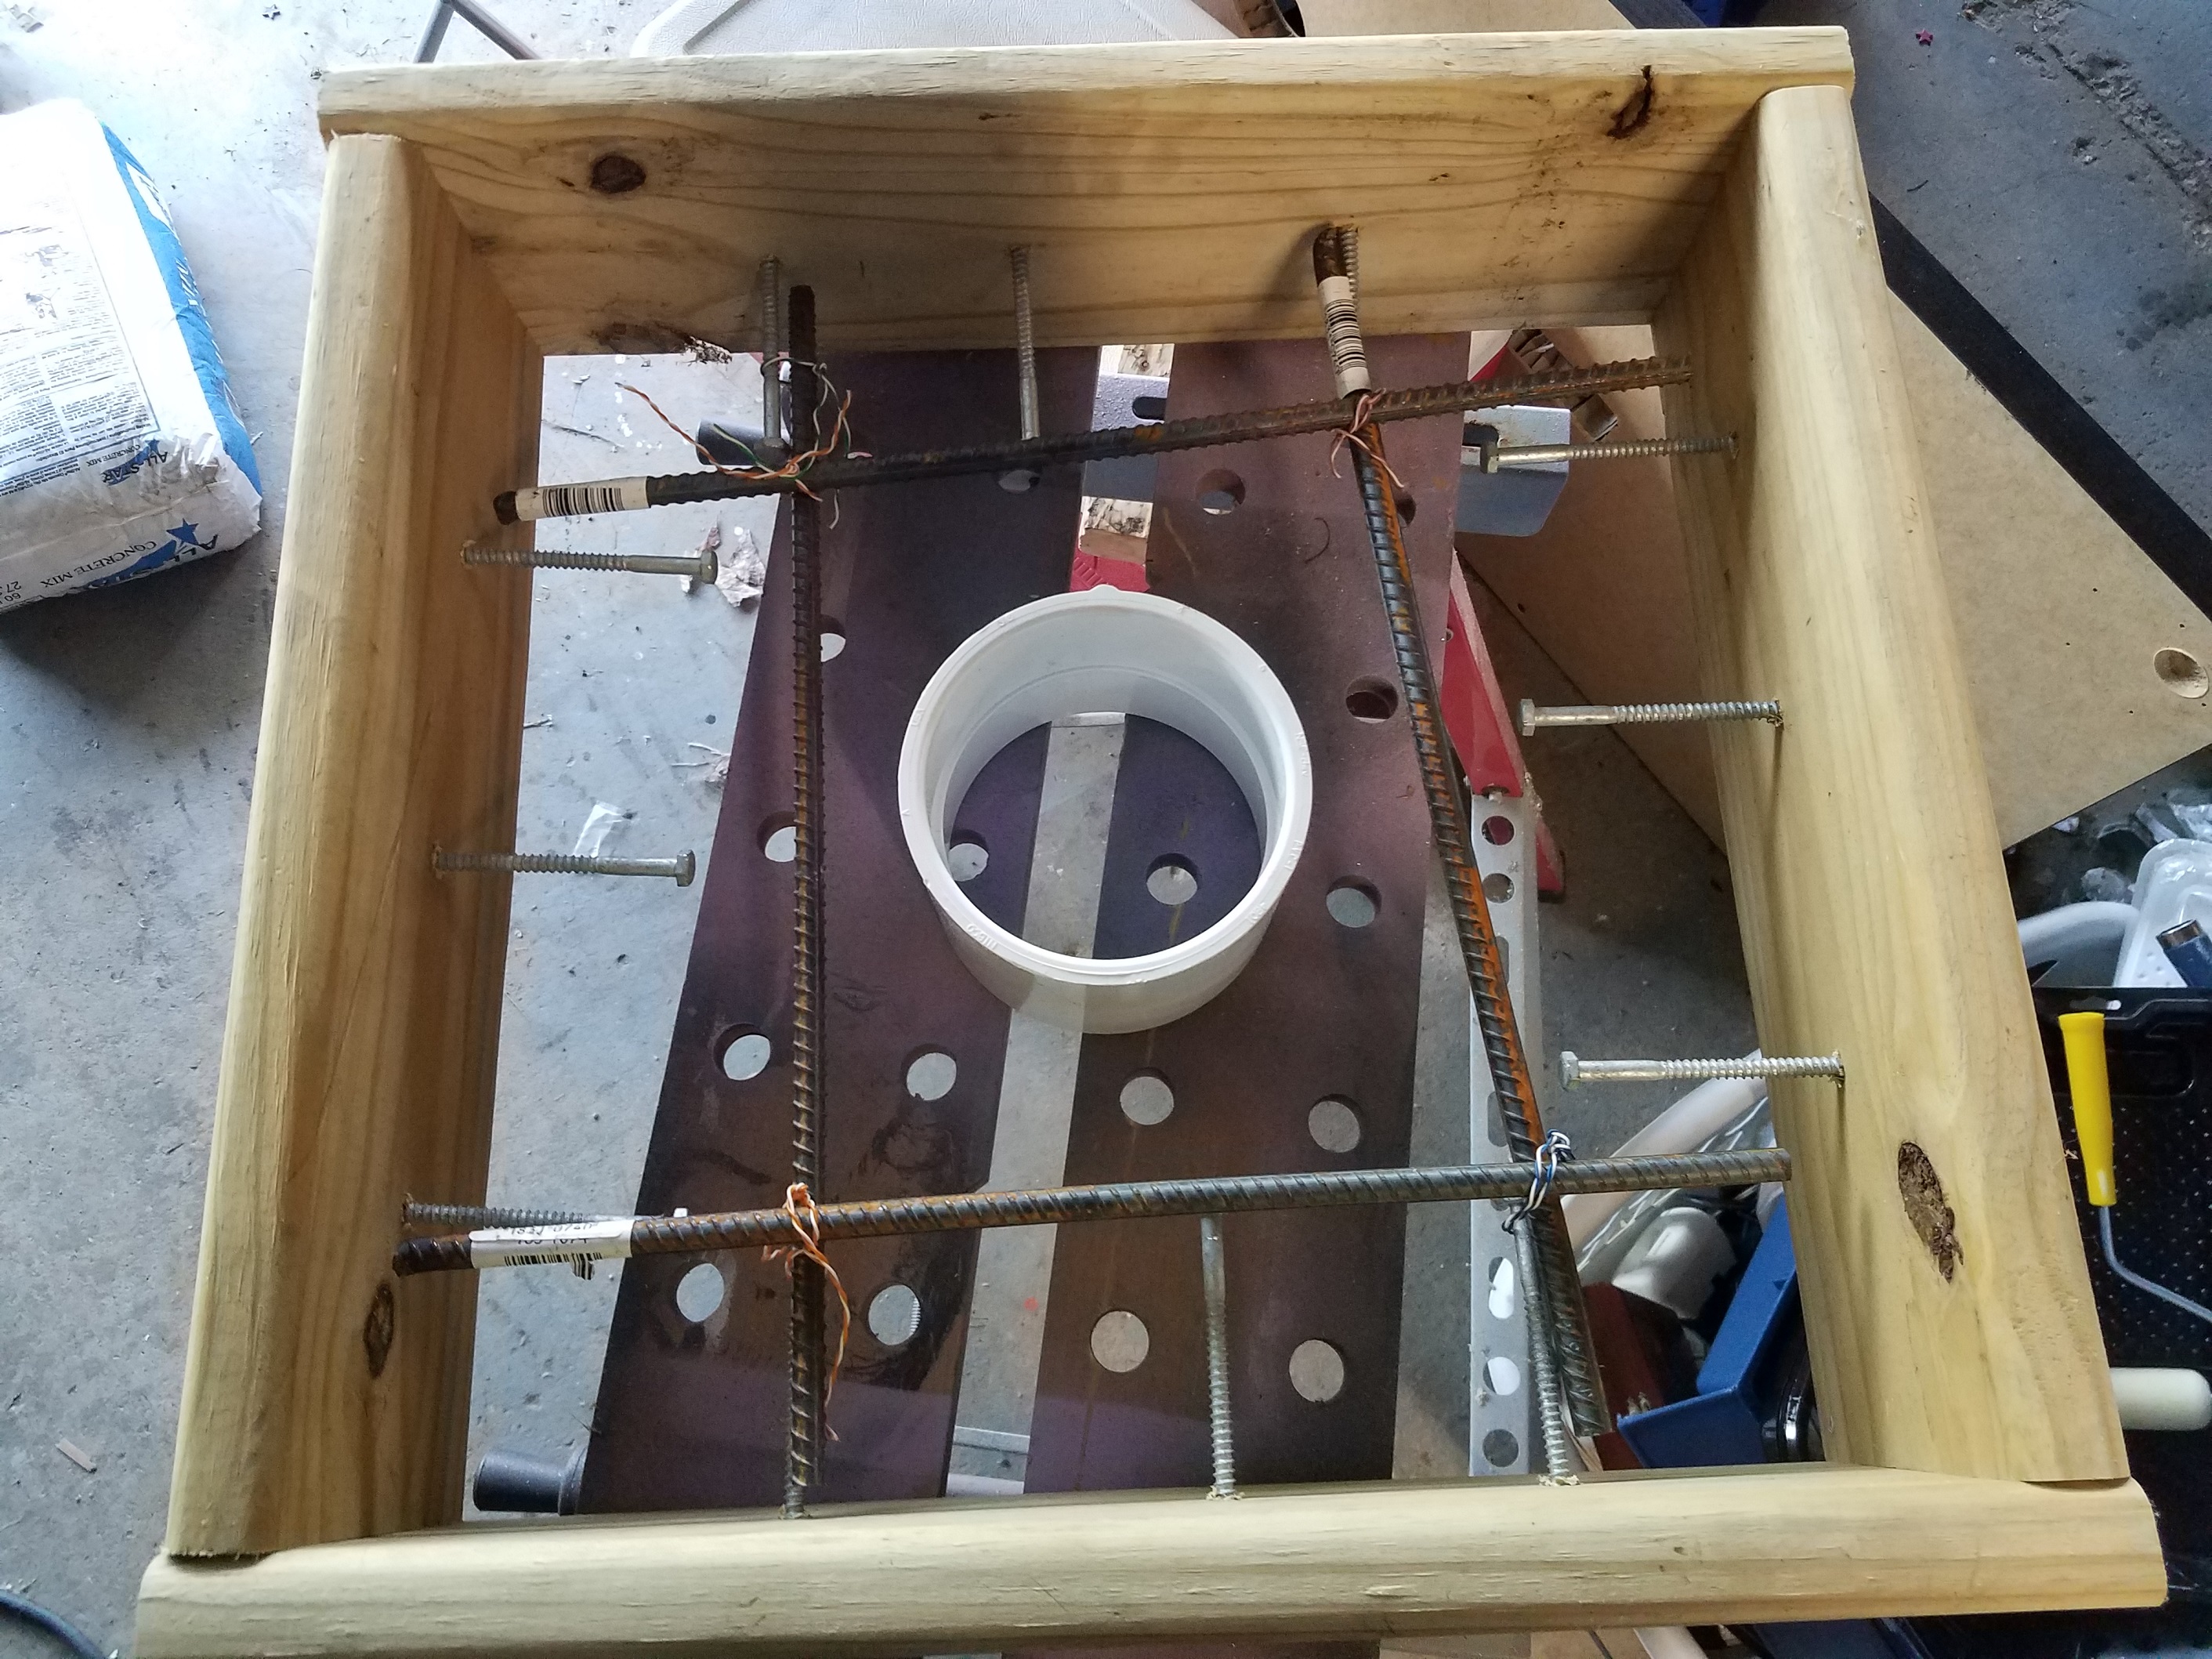
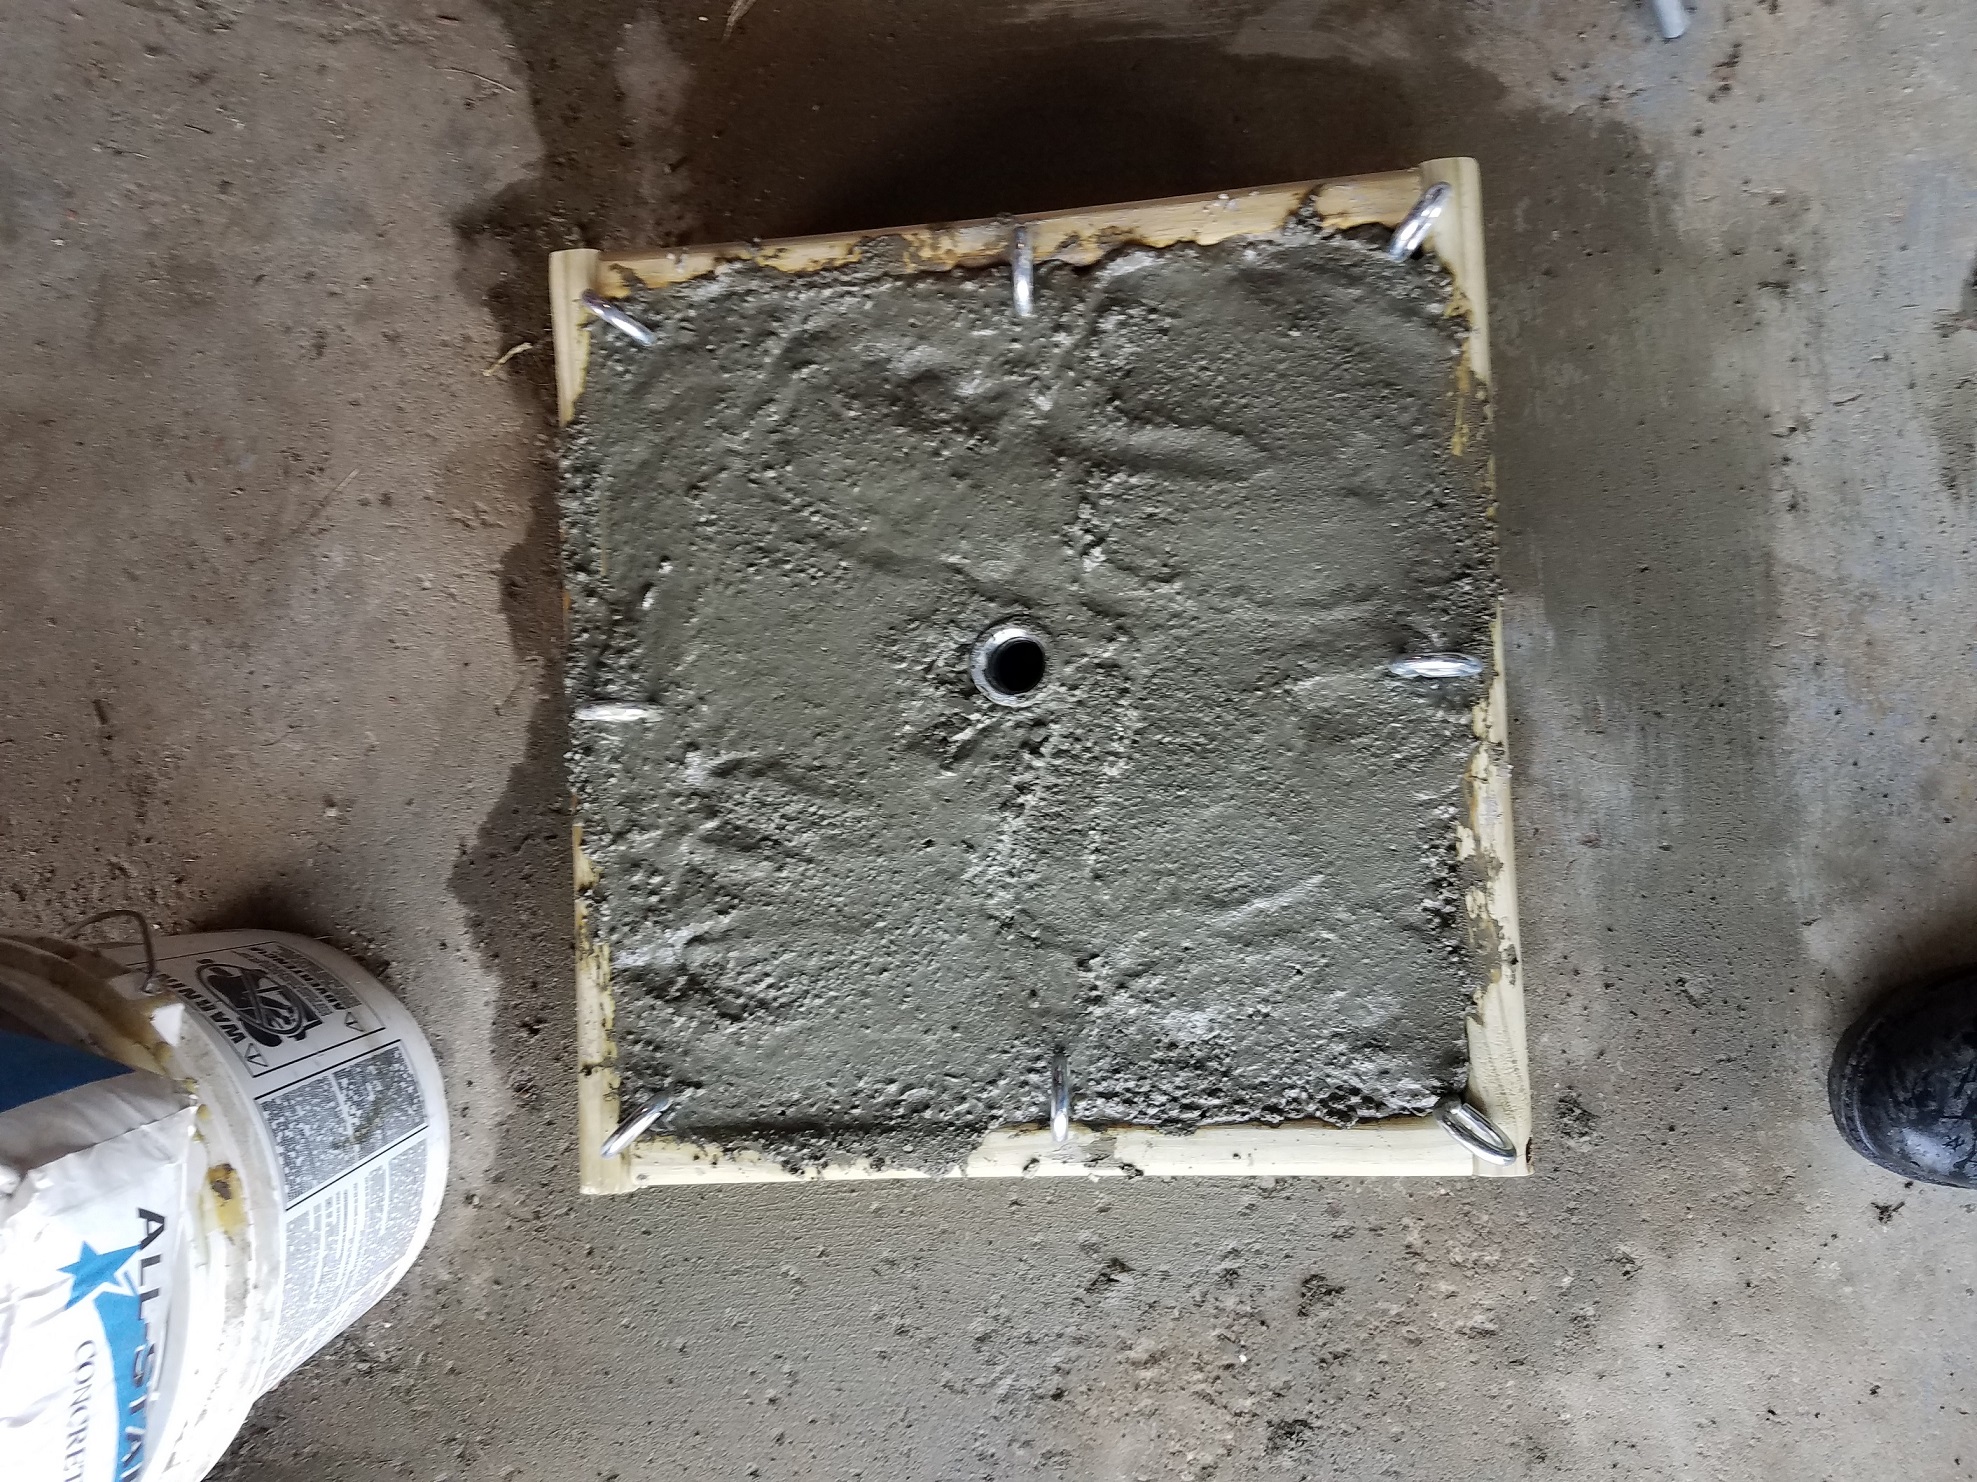
Earlier this year we built 2 concrete “portable hole” bases, for our tune to sign / north pole, and our mega tree. Both weigh between 60 and 80 pounds, and are made with pressure treated 2″x6″ wood, 4″ lag screws and rebar for added strength. Eye bolts on the top allow for further anchoring into the yard when we install them during setup using 18″ pieces of rebar as stakes.
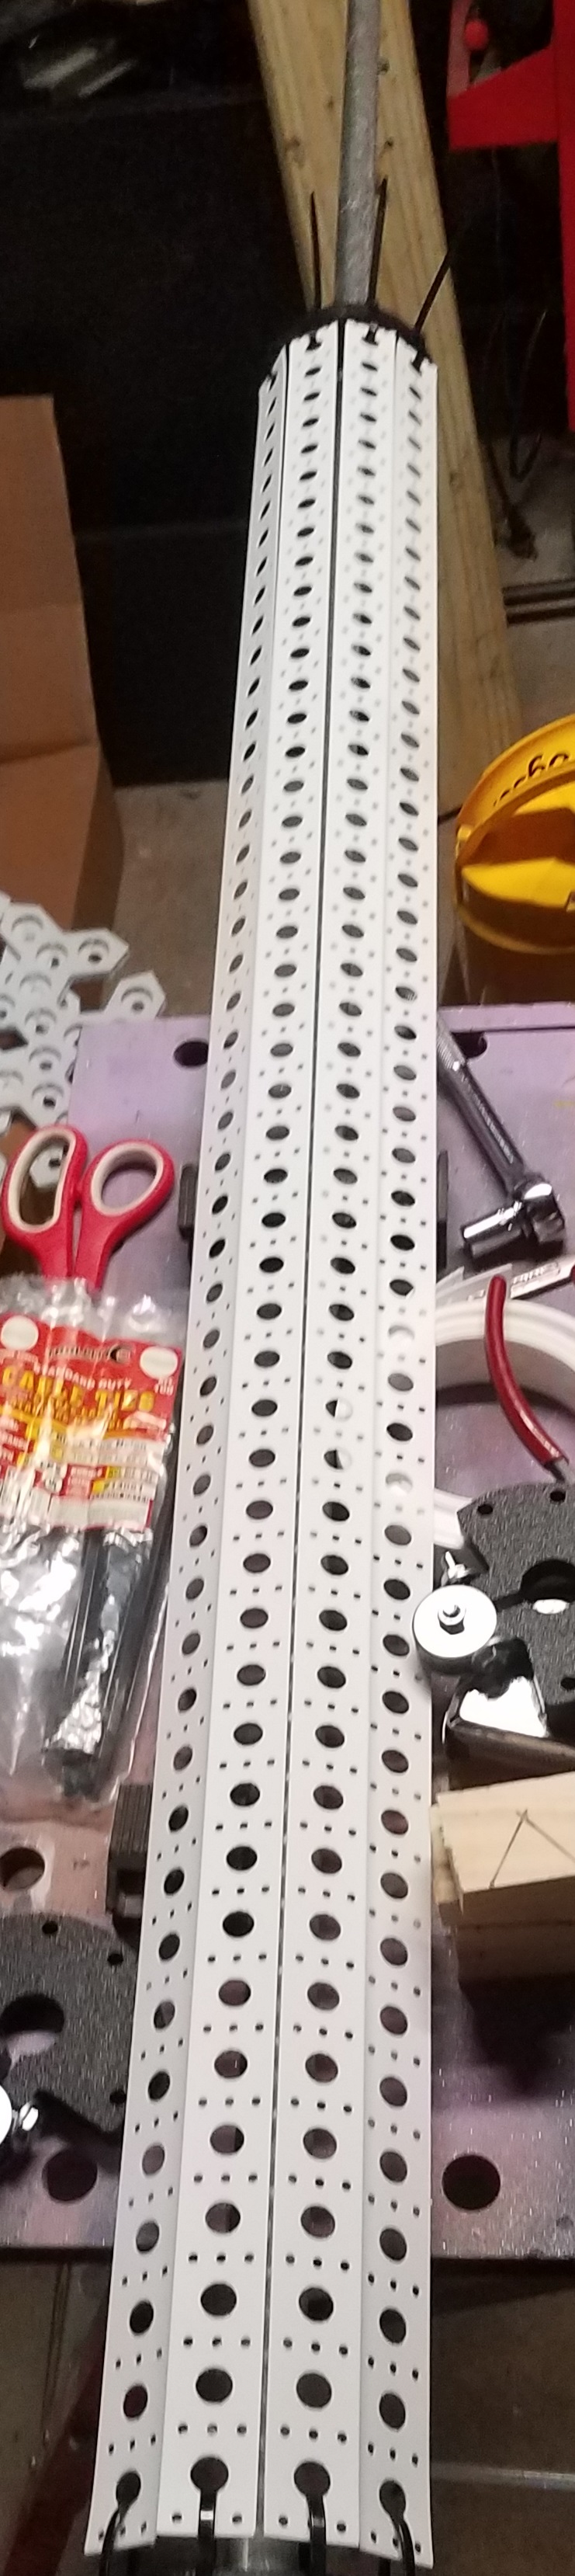
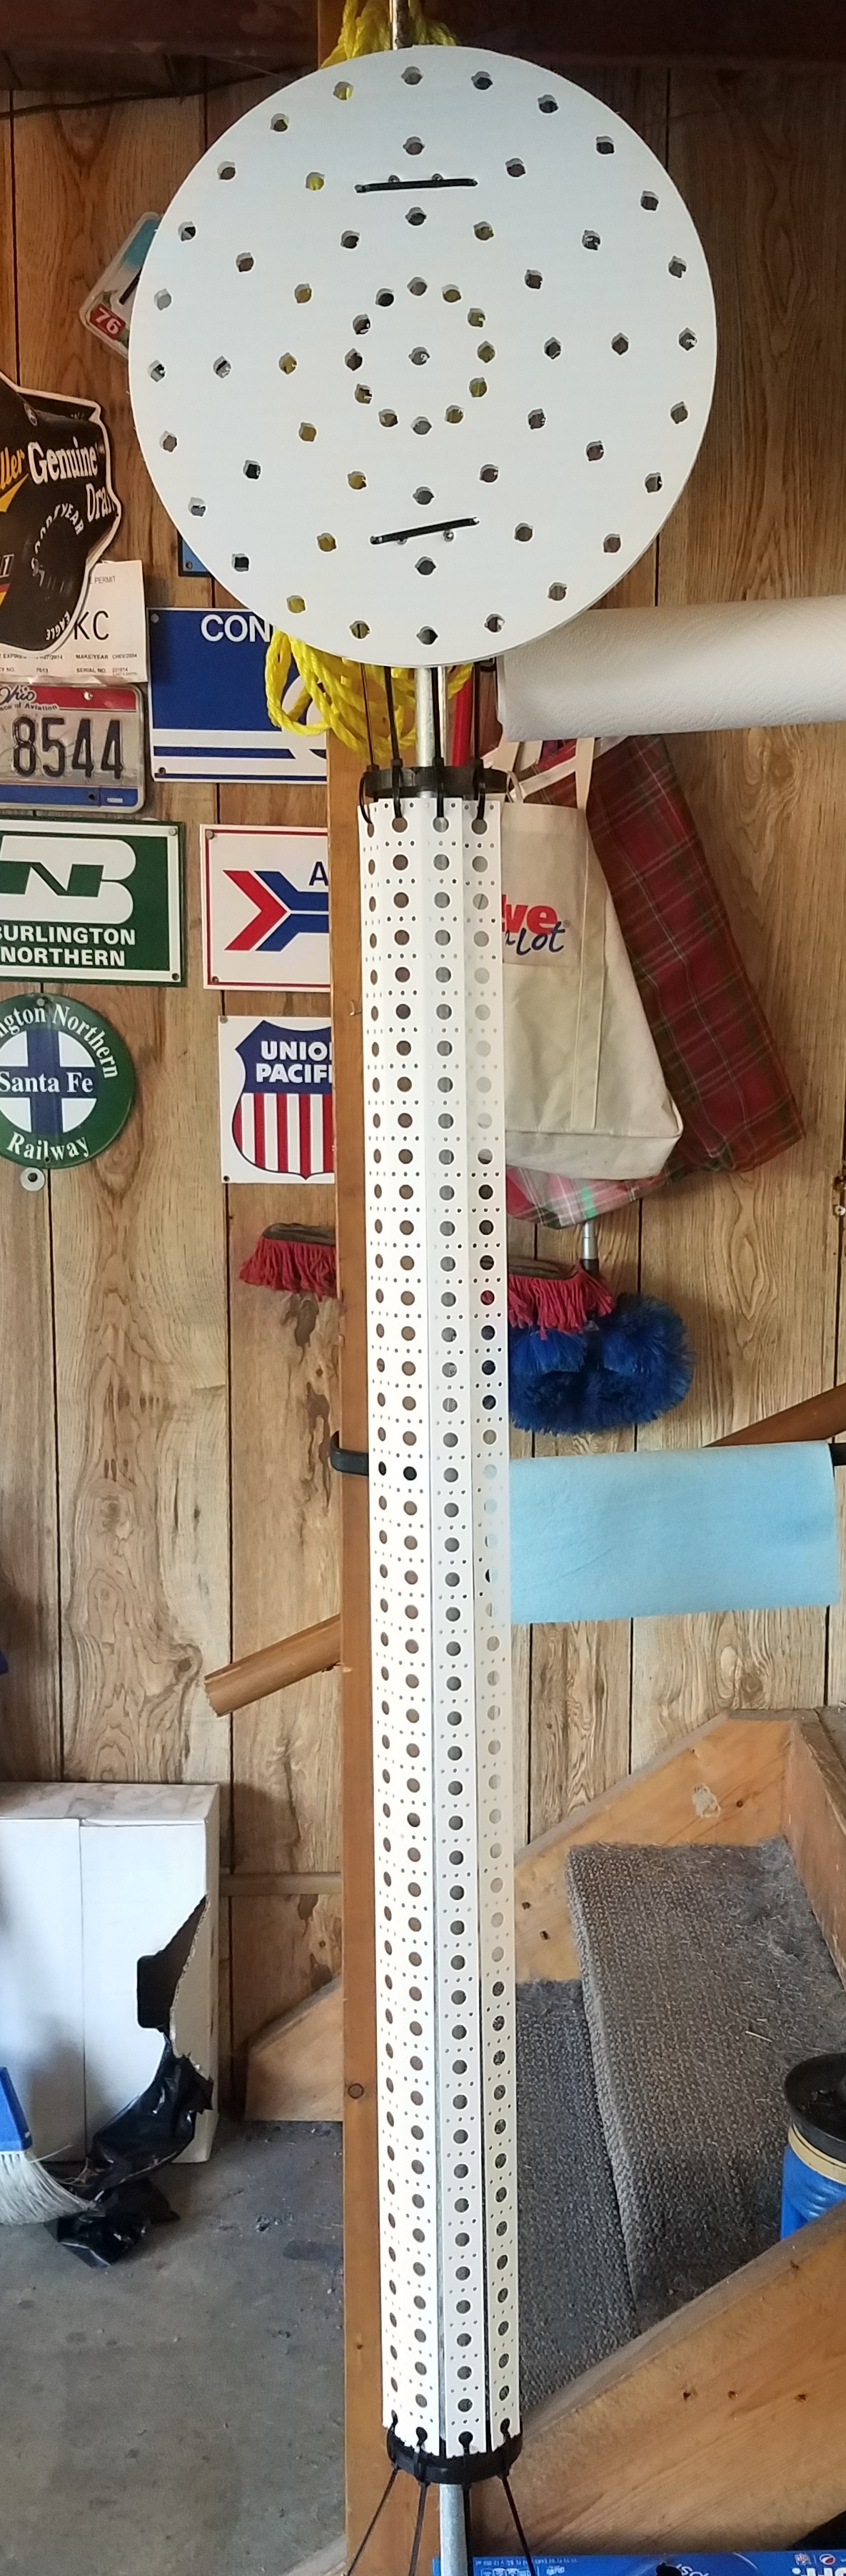
The first new prop we started working on was 2 “pixel poles w/spinners”.

The second prop we have been working on is custom frames for all of the doors and windows on the front side of the house made from 1/2″ PVC pipe, with holes drilled every 2 inches for lights.
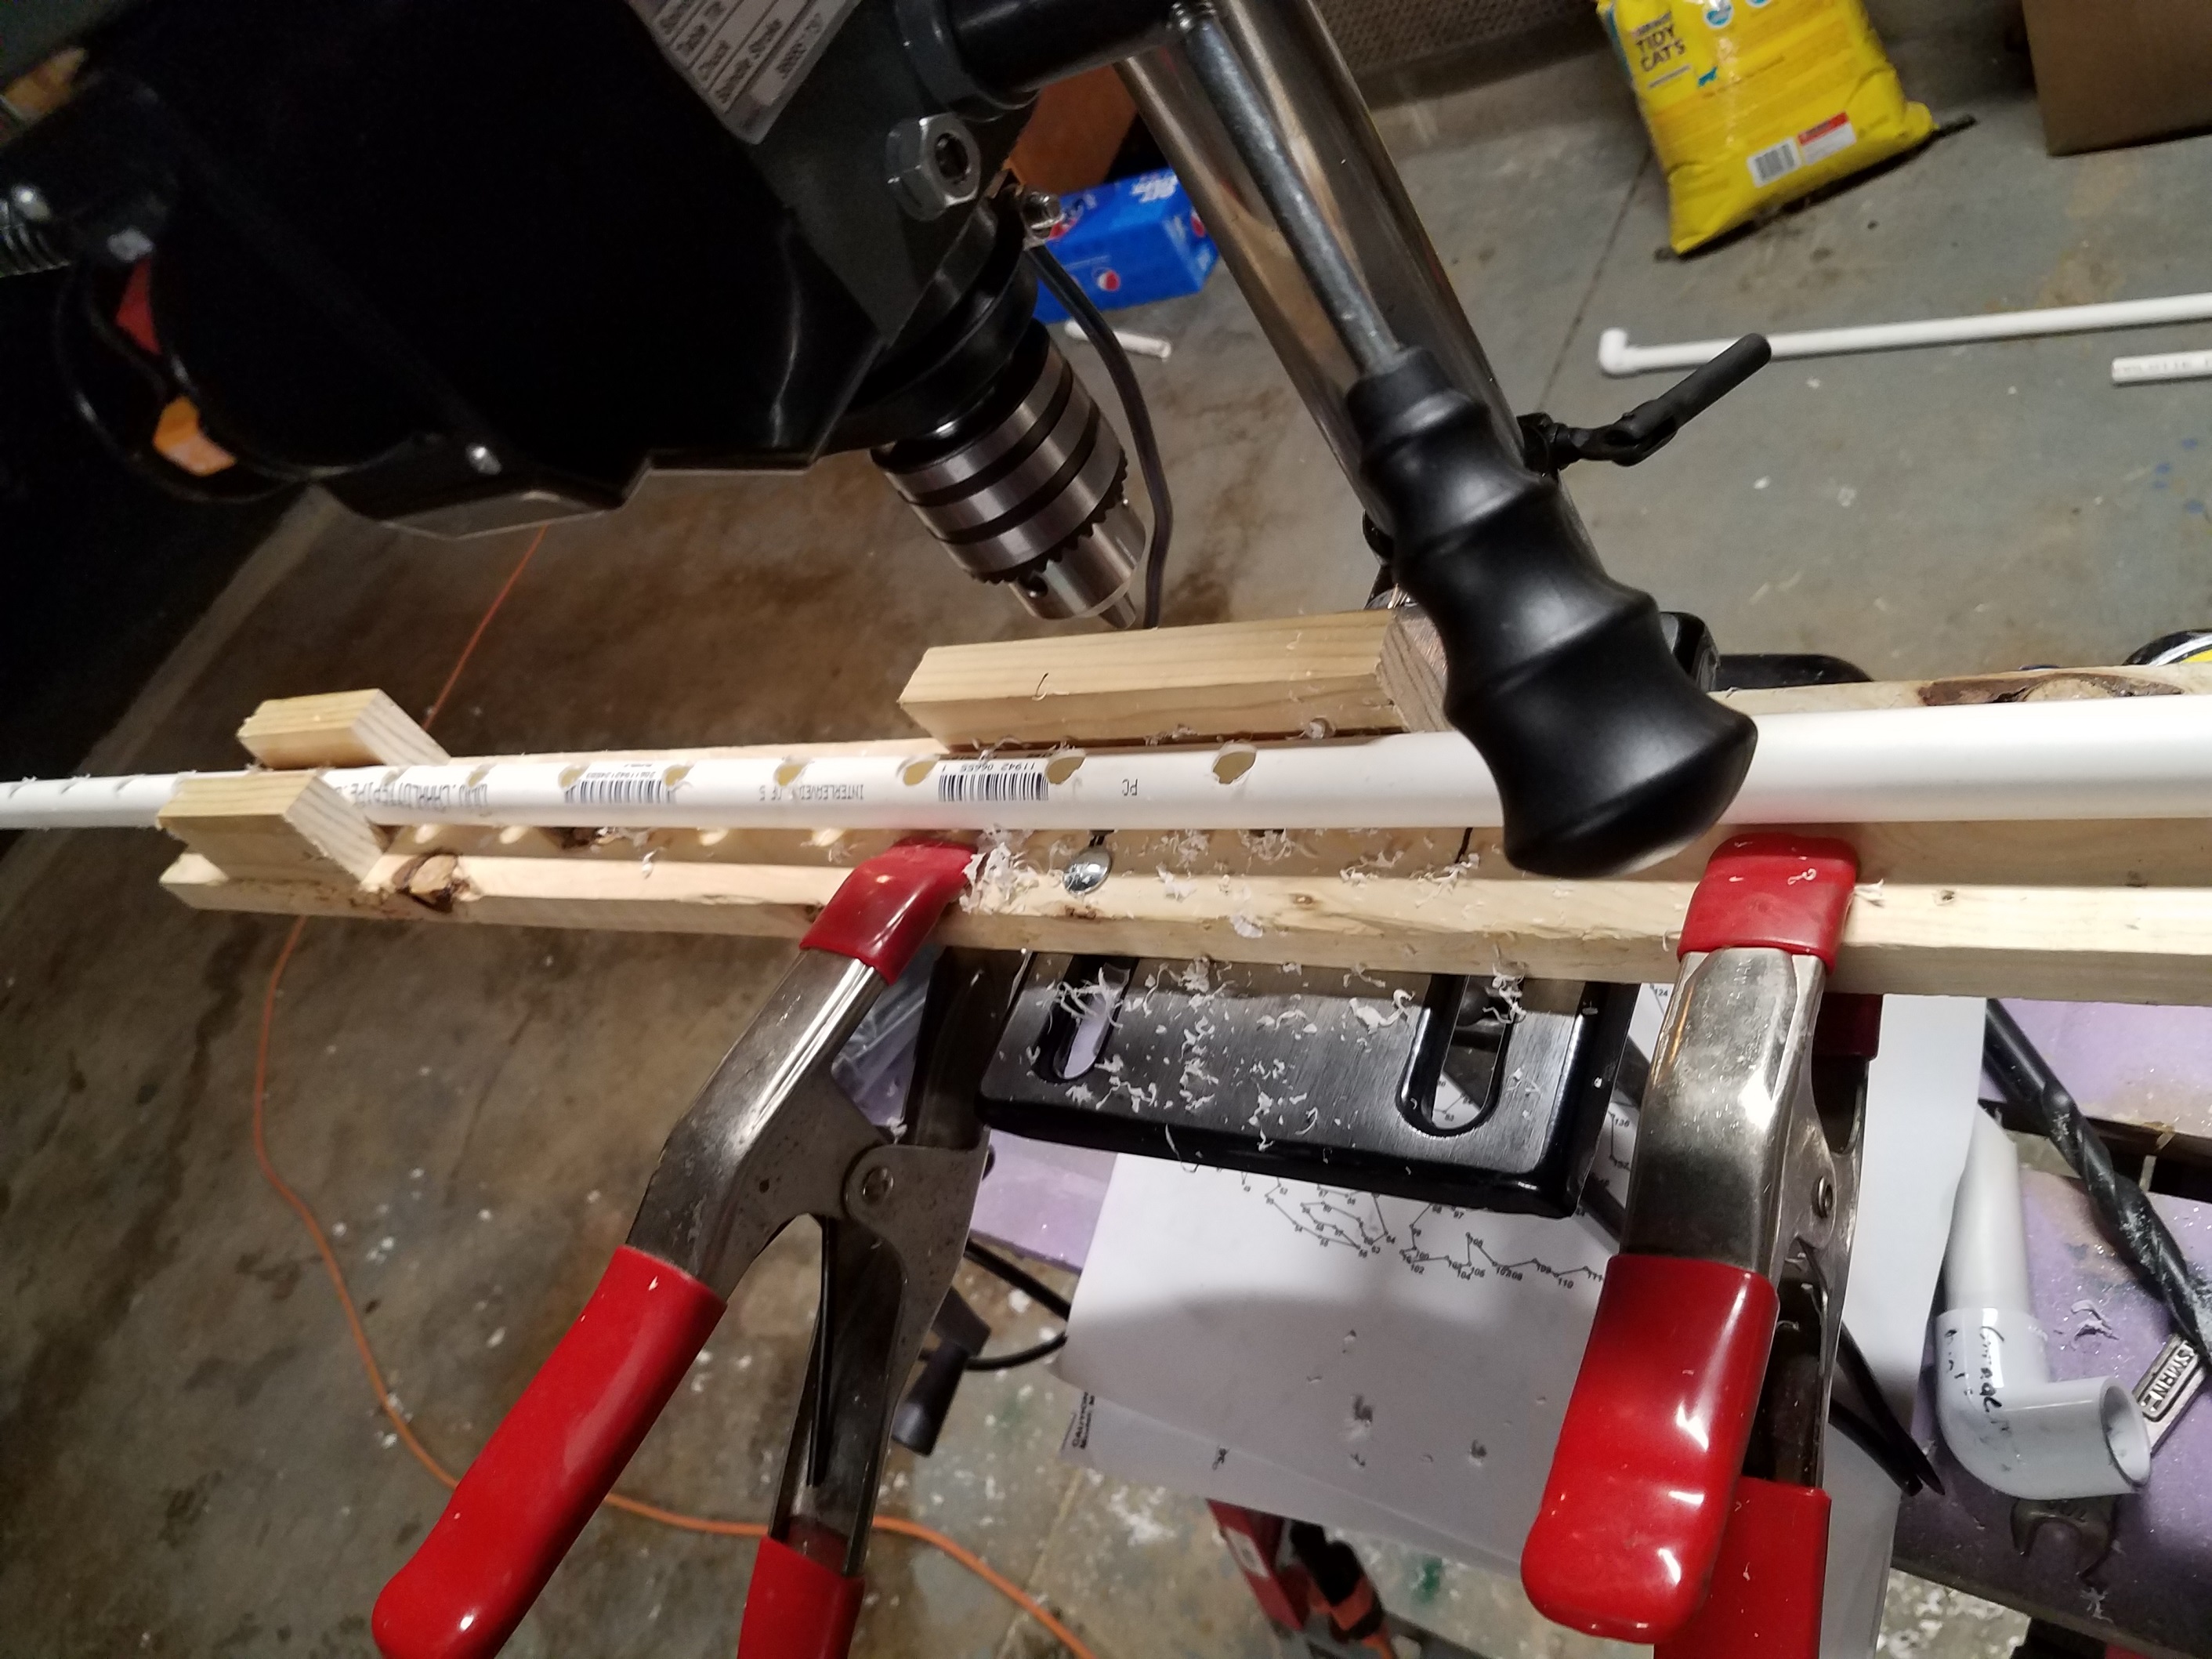
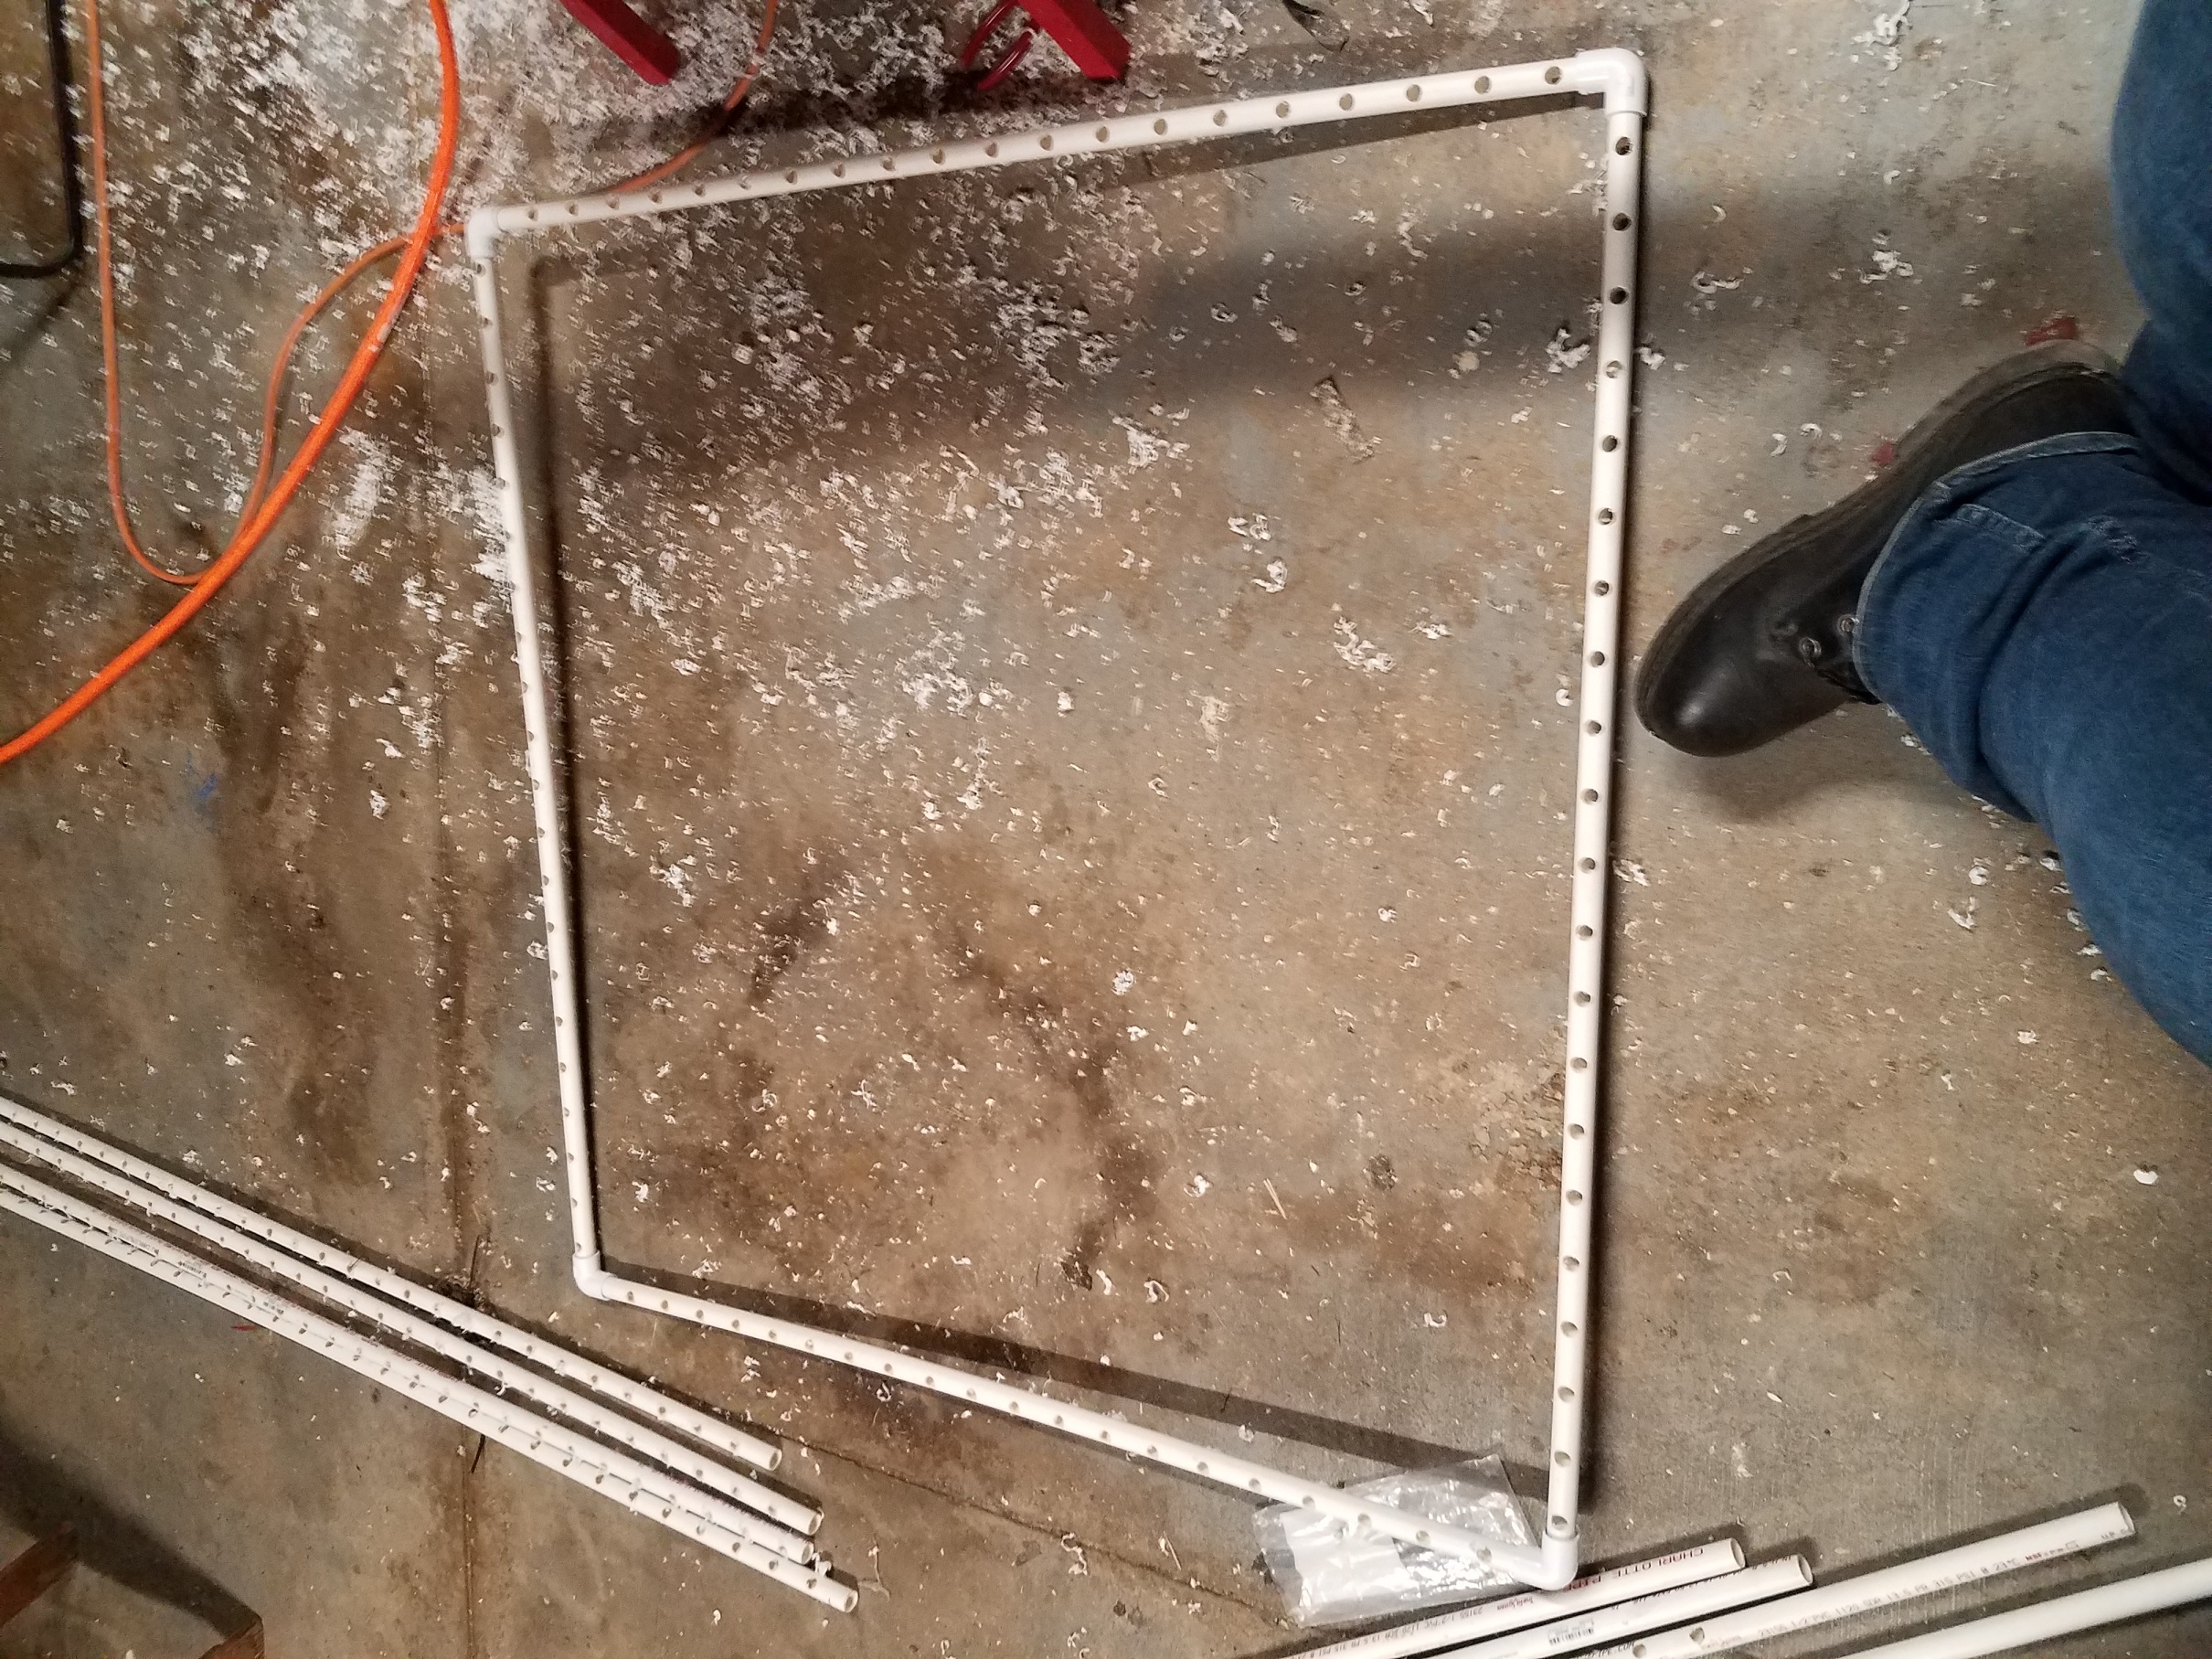
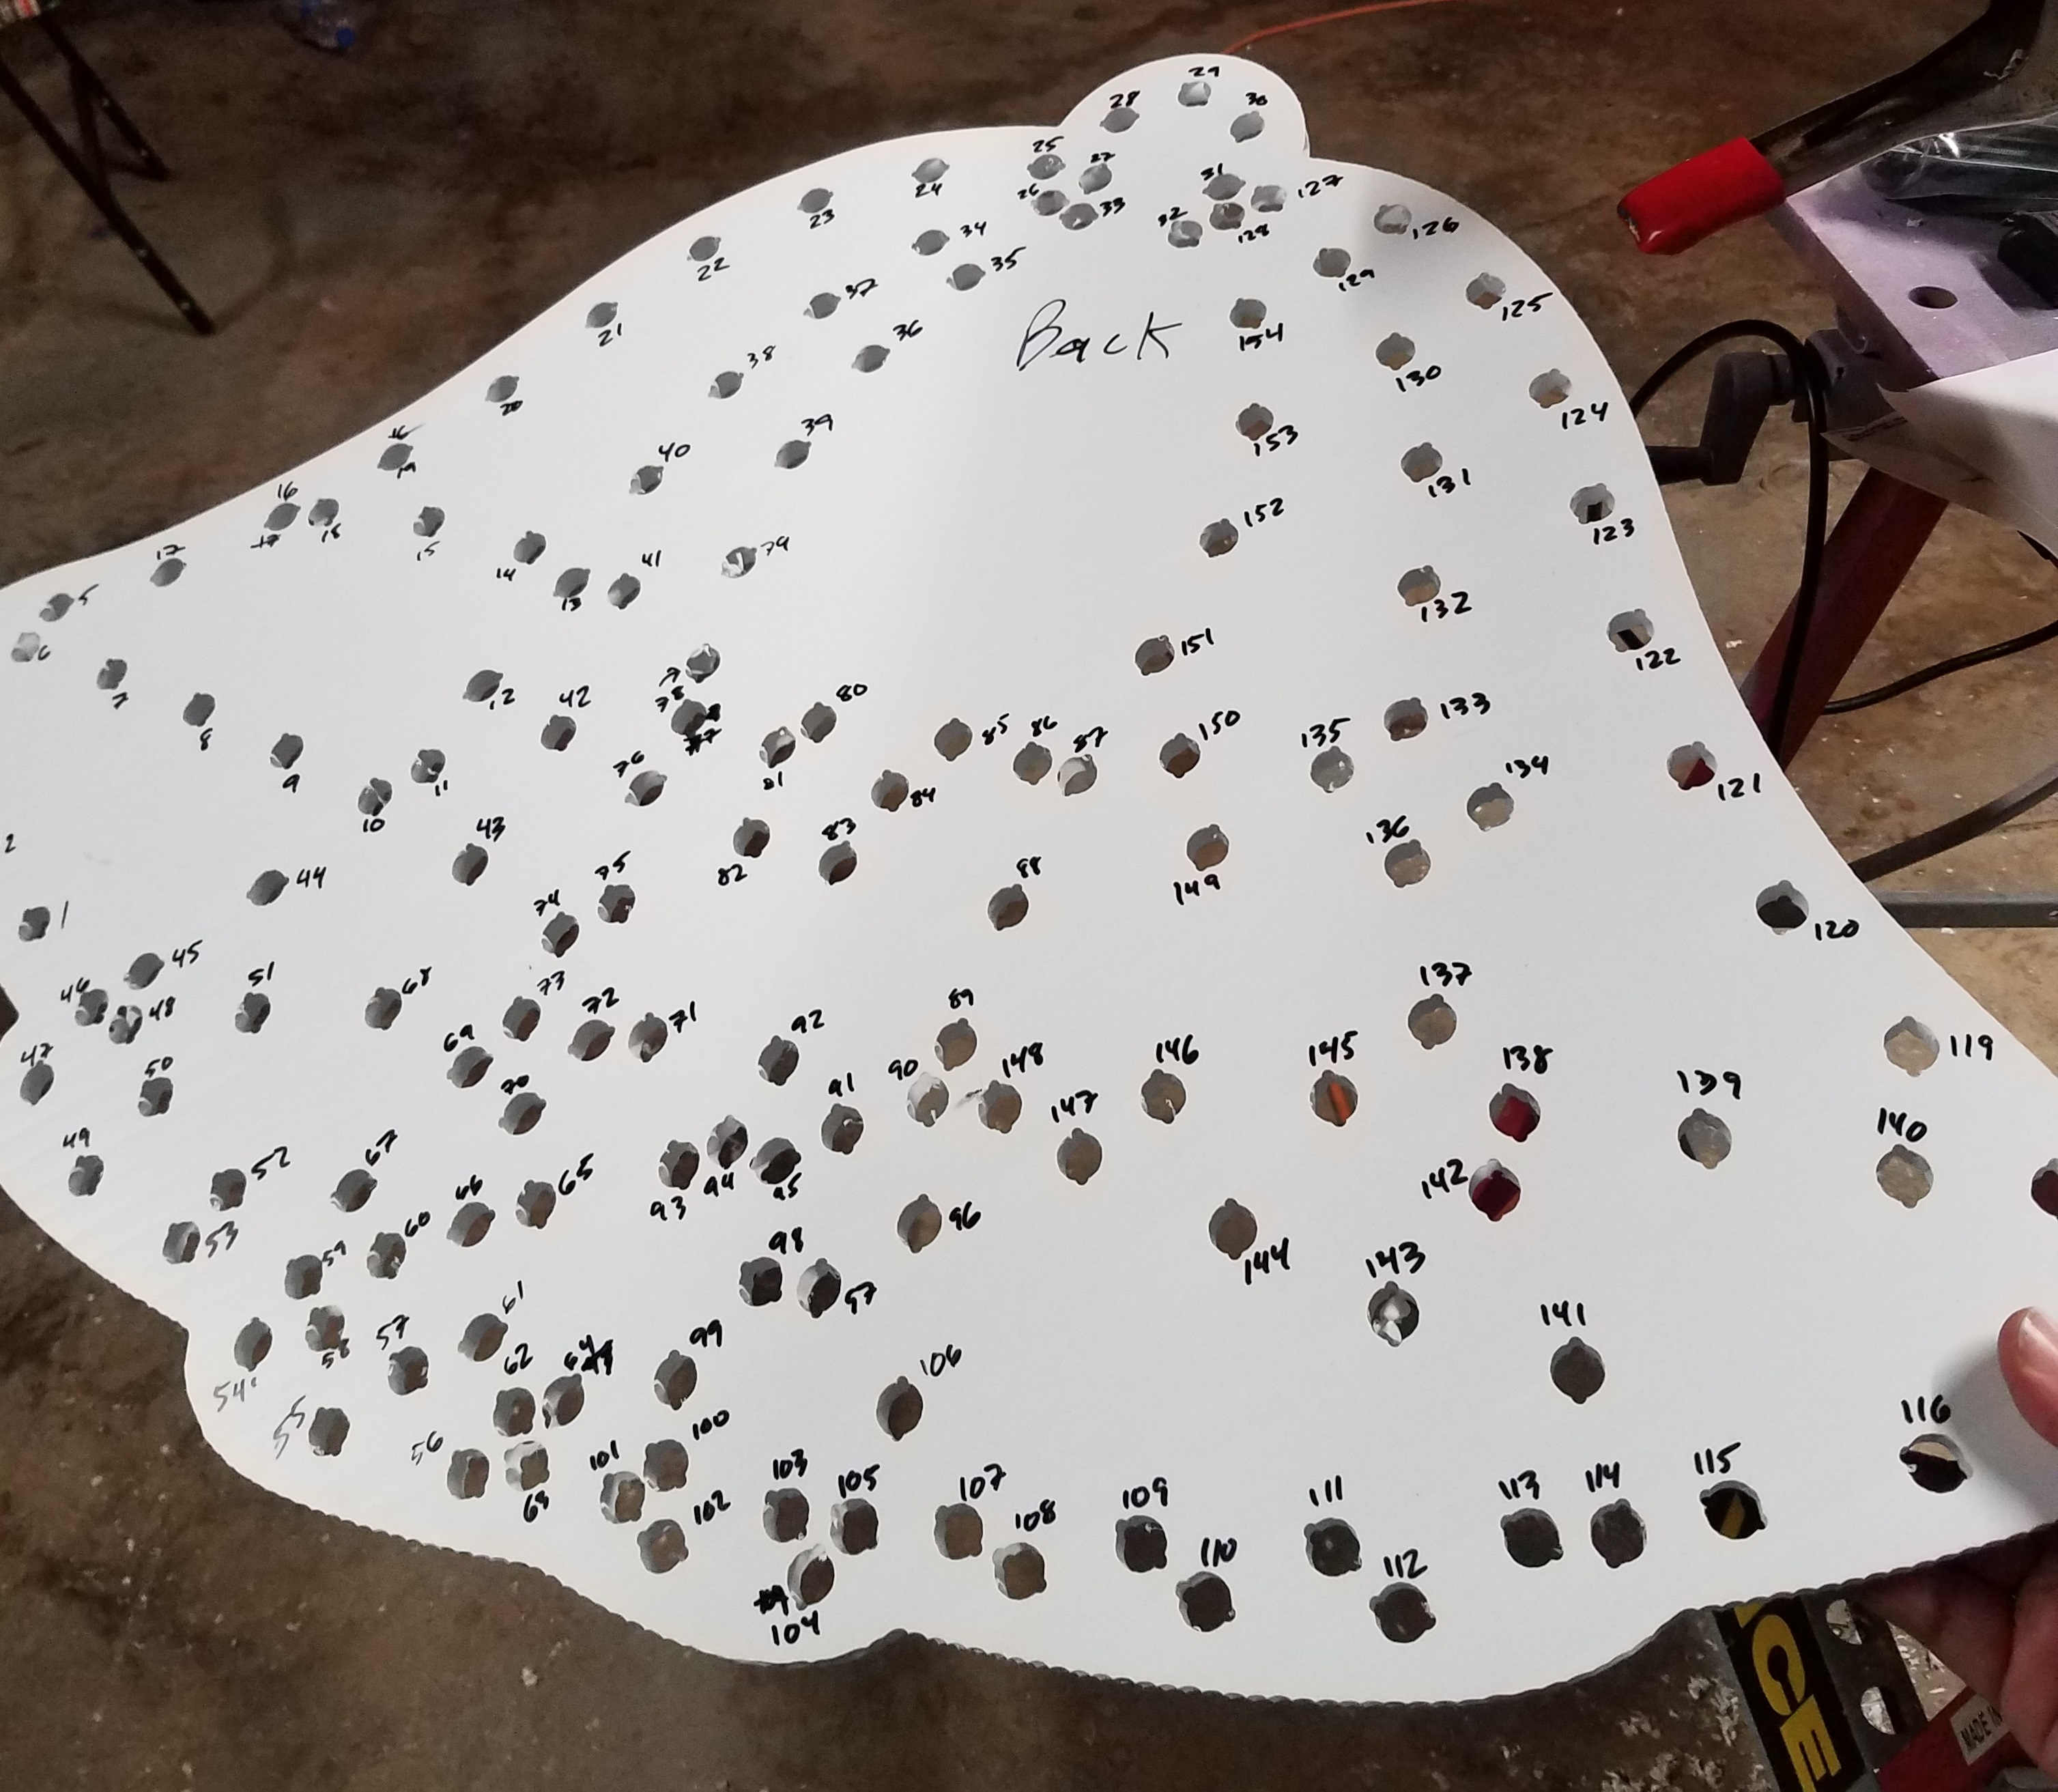
Once all of the frames are complete, we will focus on our mega tree, our animated bell (below), and our 4 arches (also below).

Stay tuned!
DIY WiFi E1.31 DMX Bridge Adapter
*UPDATE* October 18th: I have gotten the ESPixelStick v3.0rc2 firmware to compile and load, and am no longer using the original code below. I will leave it up as it may still be of use to others. Special thanks/shout-out to Bill Porter and Shelby Merrick for their assistance in getting it to compile.
In previous years, I’ve had to run a fairly long length CAT5 cable from my computer inside the house, out to my controllers. This was always a pain to setup each season because of the route I have to take; basically halfway around the house, through a crawlspace, then the basement and finally up through the floor to my show computer. I needed to come up with an easy, cheap solution to eliminate this cable entirely.
ESPixelStick by Shelby Merrick
After researching for a while I came upon a project called the ESPixelStick by Shelby Merrick. His design uses a basic ESP8266 wifi module to receive E1.31 DMX data, and then translates it into one of many other formats, mainly for RGB LED pixels/strips (WS2811 or similar). In later software, it appears that he added the ability to output raw DMX instead of translating into pixel protocols, as I planned on using this device with 2 Light-O-Rama controllers (CTB16PC). His design led me to look into the Espressif WiFi modules further.
Espressif has several WiFi modules on the market, with a builtin microcontroller which is able to run some code on board. There is also a library/toolset available to integrate these right into the Arduino IDE, which makes them extremely easy to program.
NodeMCU Development Board
After doing some more research I ultimately settled on using a NodeMCU development board, which utilizes an ESP-12 from Espressif, and has built-in power regulation (it can run from 5 to 14 volts DC). I have used these boards before for several IoT (Internet of Things) projects, and am comfortable/familiar with them. This board can be found on eBay from several foreign based vendors for under $5. I also found some RS-485 converter modules on eBay for around $3, these will be needed to convert the data from the NodeMCU board to standard DMX 512 data, which is a protocol that uses the RS-485 standard; as well as an RJ-45 jack module, since I planned on using this with my Light-O-Rama controllers.
Developing the code was fairly easy, thanks to the availability of arduino libraries from several sources. Without those libraries, this project would have taken a lot longer to put together. Ultimately, I came up with the following code, which works great, although I am still considering it a Beta version. If you end up using this code/project, and discover any problems, please shoot me a message.
#include
#include
#include

// User defined options
const char ssid[] = "WIFI_SSID";         /* Replace with your SSID */
const char passphrase[] = "WIFI_PASS";   /* Replace with your WPA2 passphrase */
const int dmxUniverse = 1; /* Replace with your DMX universe */

// Expert User options, DO NOT CHANGE unless you absolutely know what are doing ** POSSIBLE SEVERE DAMAGE TO HARDWARE **
const int redPin = #; // PWM Output pin for RED LED
const int greenPin = #; // PWM Output pin for GREEN LED
const int bluePin = #; // PWM Output pin for BLUE LED
int redLevel, greenLevel, blueLevel;
int redNow = 0;
int greenNow = 0;
int blueNow = 0;
int state = 0;

E131 e131;

void setup() {
    DMXSerial.init(DMXController);

    pinMode(redPin, OUTPUT);
    pinMode(greenPin, OUTPUT);
    pinMode(bluePin, OUTPUT);
    Serial.begin(115200);
    delay(10);

    /* Choose one to begin listening for E1.31 data */
    e131.begin(ssid, passphrase, dmxUniverse);               /* via Unicast for Universe 1 on the default port */
    //e131.beginMulticast(ssid, passphrase, 1); /* via Multicast for Universe 1 */
}

void loop() {
    /* Parse a packet */
    uint16_t num_channels = e131.parsePacket();

    /* Process channel data if we have it */
    if (num_channels) {
        Serial.print("Universe ");
        Serial.print(e131.universe);
        Serial.print(" / ");
        Serial.print(num_channels);
        Serial.print(" Channels | Packets: ");
        Serial.print(e131.stats.num_packets);
        Serial.print(" / Sequence Errors: ");
        Serial.print(e131.stats.sequence_errors);

        for (int i = 0; i < num_channels; i++) {
          int j = i * 3;
          DMXSerial.write();
        }
    }
}
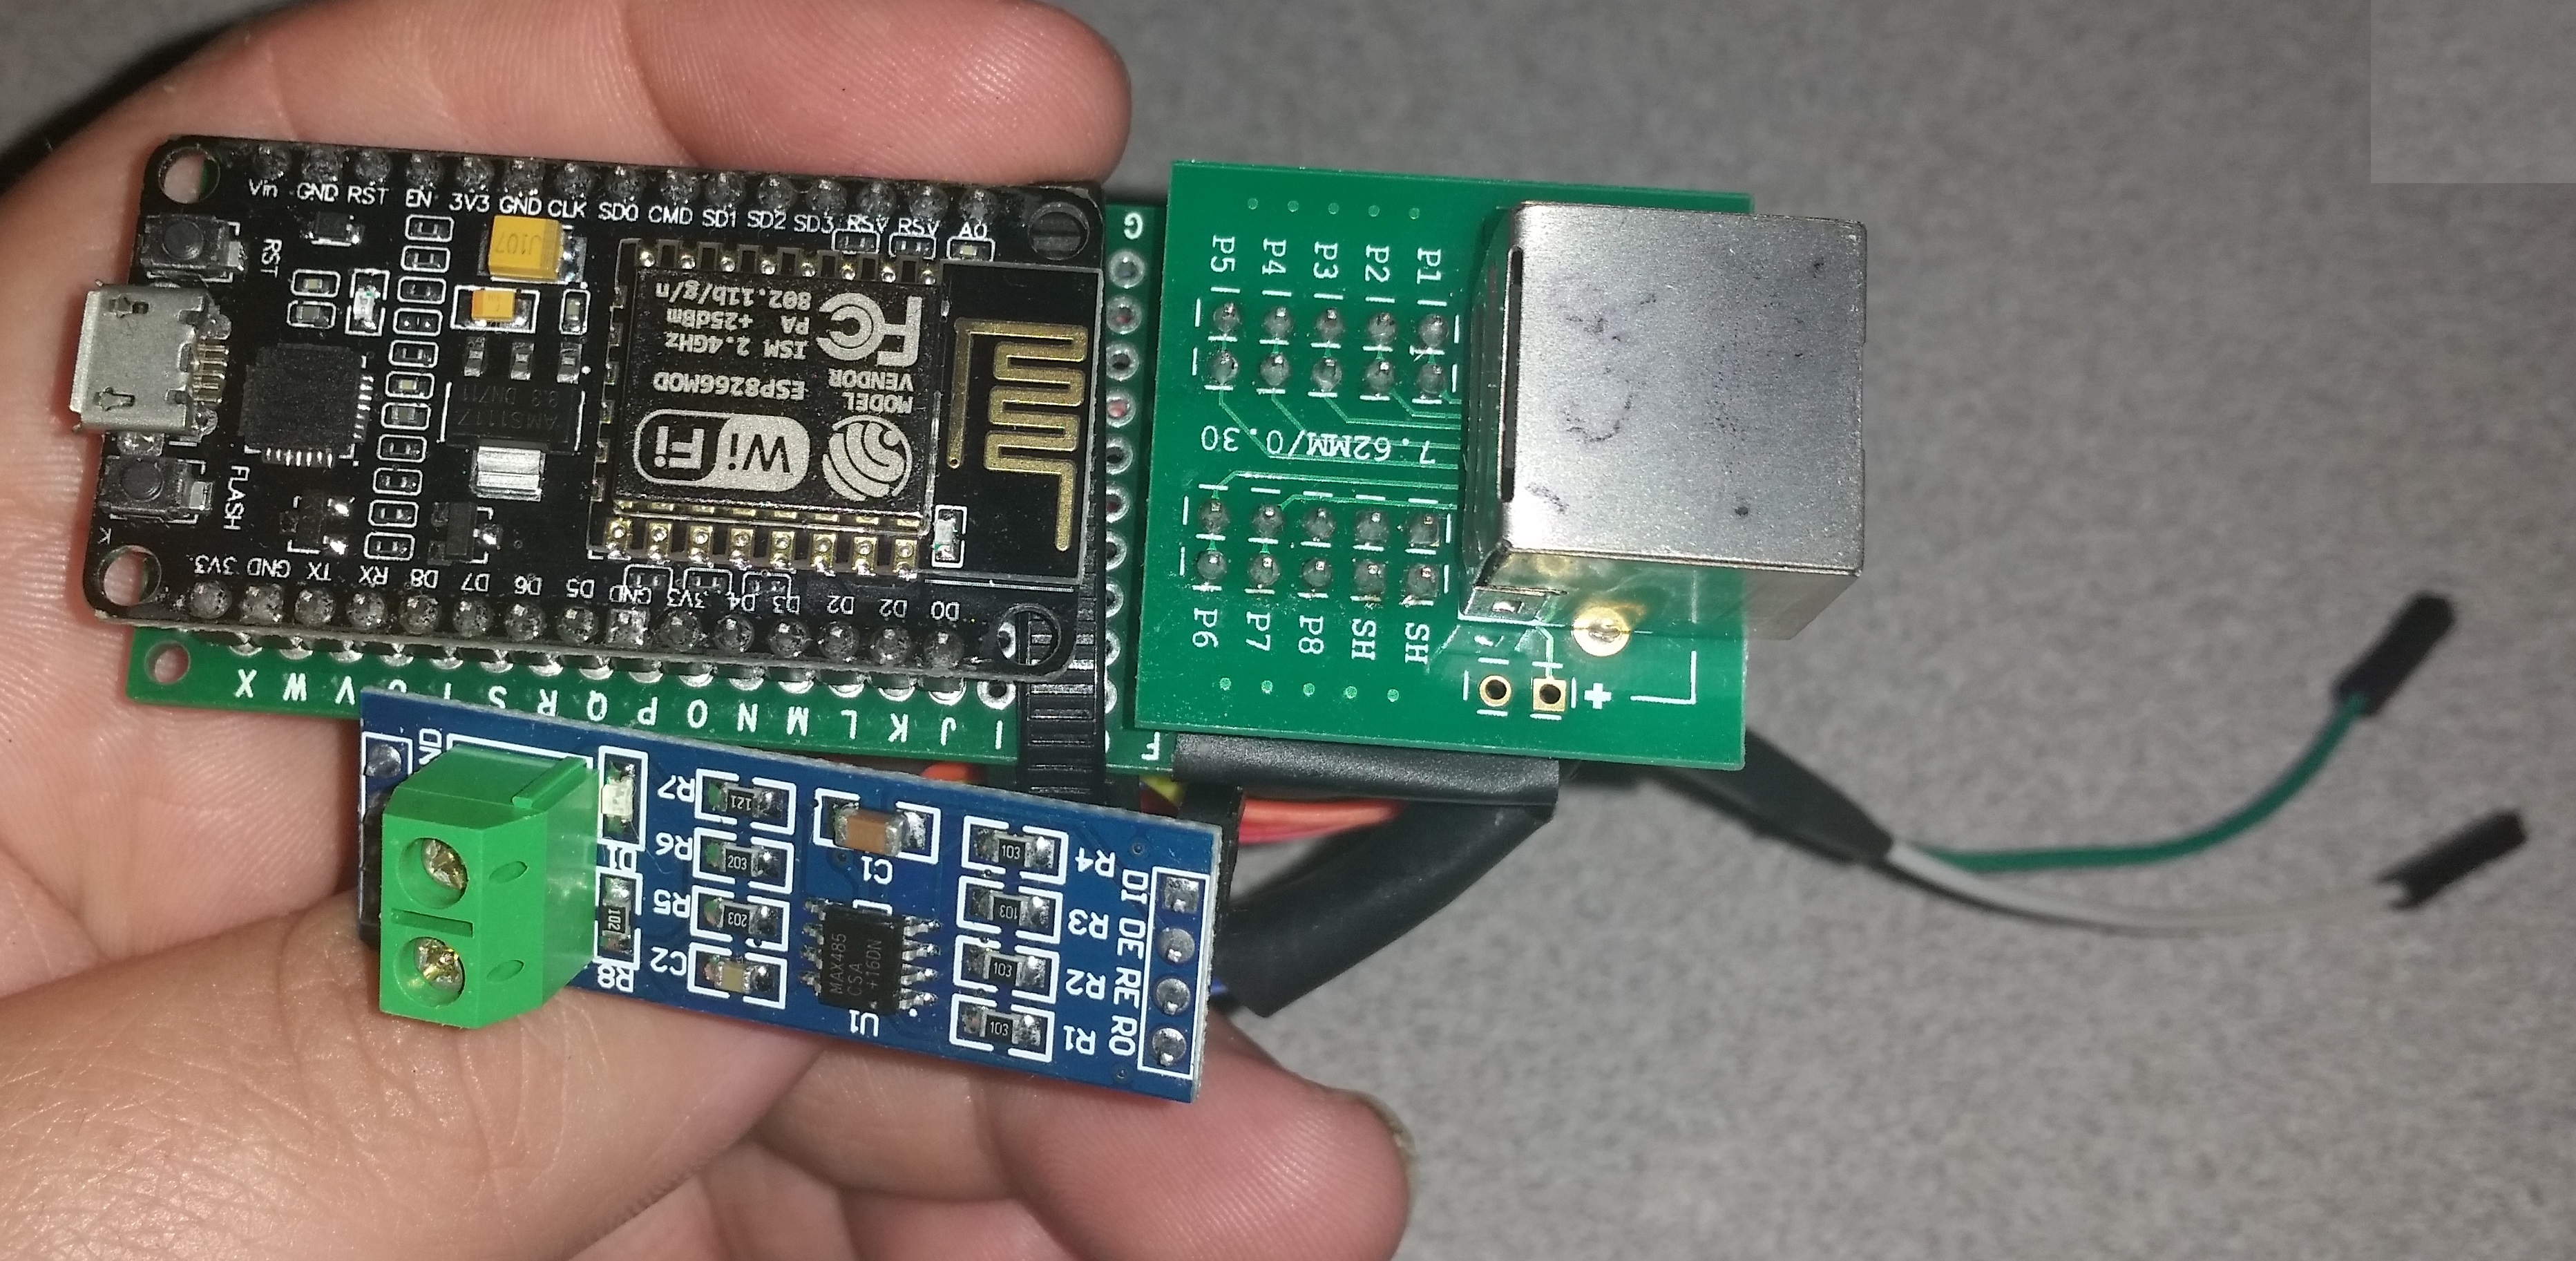
Prototype Hardware
The final prototype hardware was put together like this. I do have plans to re-design the hardware down to the board level, adding some voltage isolation, and eliminating all the loose wires. The final version will have both an RJ-45 as well as screw terminals for DMX out, and screw terminals for 5V DC power in. When completed, I will update this post to include links to OSHPark to order the boards, and either DigiKey or Mouser to order the component bill of materials.
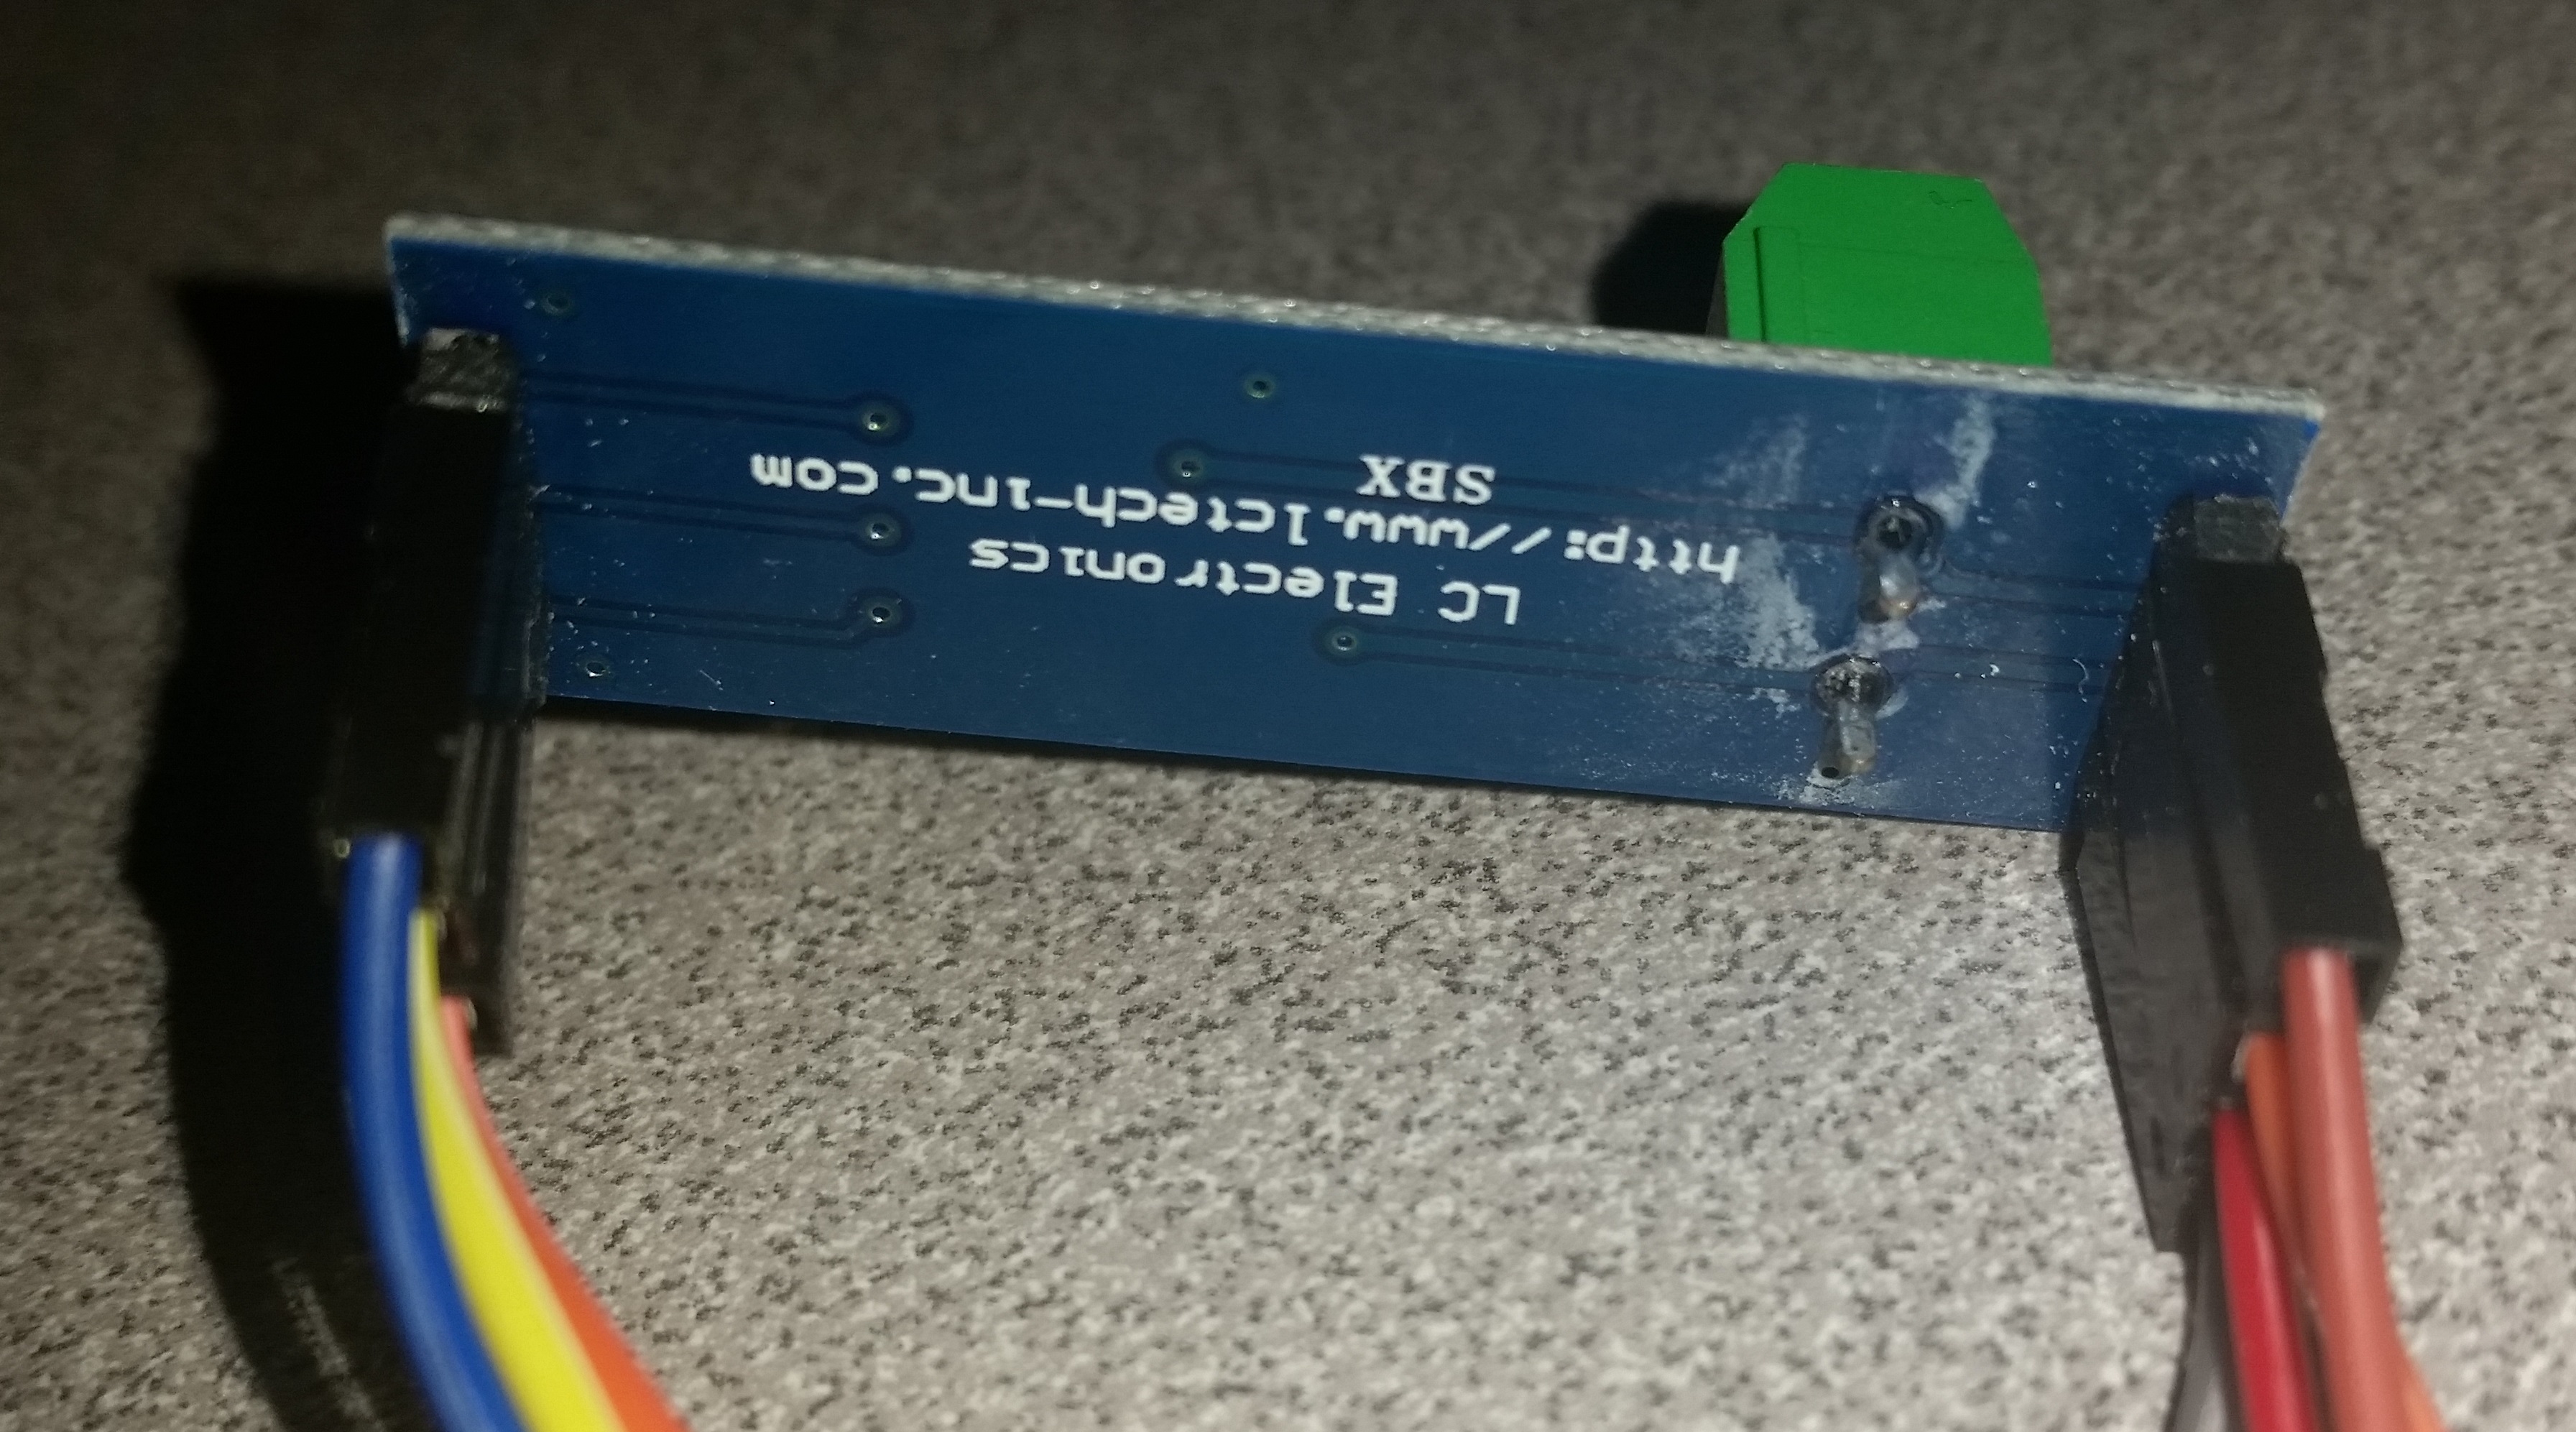
RS-485 Converter Module
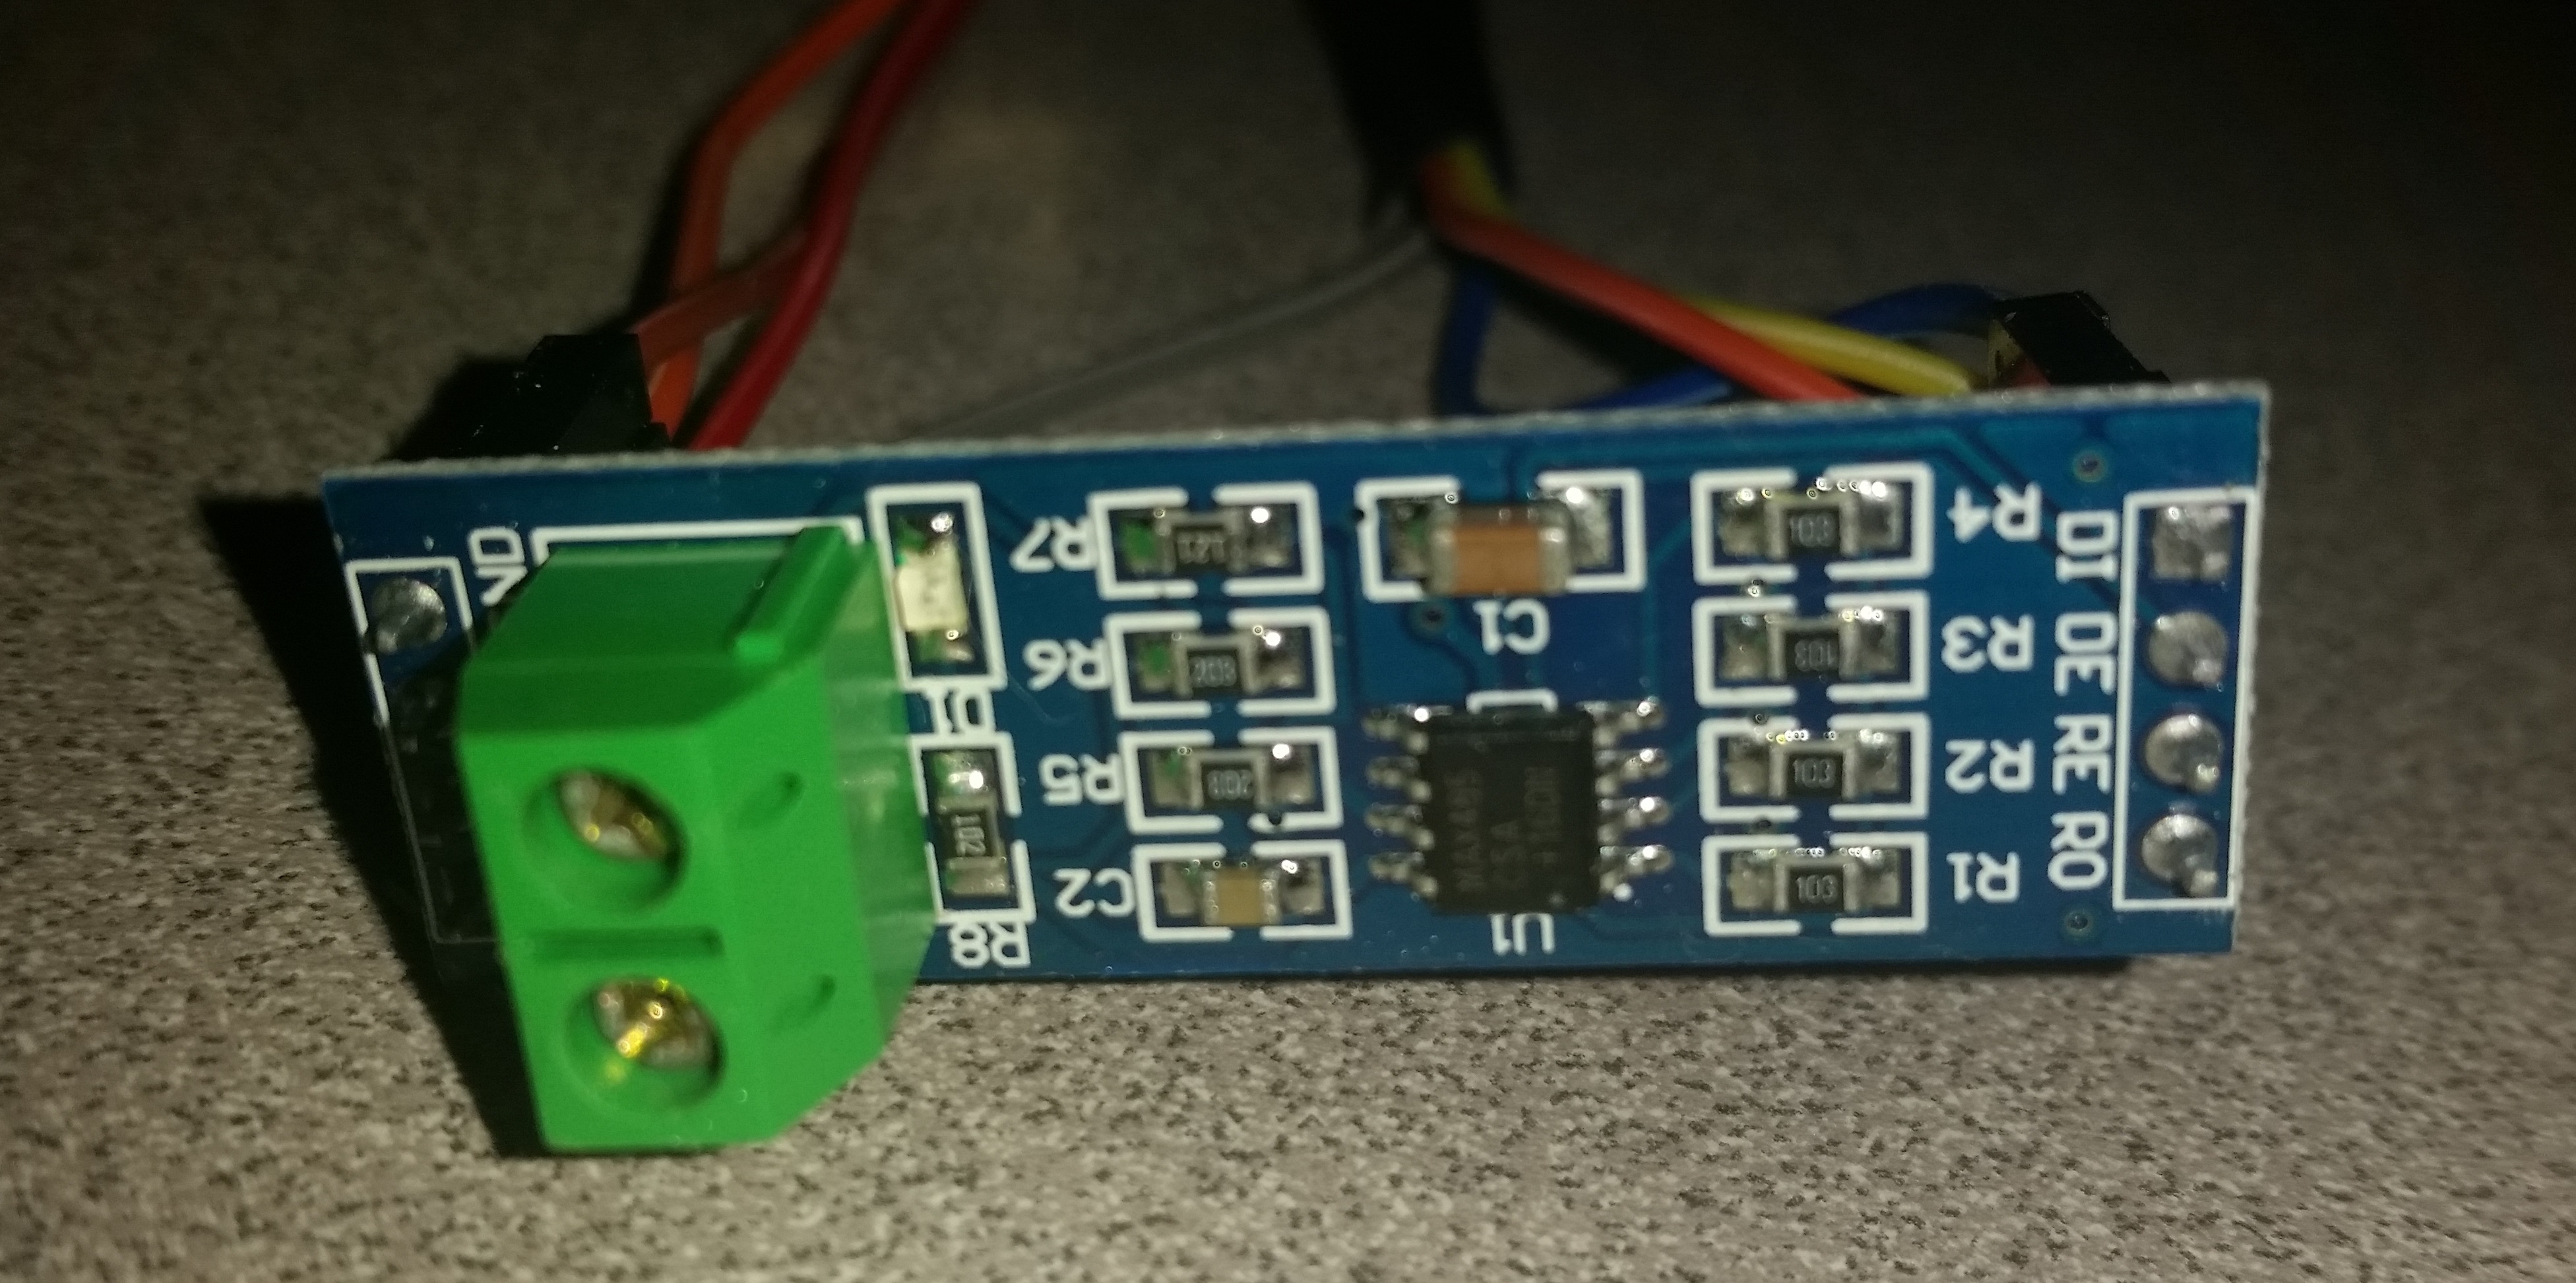
RS-485 Converter Module

Side/Wiring View

Prototype Hardware
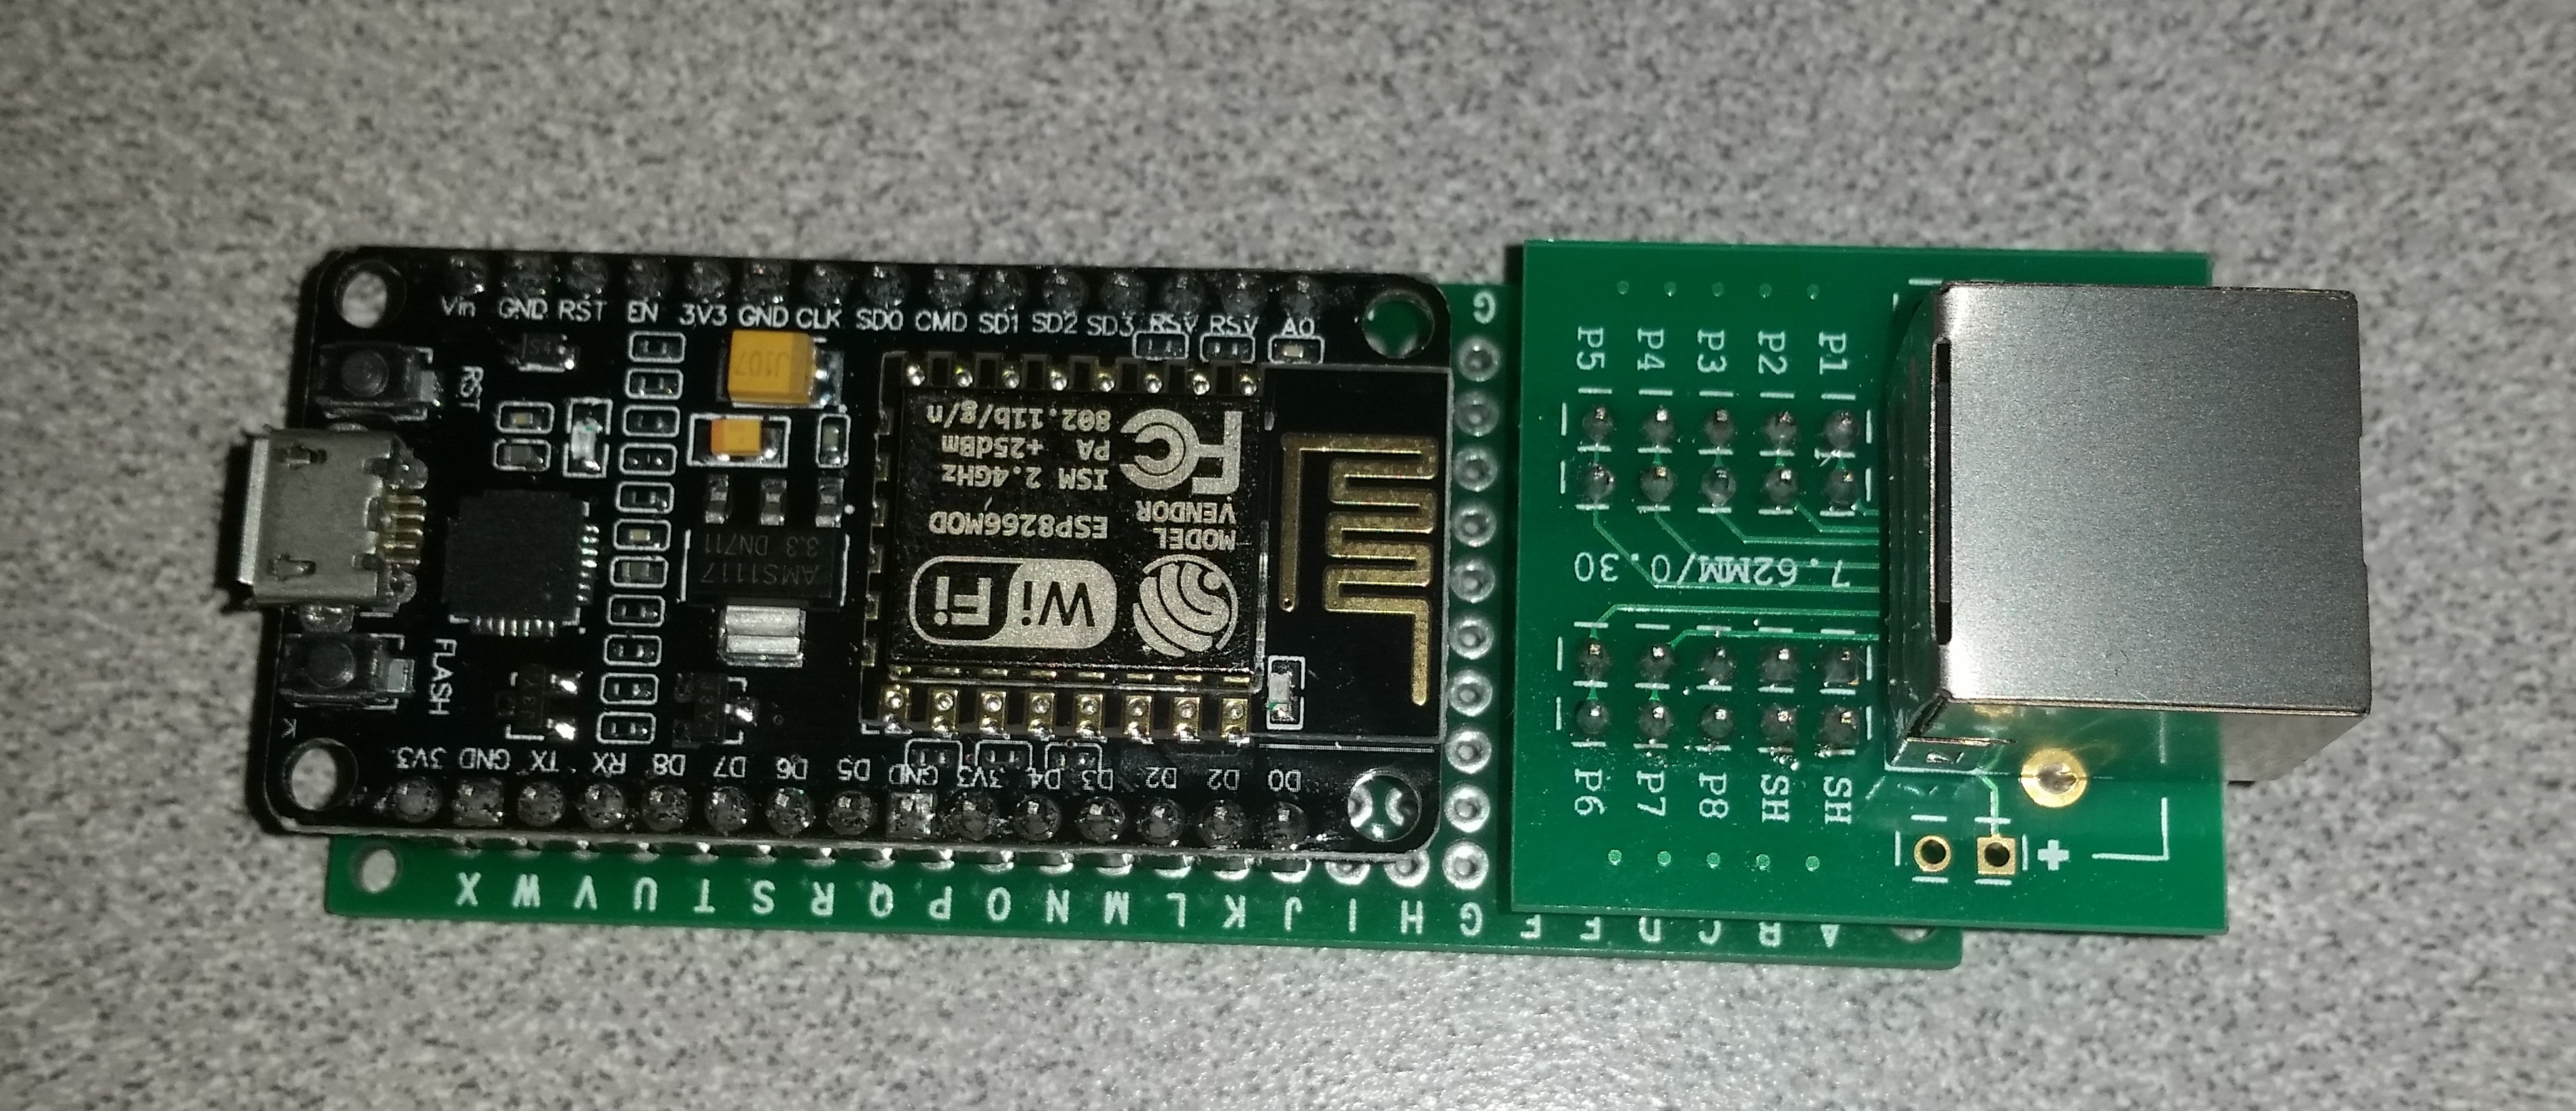
Prototype Hardware
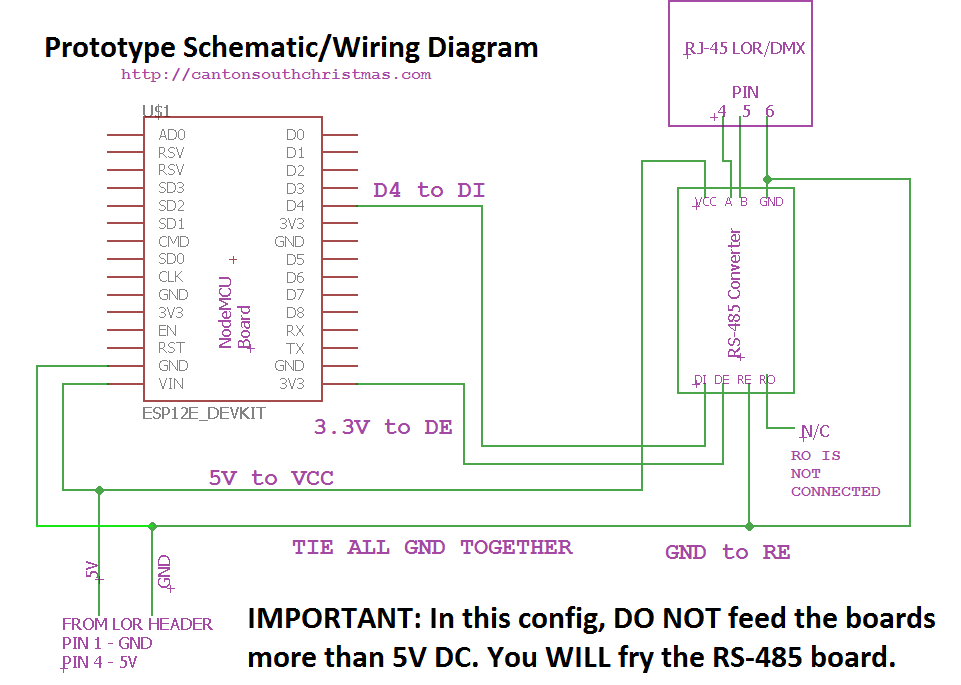
Prototype Schematic/Wiring
This hardware/code is theoretically able to handle up to 512 channels (1 full DMX universe). I have only tested it using 32 channels, 2x 16 channel LOR CTB16PC boards in daisy chain config. You may or may not require a resistor at the last board/device on a daisy chain to eliminate interference.
If you have any questions/comments, please enter them below or email me: [email protected]
2017 Prop Build: Manger/Nativity Scene
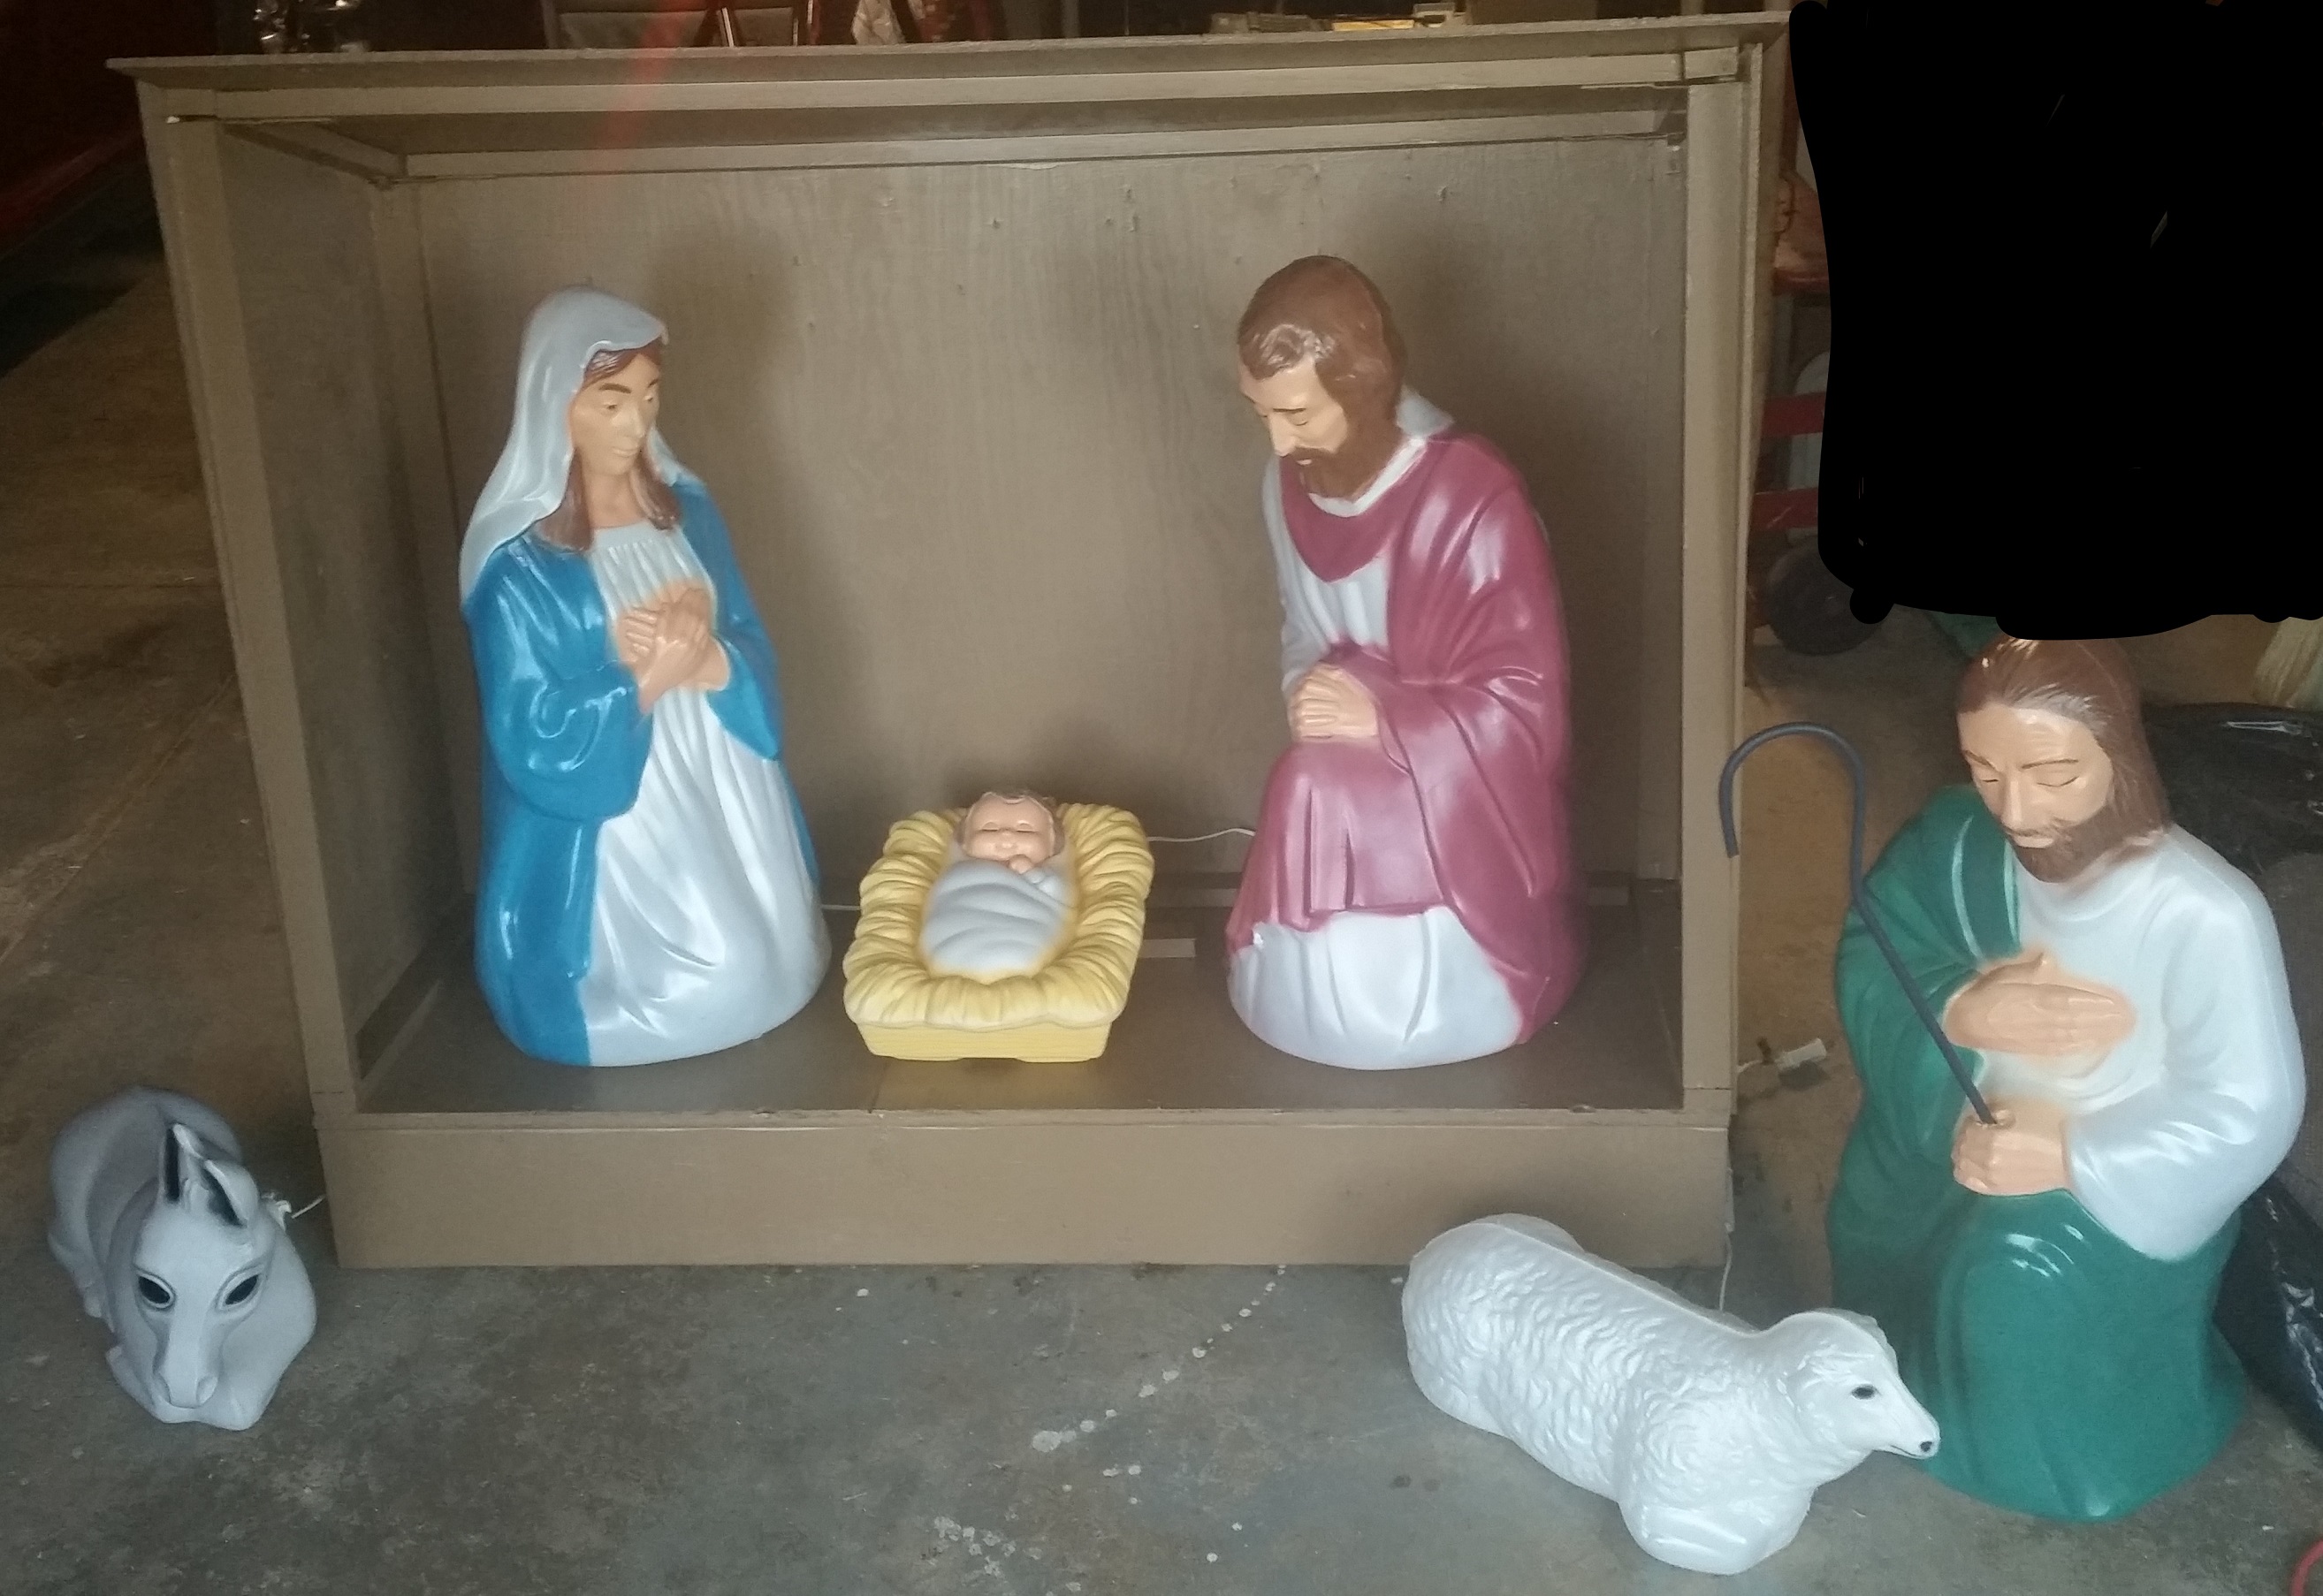
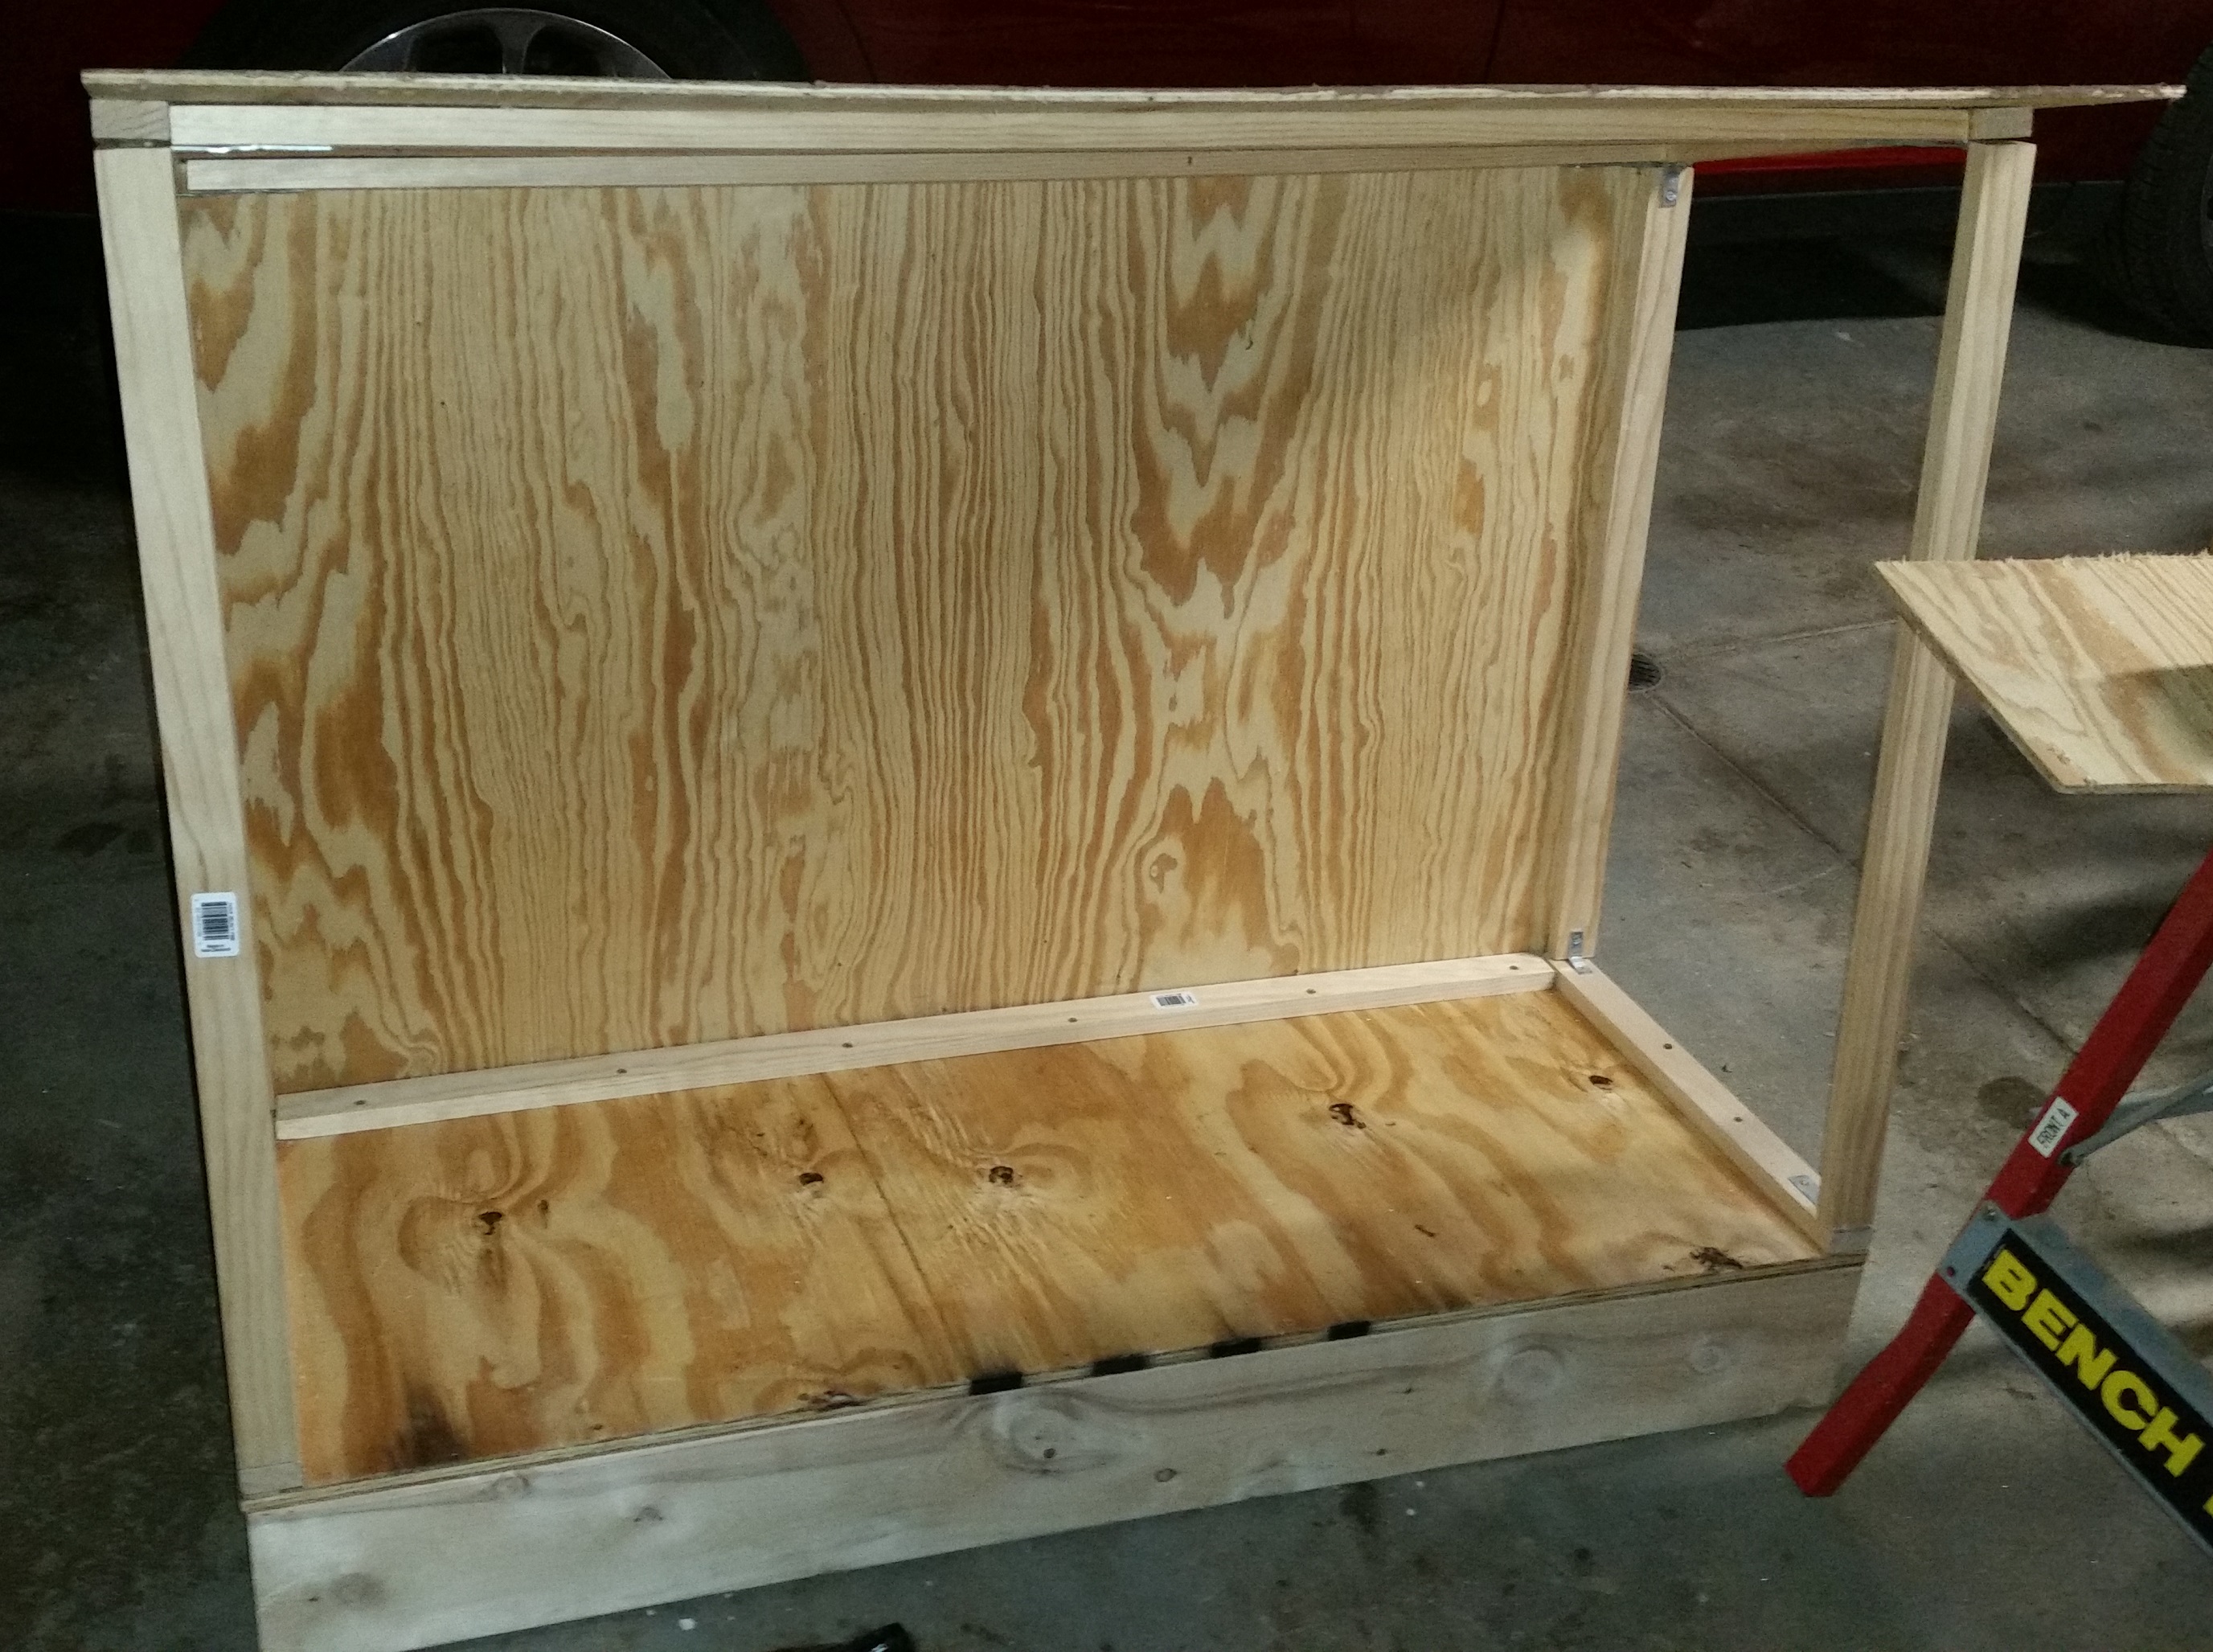
During the sales at the end of the 2016 season, we picked up a nativity scene set. The set comes with Mary, Joseph, and baby Jesus; however we also picked up a shepard with sheep, and a donkey additionally. In planning for our 2017 show, we decided to custom build a manger/stable to go with this nativity set.
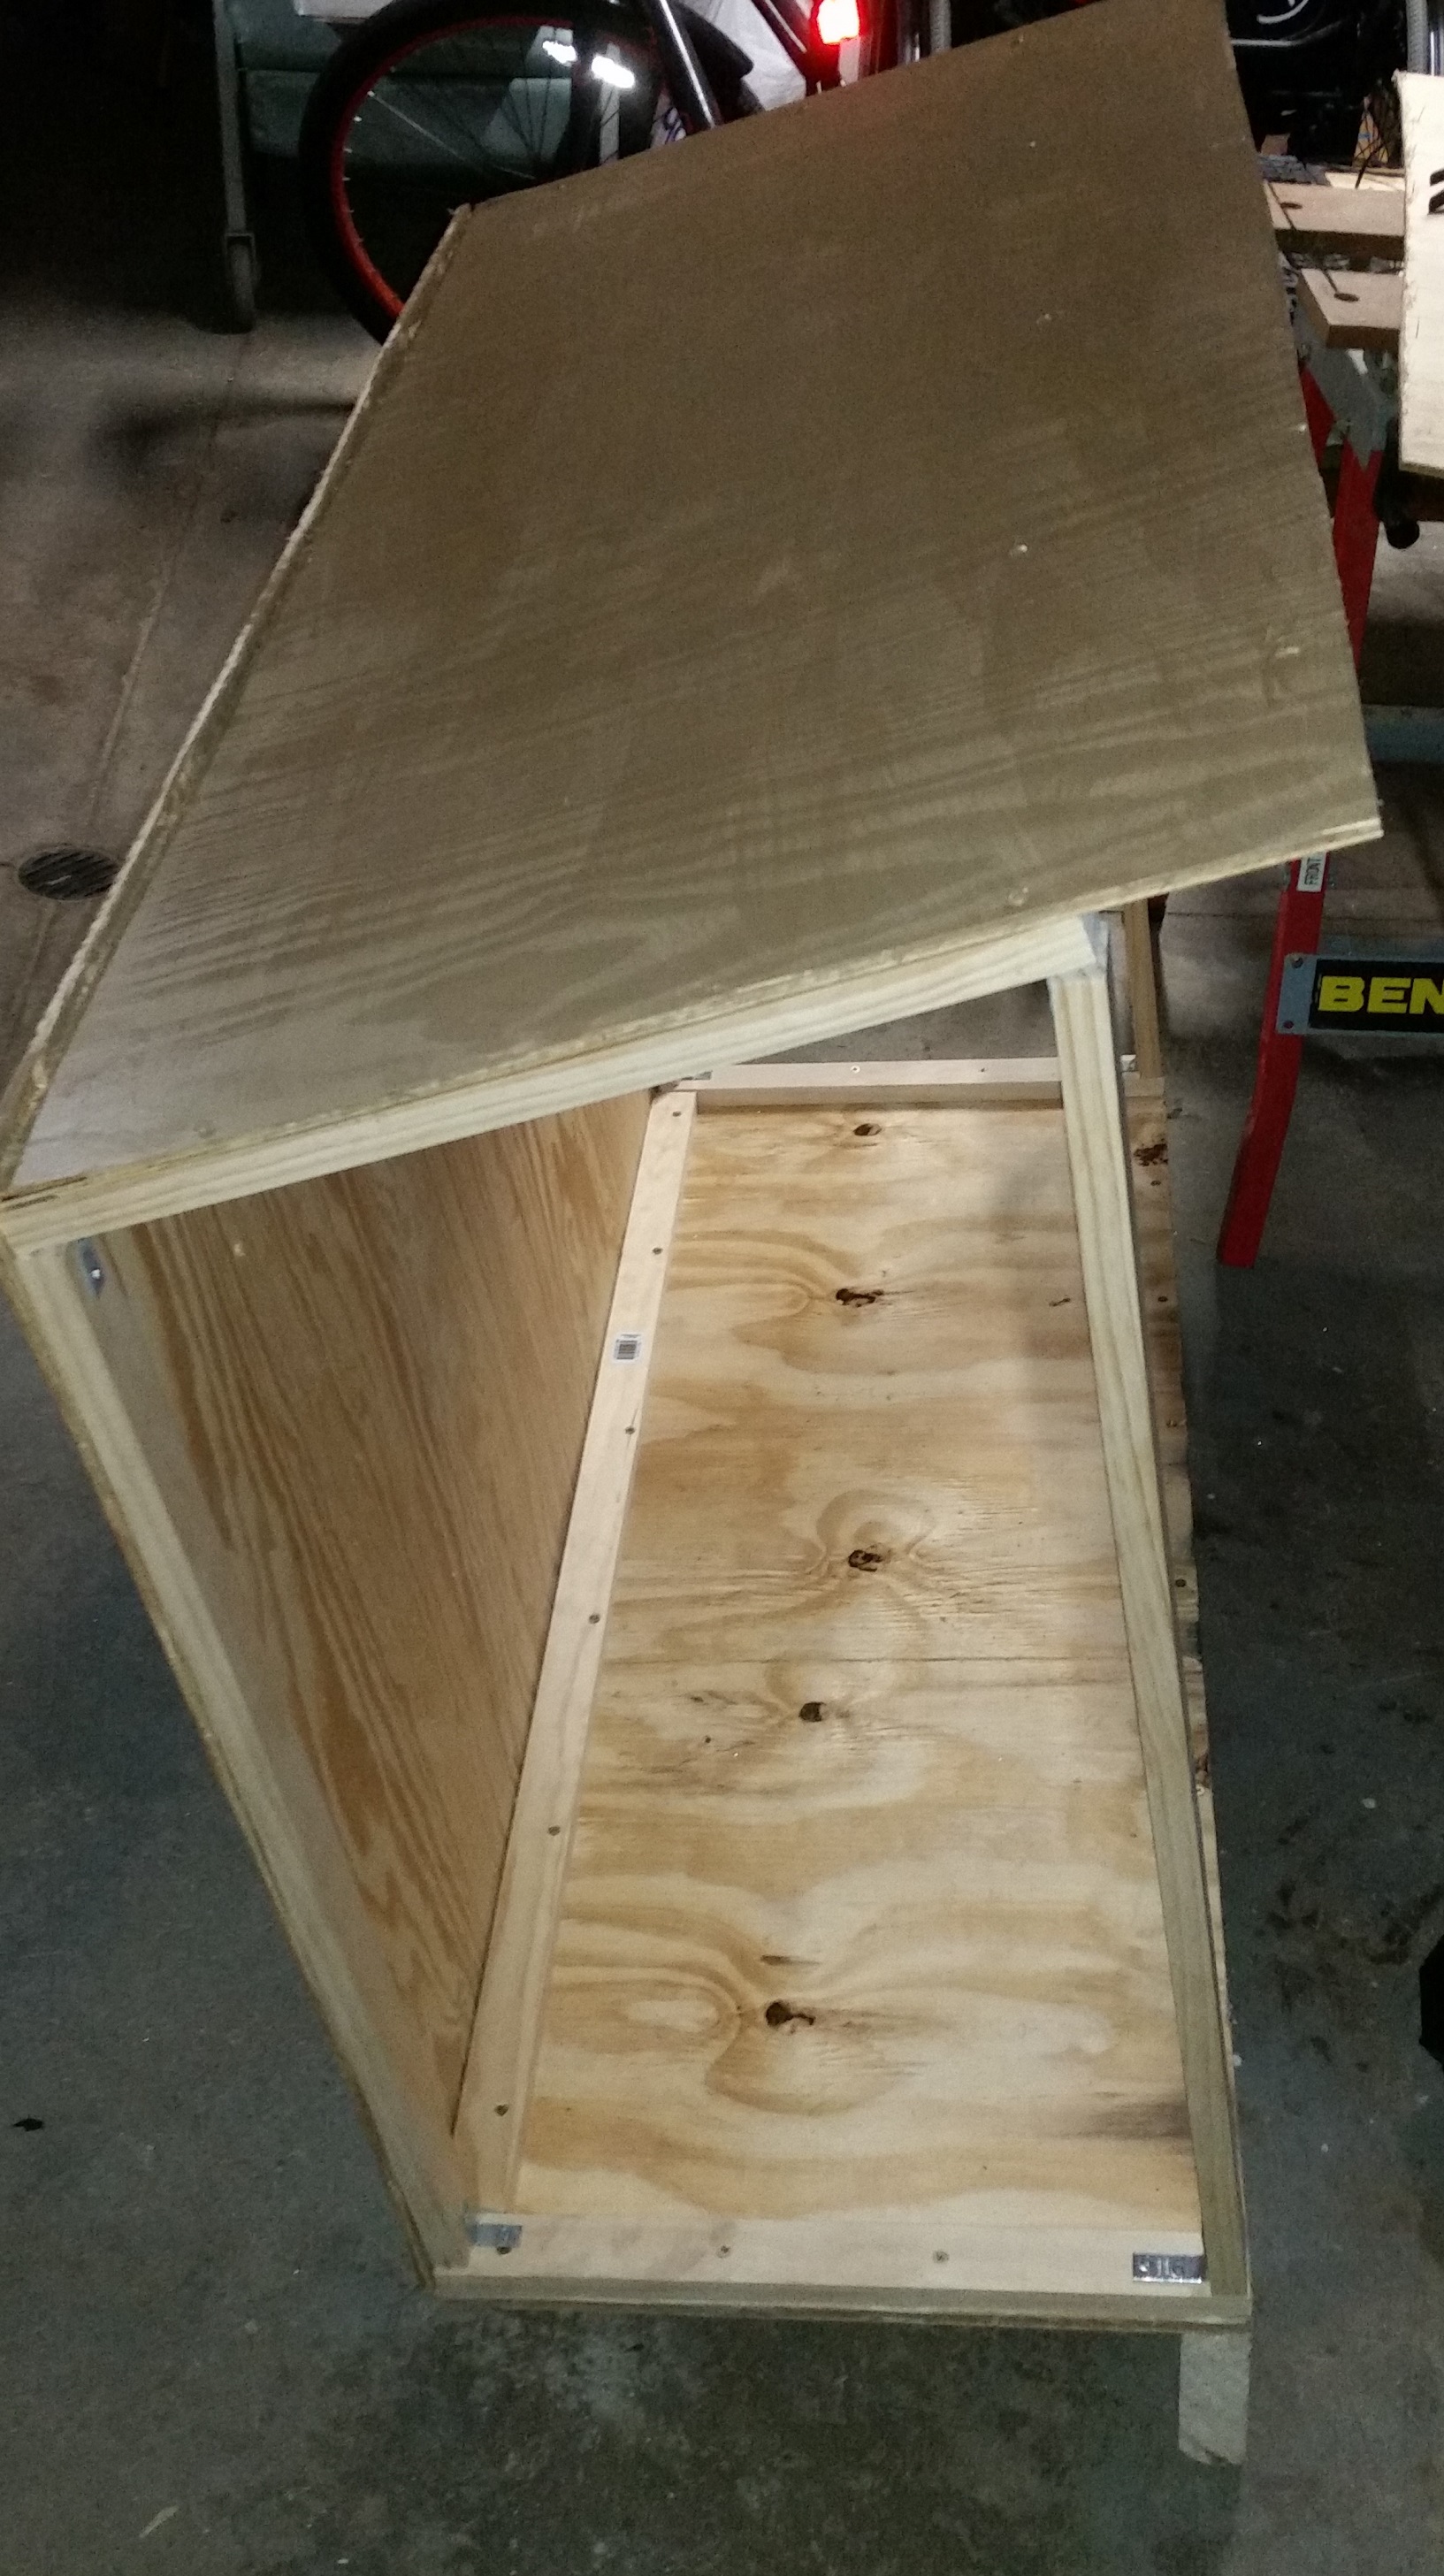
Construction was done with simple thin plywood for the back, sides, and top. Thicker plywood for the bottom. A 2×4 and 2×6 for the base “legs” to keep it out of the snow, and to match the angle of the front yard (the base will be level once installed for the show). 1×2 supports for the frame which the plywood attaches to. A double stack of extra 1×2 pieces are attached to the inside middle of the base to prop baby Jesus up for better viewing angle. The entire thing was coated in 3 coats of latex based paints to protect it from the weather. The specific color we chose is Rustoleum branded “Nutmeg” (Satin). This project took 2 days to build, a total of about 6 hours of work including painting.
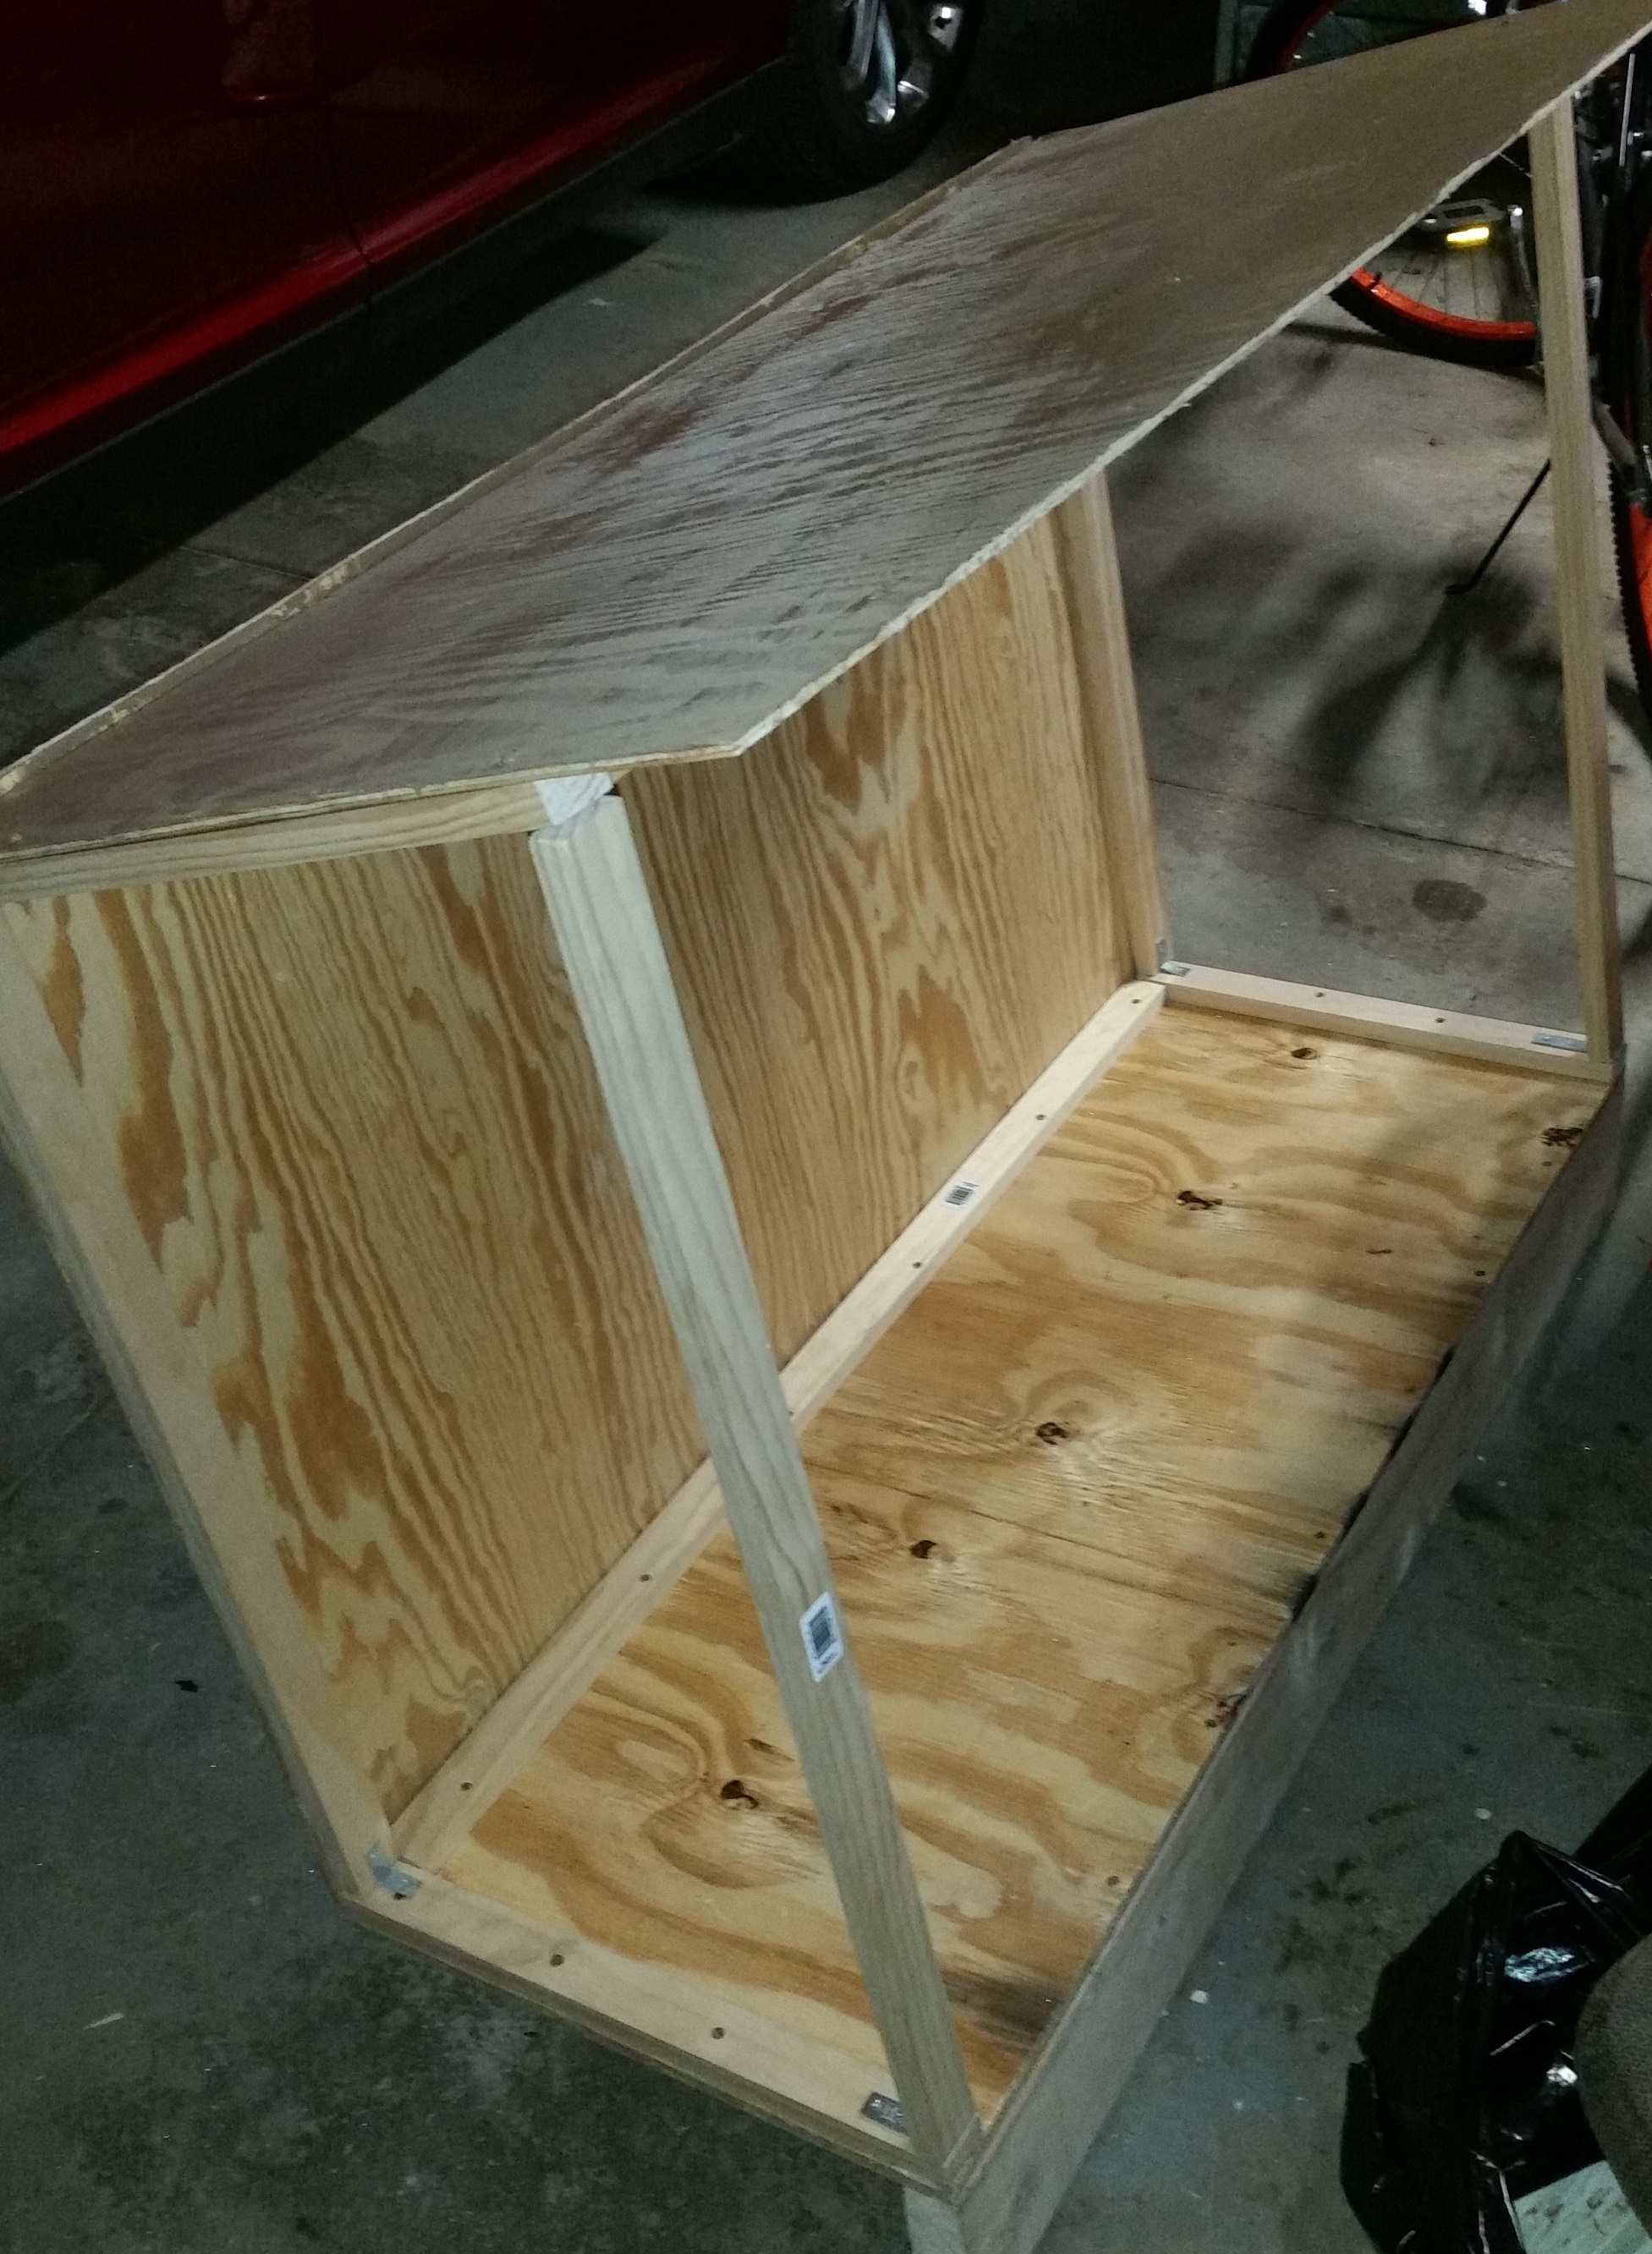
Left Side
Front View, Full Scene

Front View, Finished

Rear View, Finished
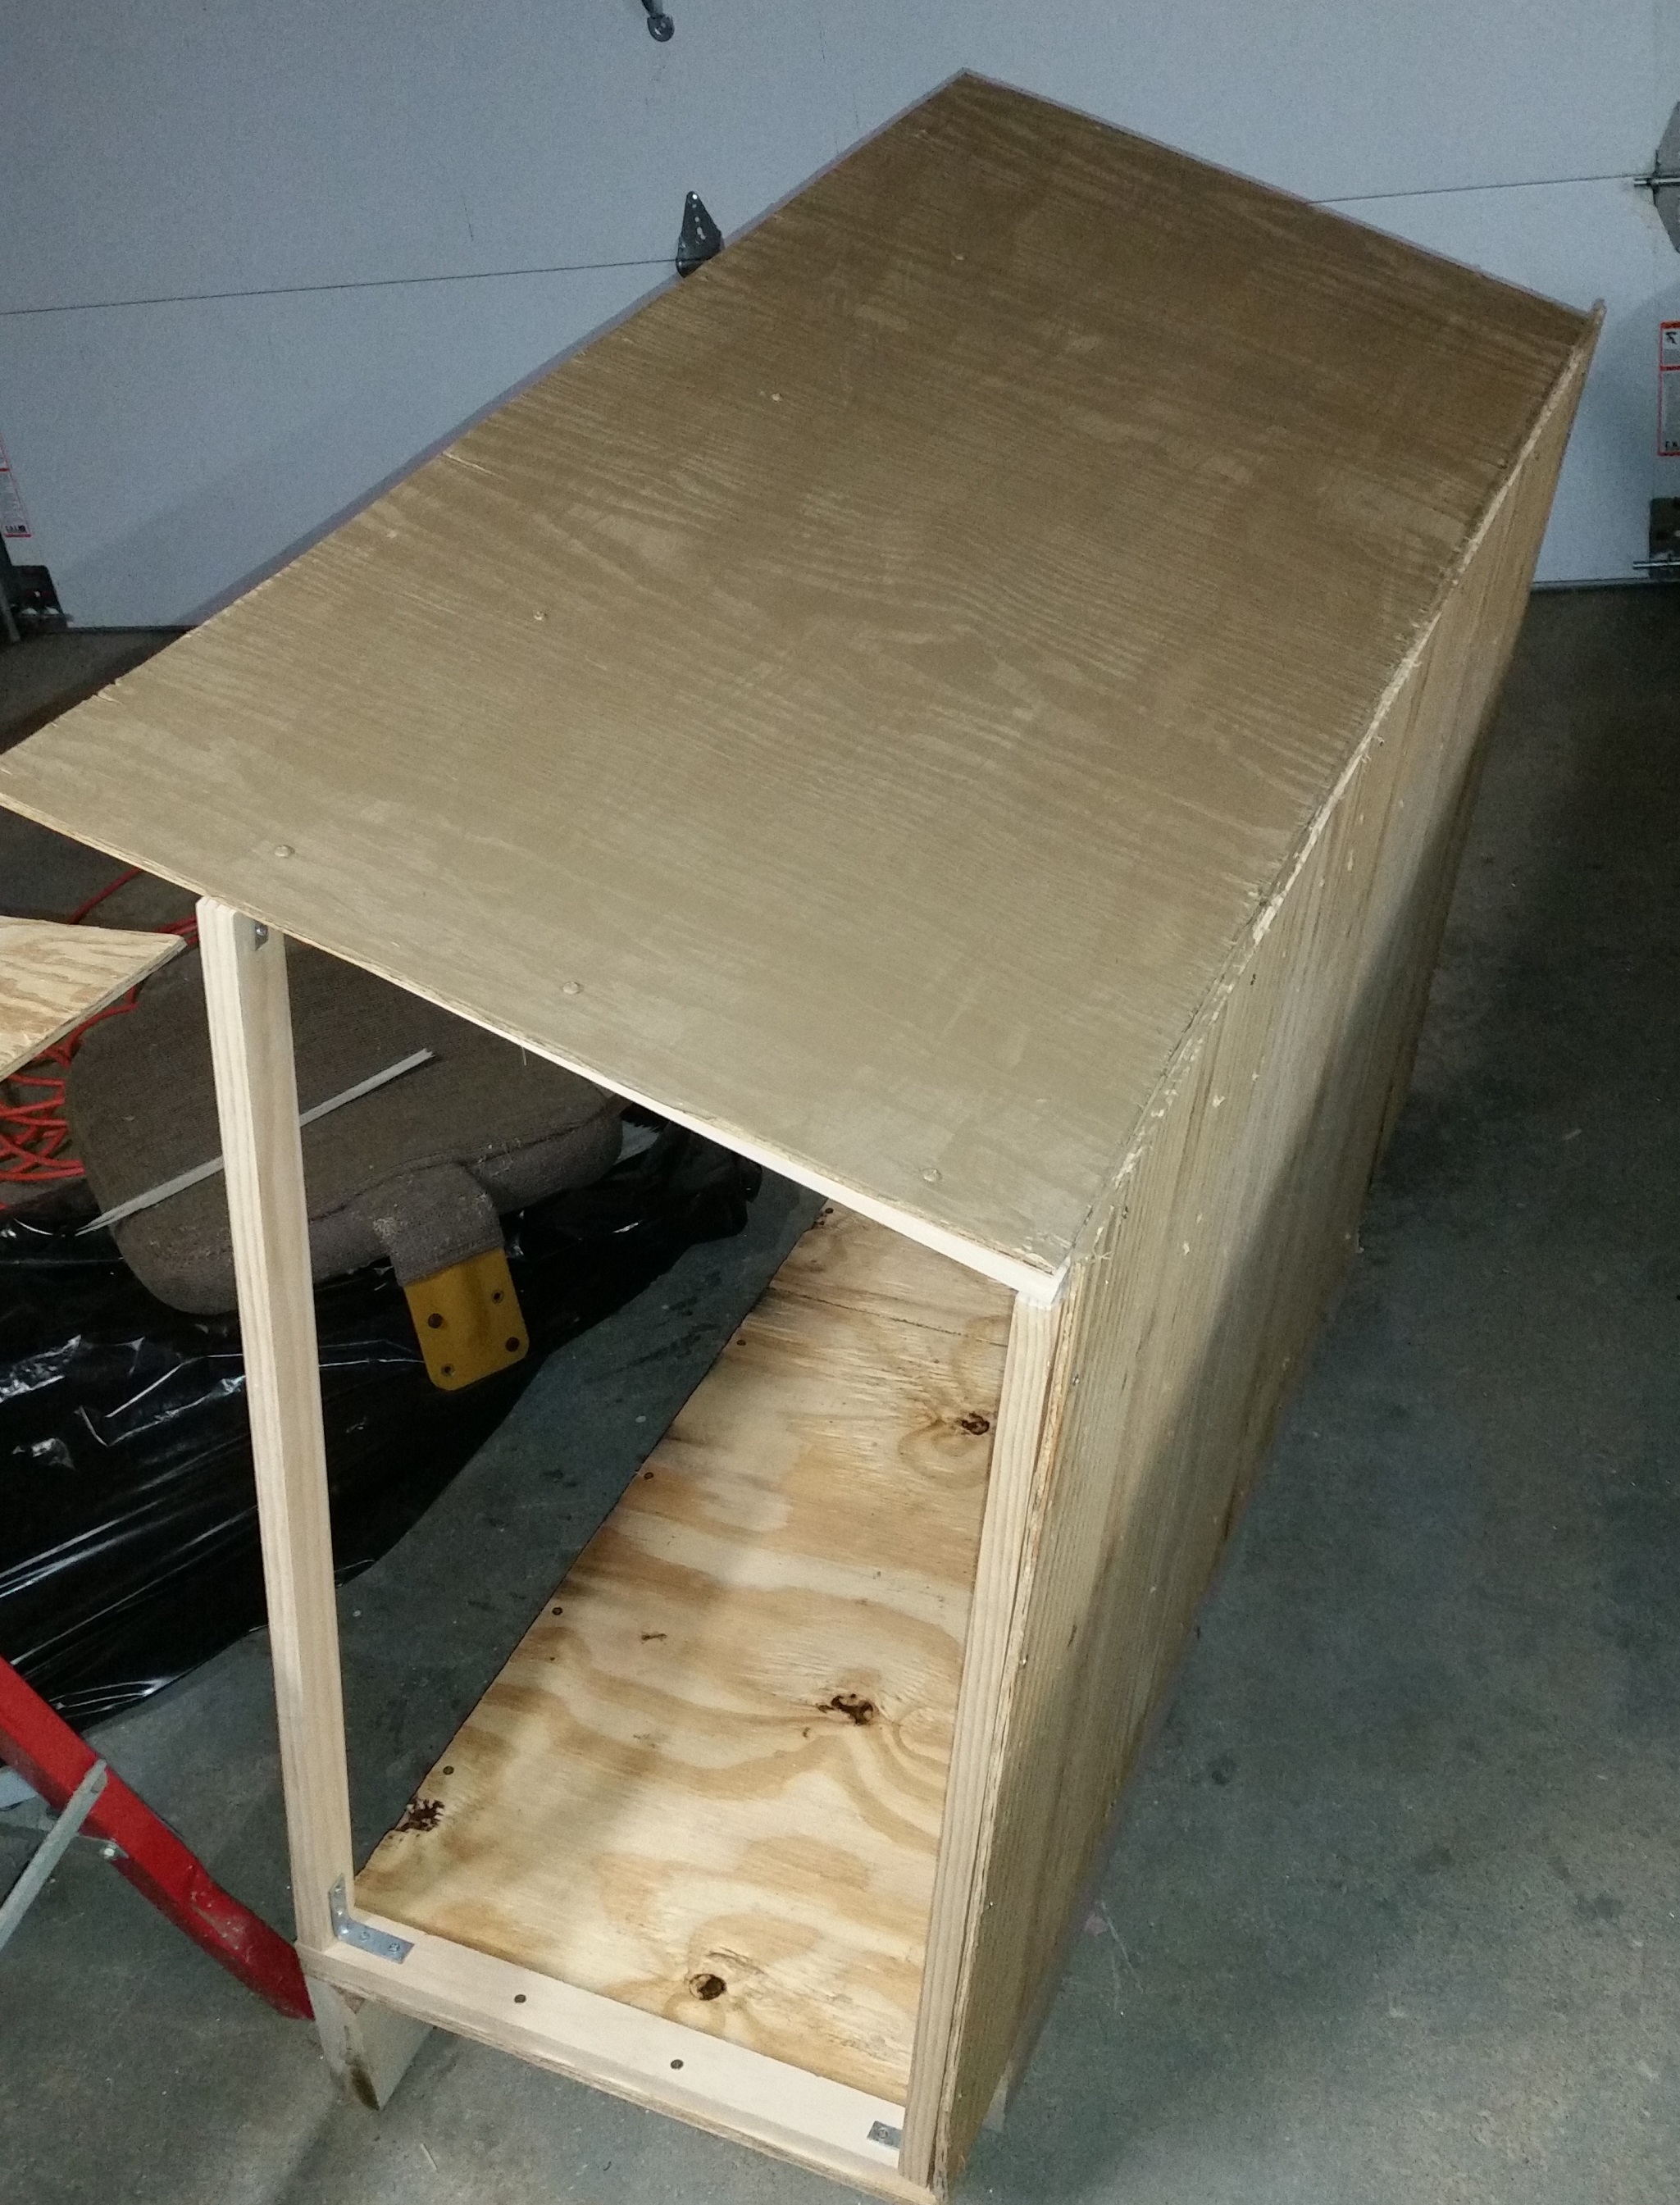
Right Side View
Front View
Left Side View
2017 Season: Initial Design & Planning
Ahh the end of summer, time to begin designing and planning our show for this year. We started using SketchUp, which is a free 3D modeling program to assist us this year. This allows us to layout our display, and where all the cables, props, and lights will go. It also helps me to know what we need to purchase, such as extra extensions cords, lights, etc. We spent about 2 hours outside recently, taking detailed measurements of the house, each door and window, the gutters, roofline, as well as the entire yard and propertly lines. We can tell you within an inch or 2 where everything you see pictured is in the yard. This method is a lot easier than the old way of doing things which included pictures and hand drawn sketches.
Once we get our songs picked out, and our props where we want them; we will begin sequencing the show for this year.

SketchUp 3D Model

Picture from 2016

Picture from 2016
2016 Season: Tear Down & Organizing

It’s the end of our 2016 season. That means it’s time to put everything away till around November. We started off by making our usual rounds at local retailers for some great end of season deals. Once we got back, we inventoried everything (makes planning easier for next season) and put it away in the attic/barn.
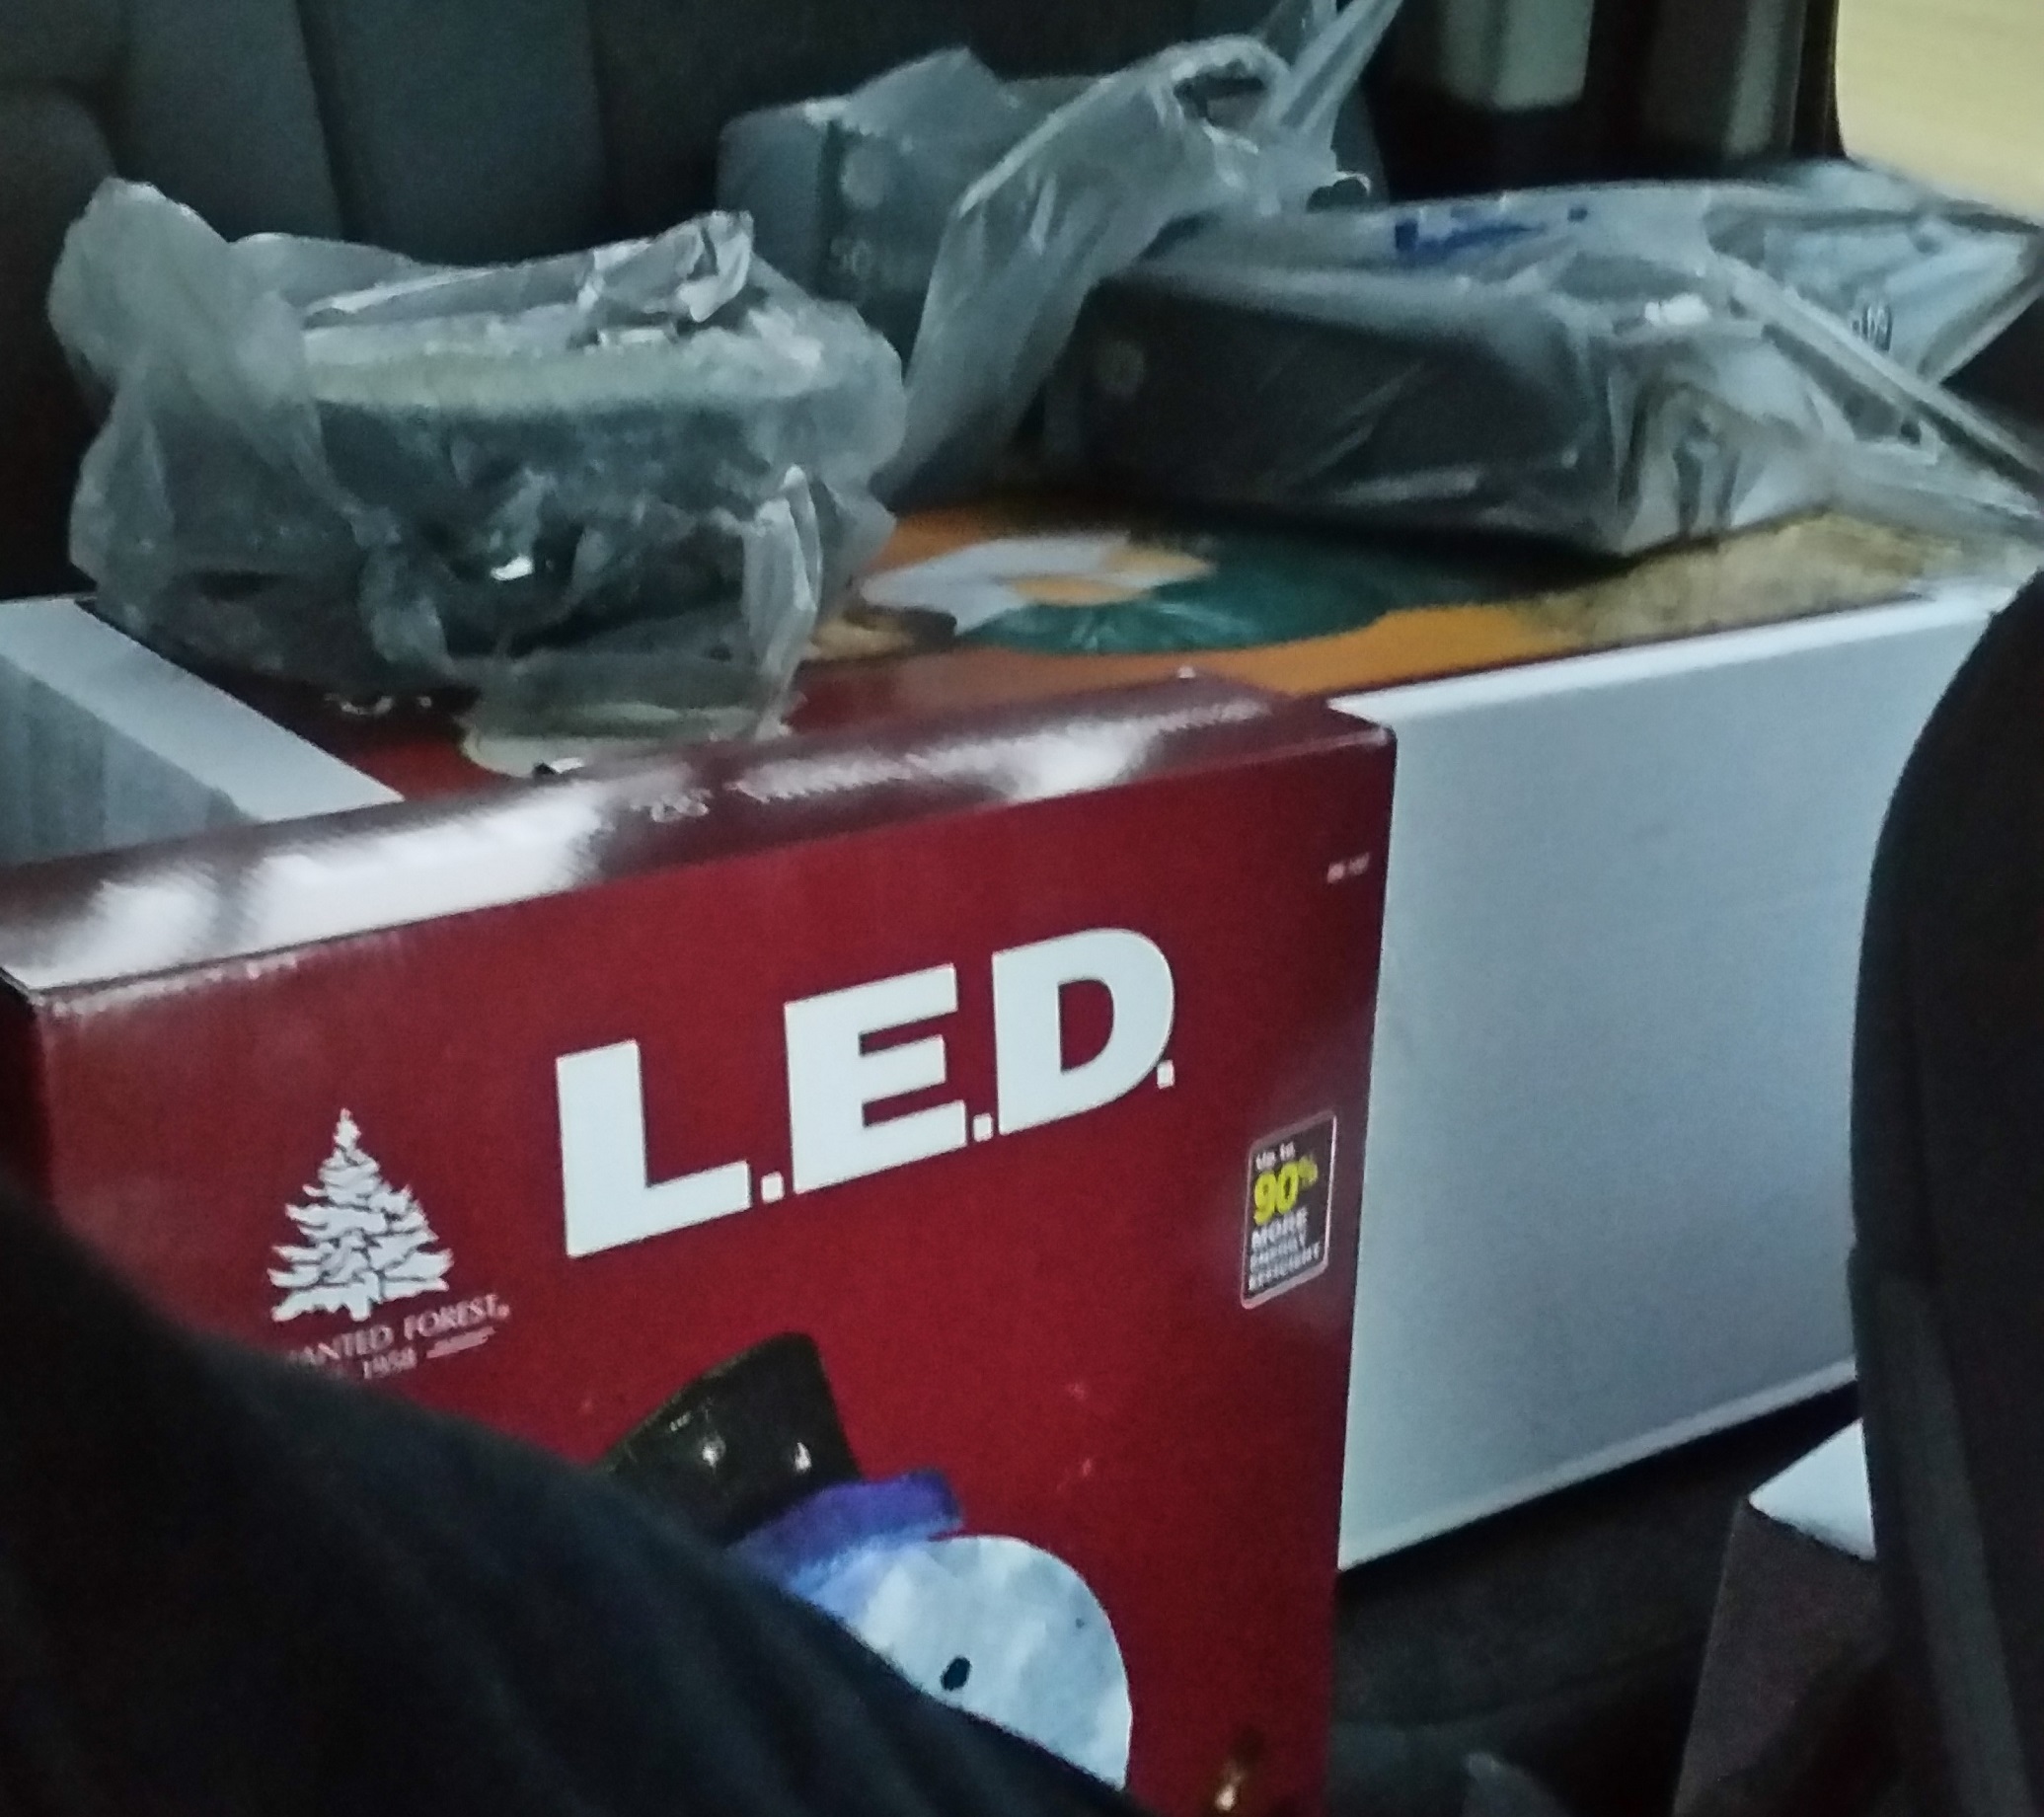
2016 Shopping Spree
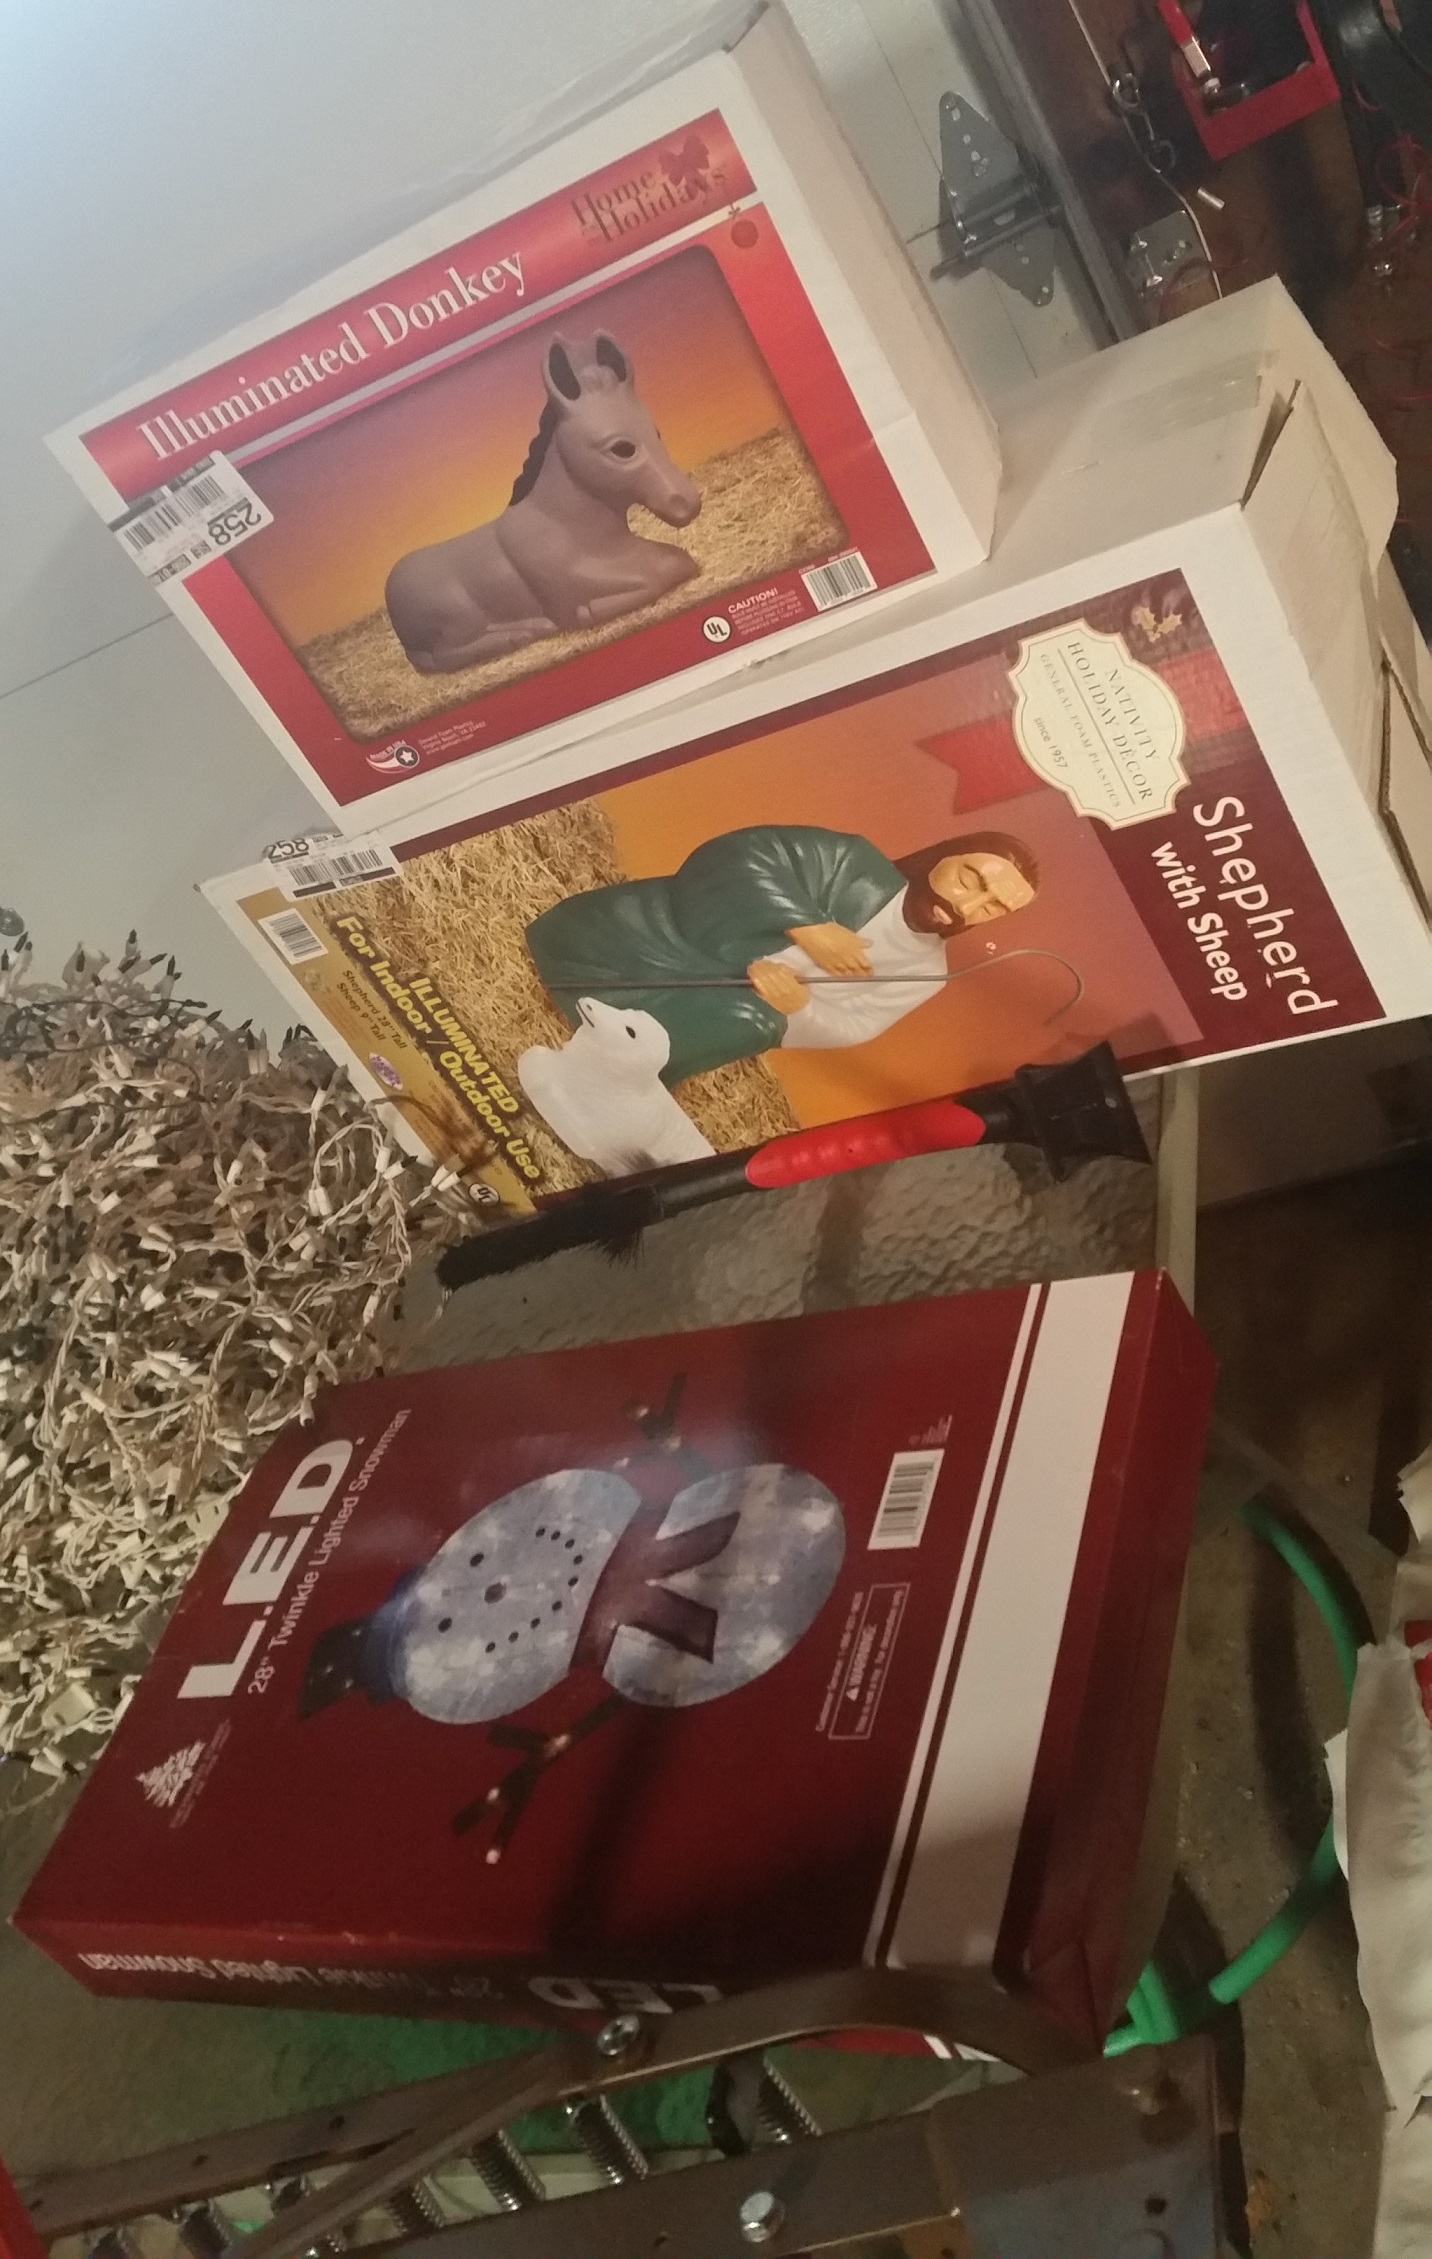
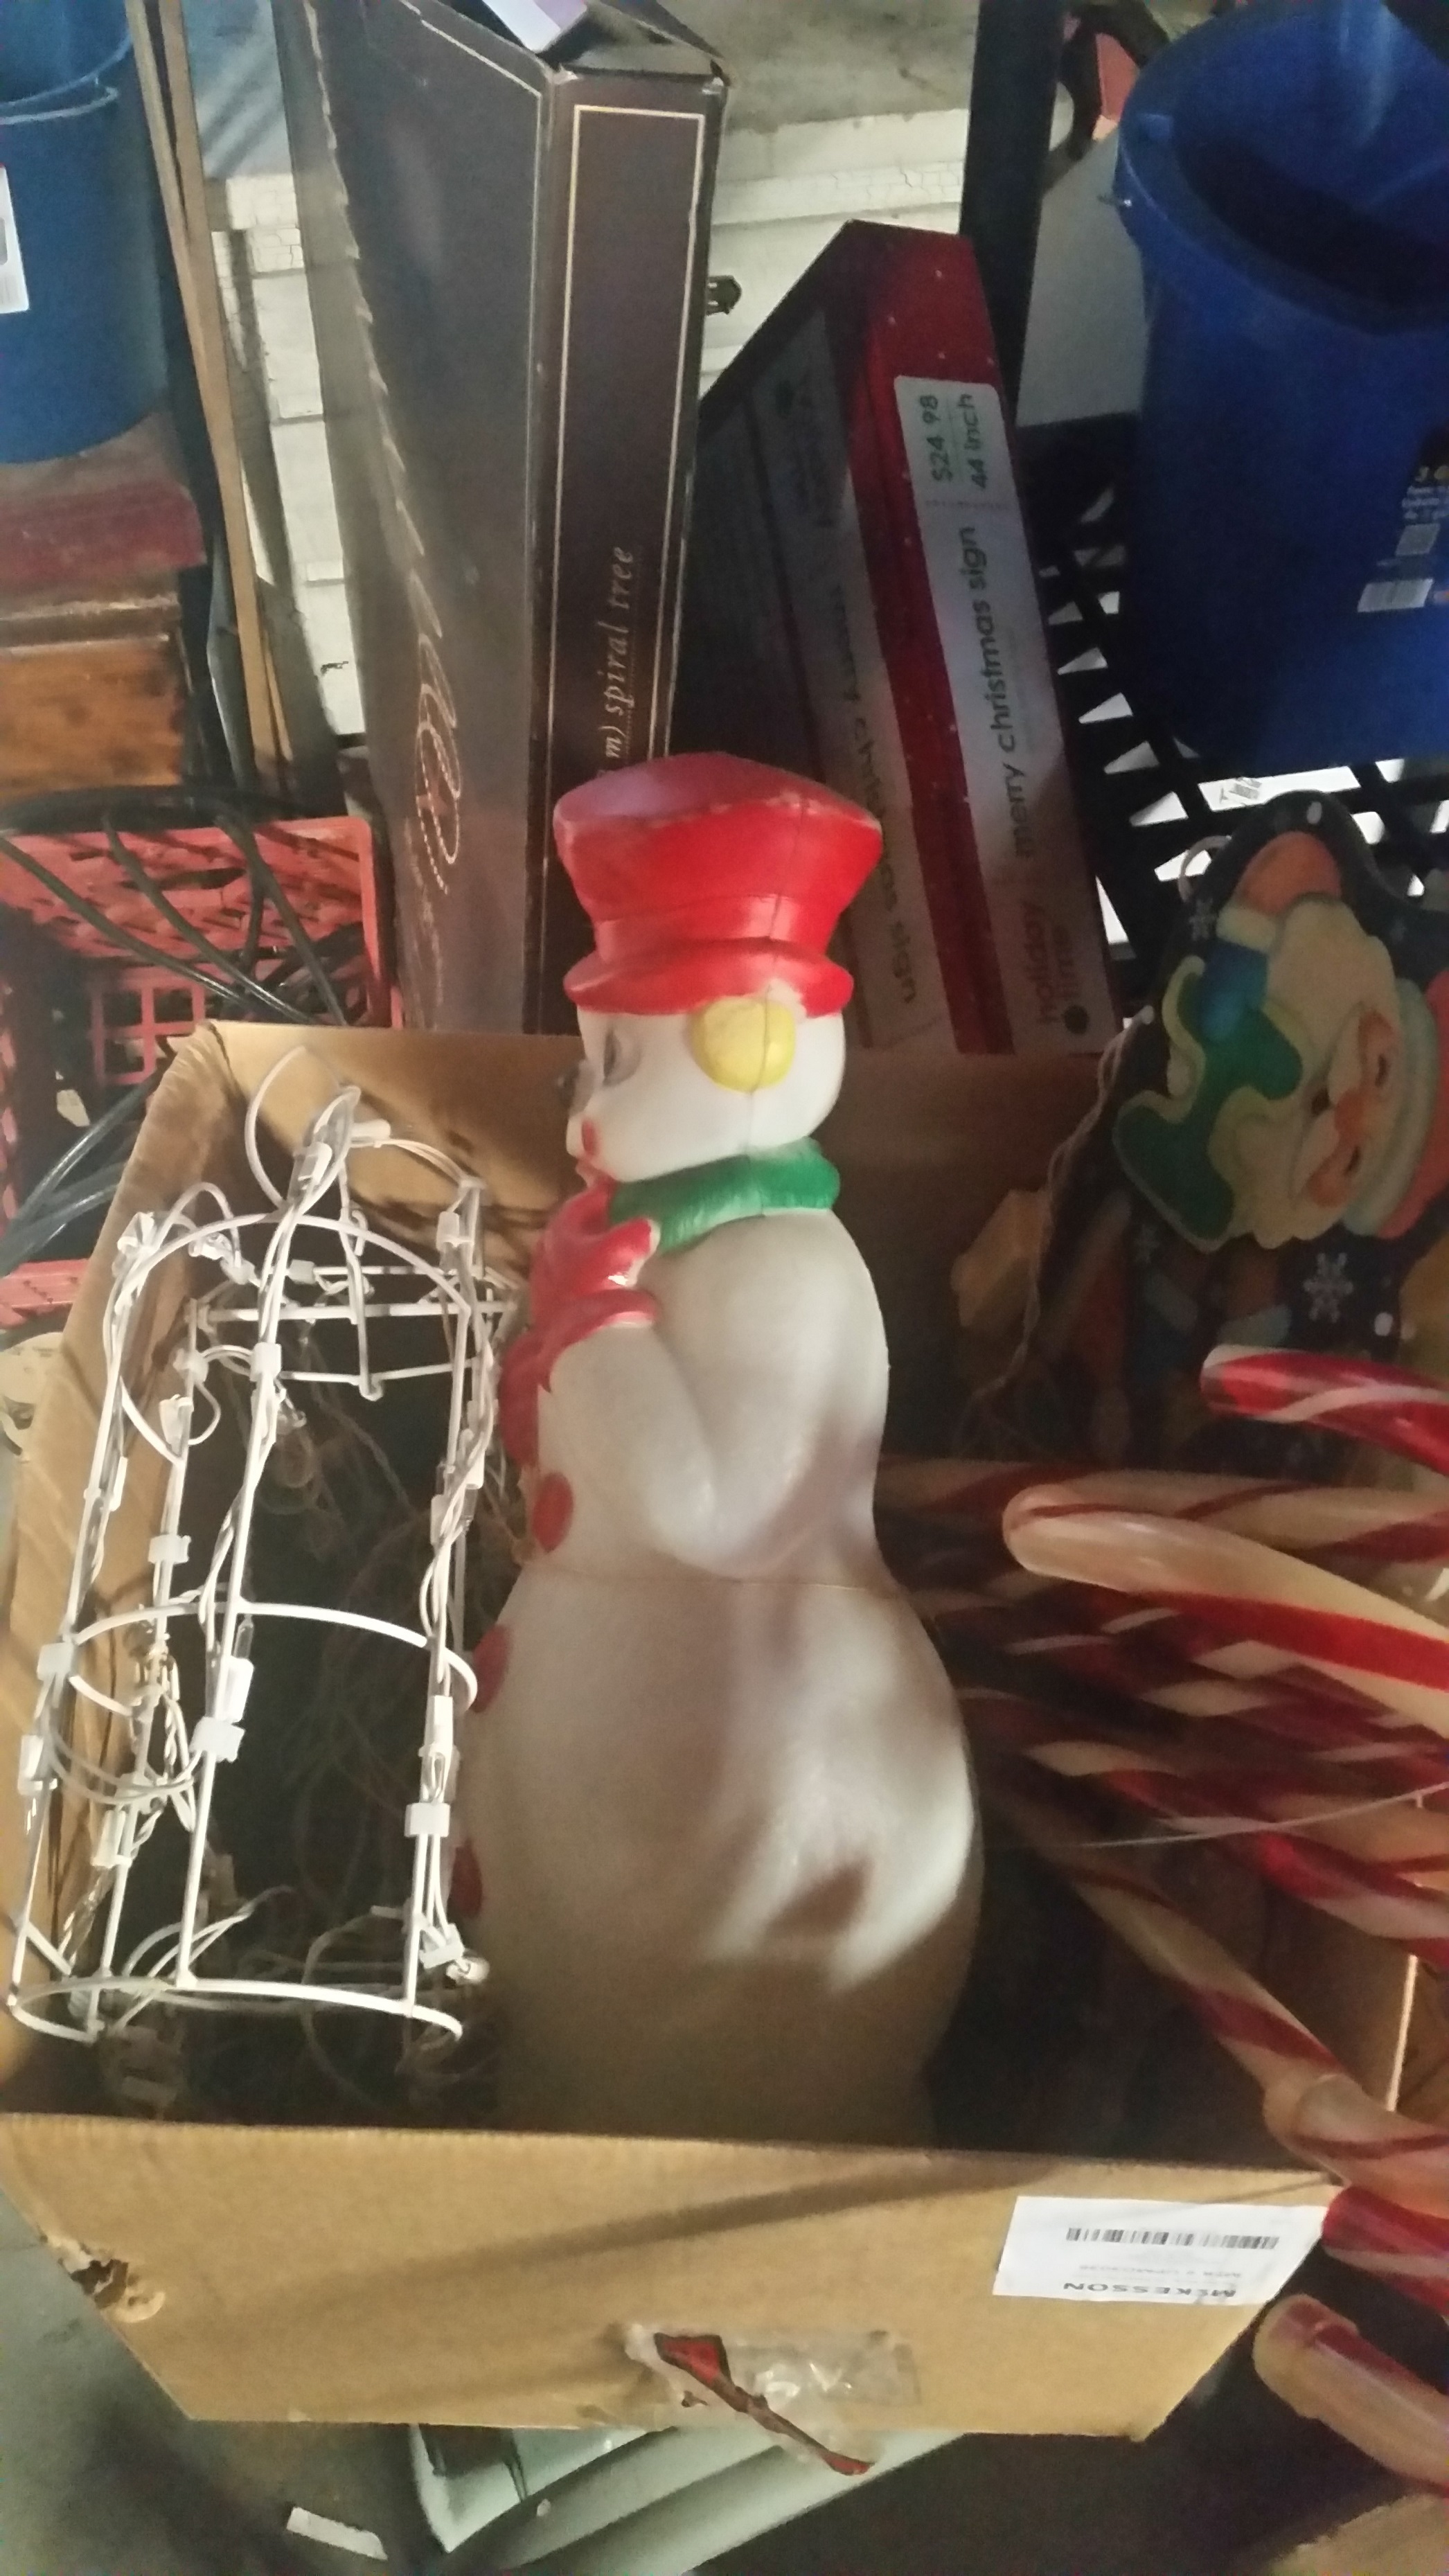
New Nativity Scene & Snowman Props

The Original Radio Sign, 2010
2 full totes of lights
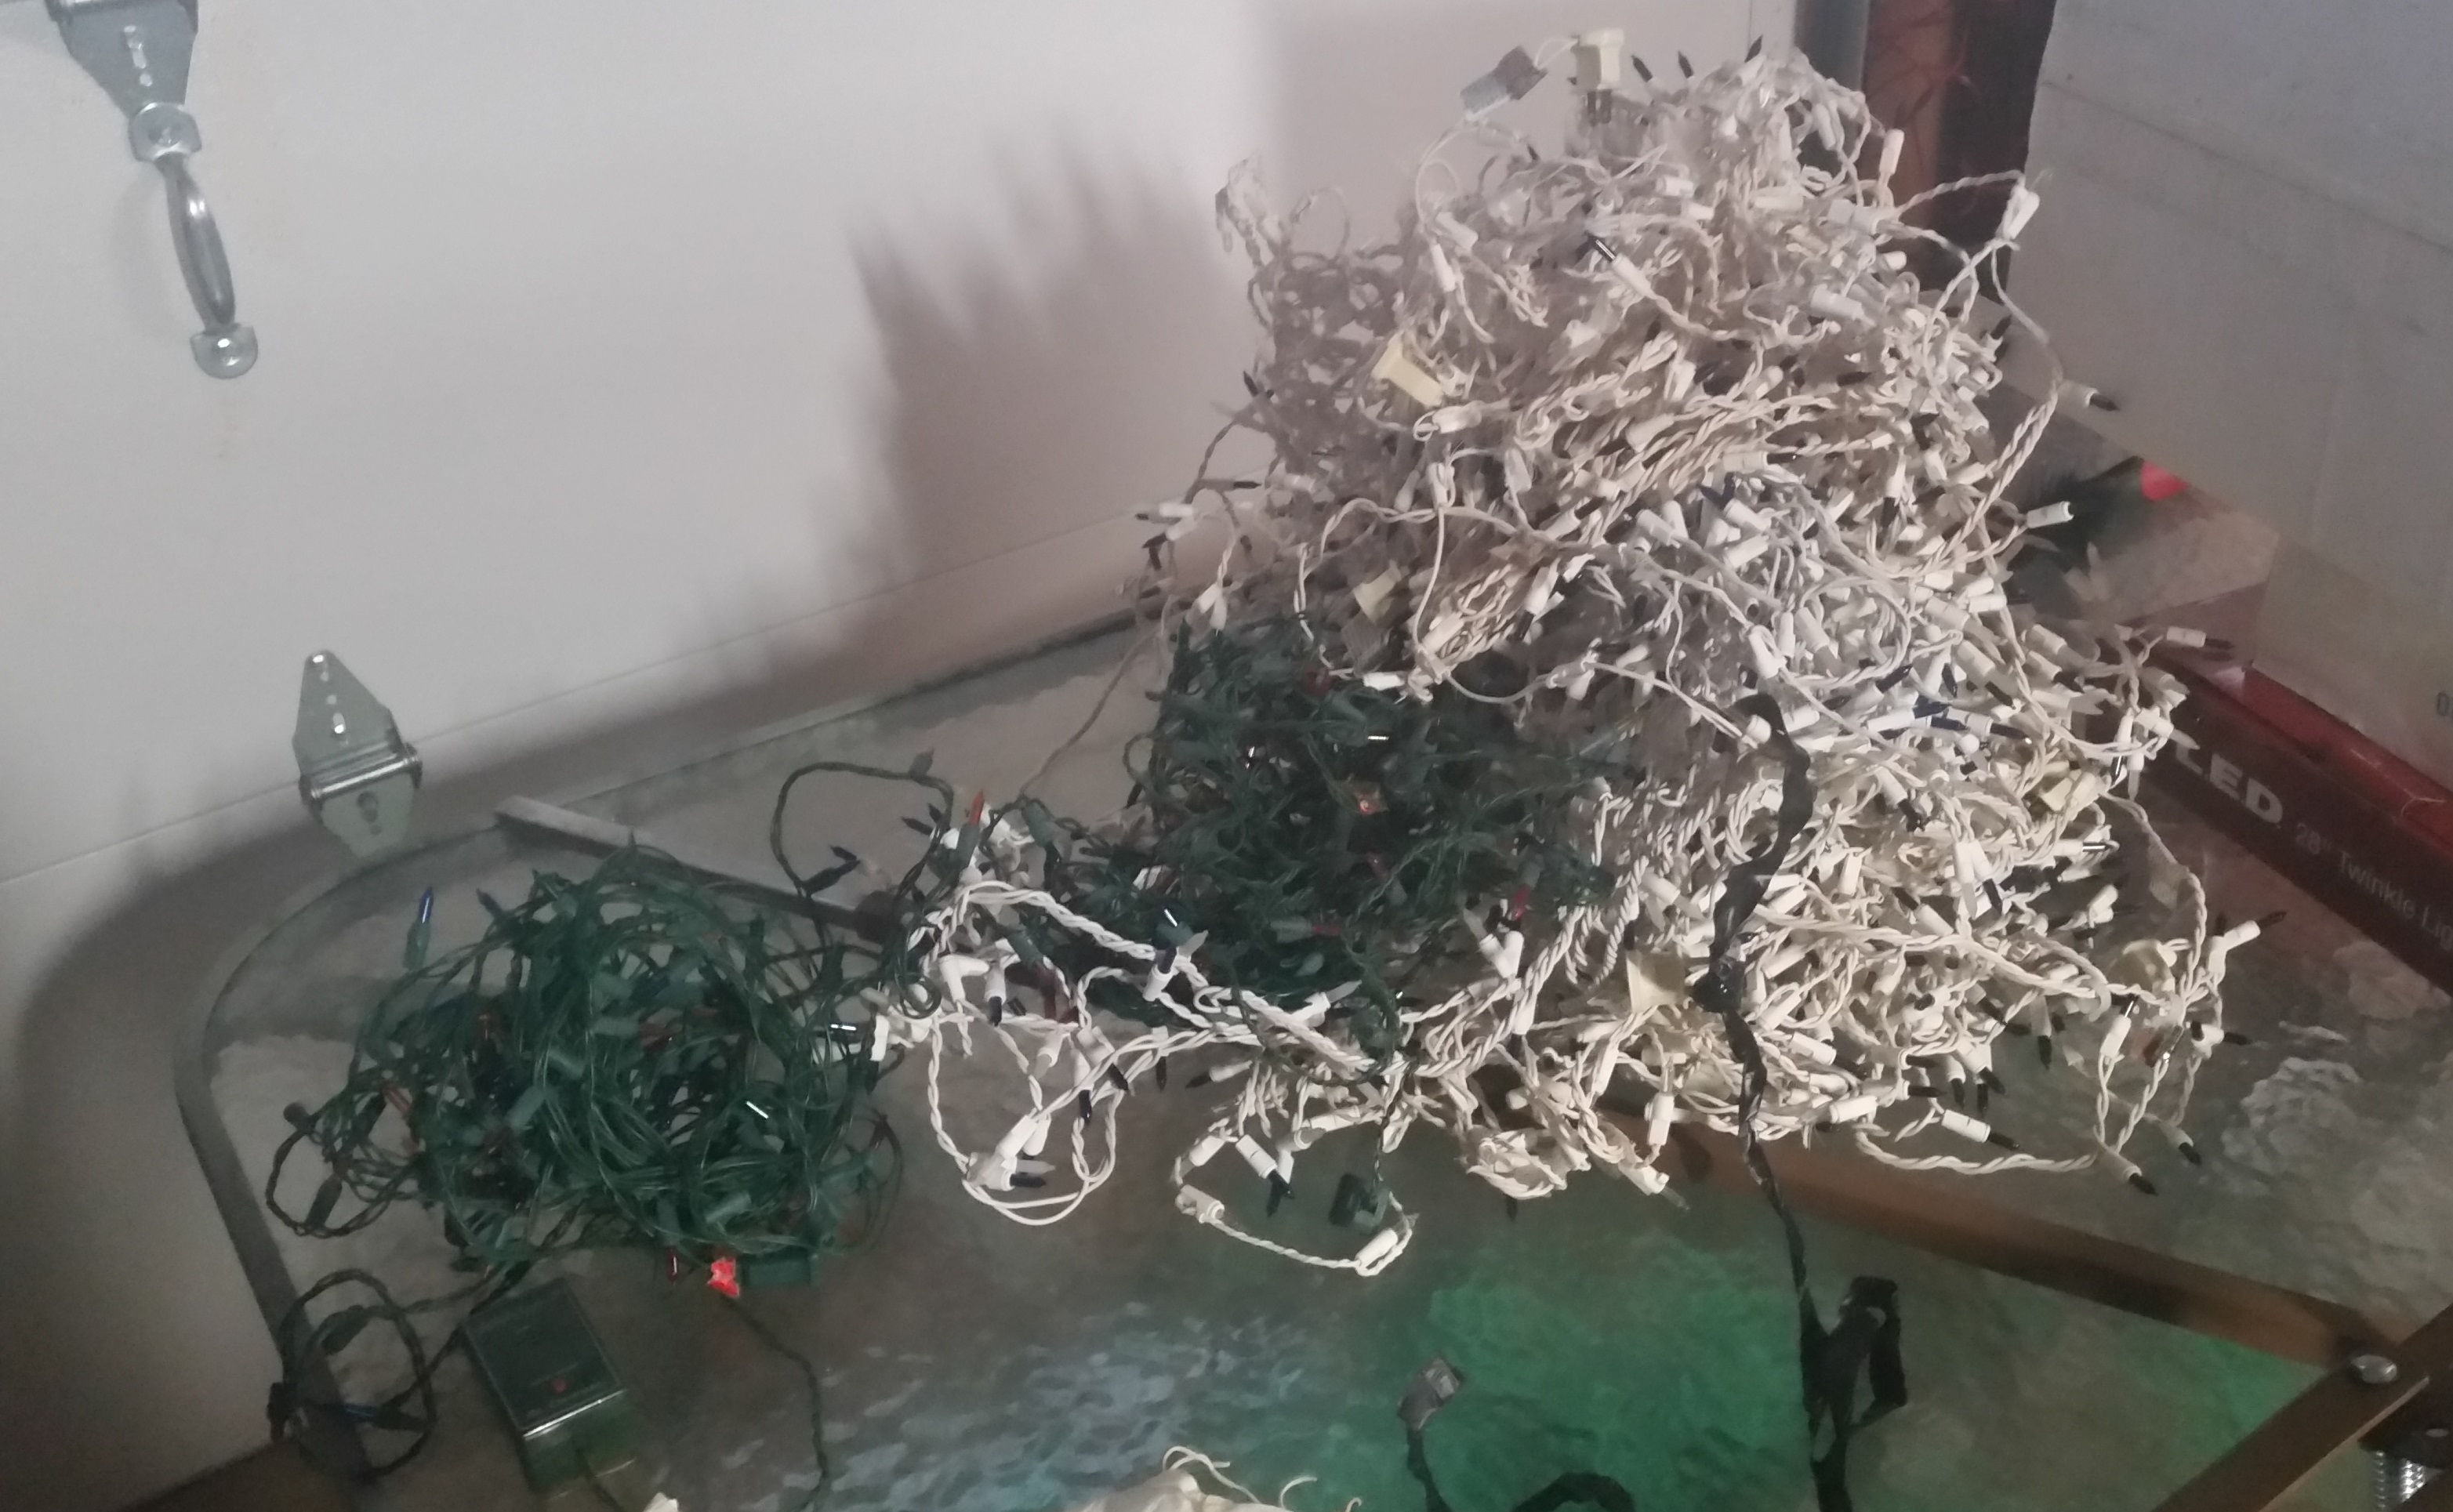
Some lights that don’t work.
Additional props
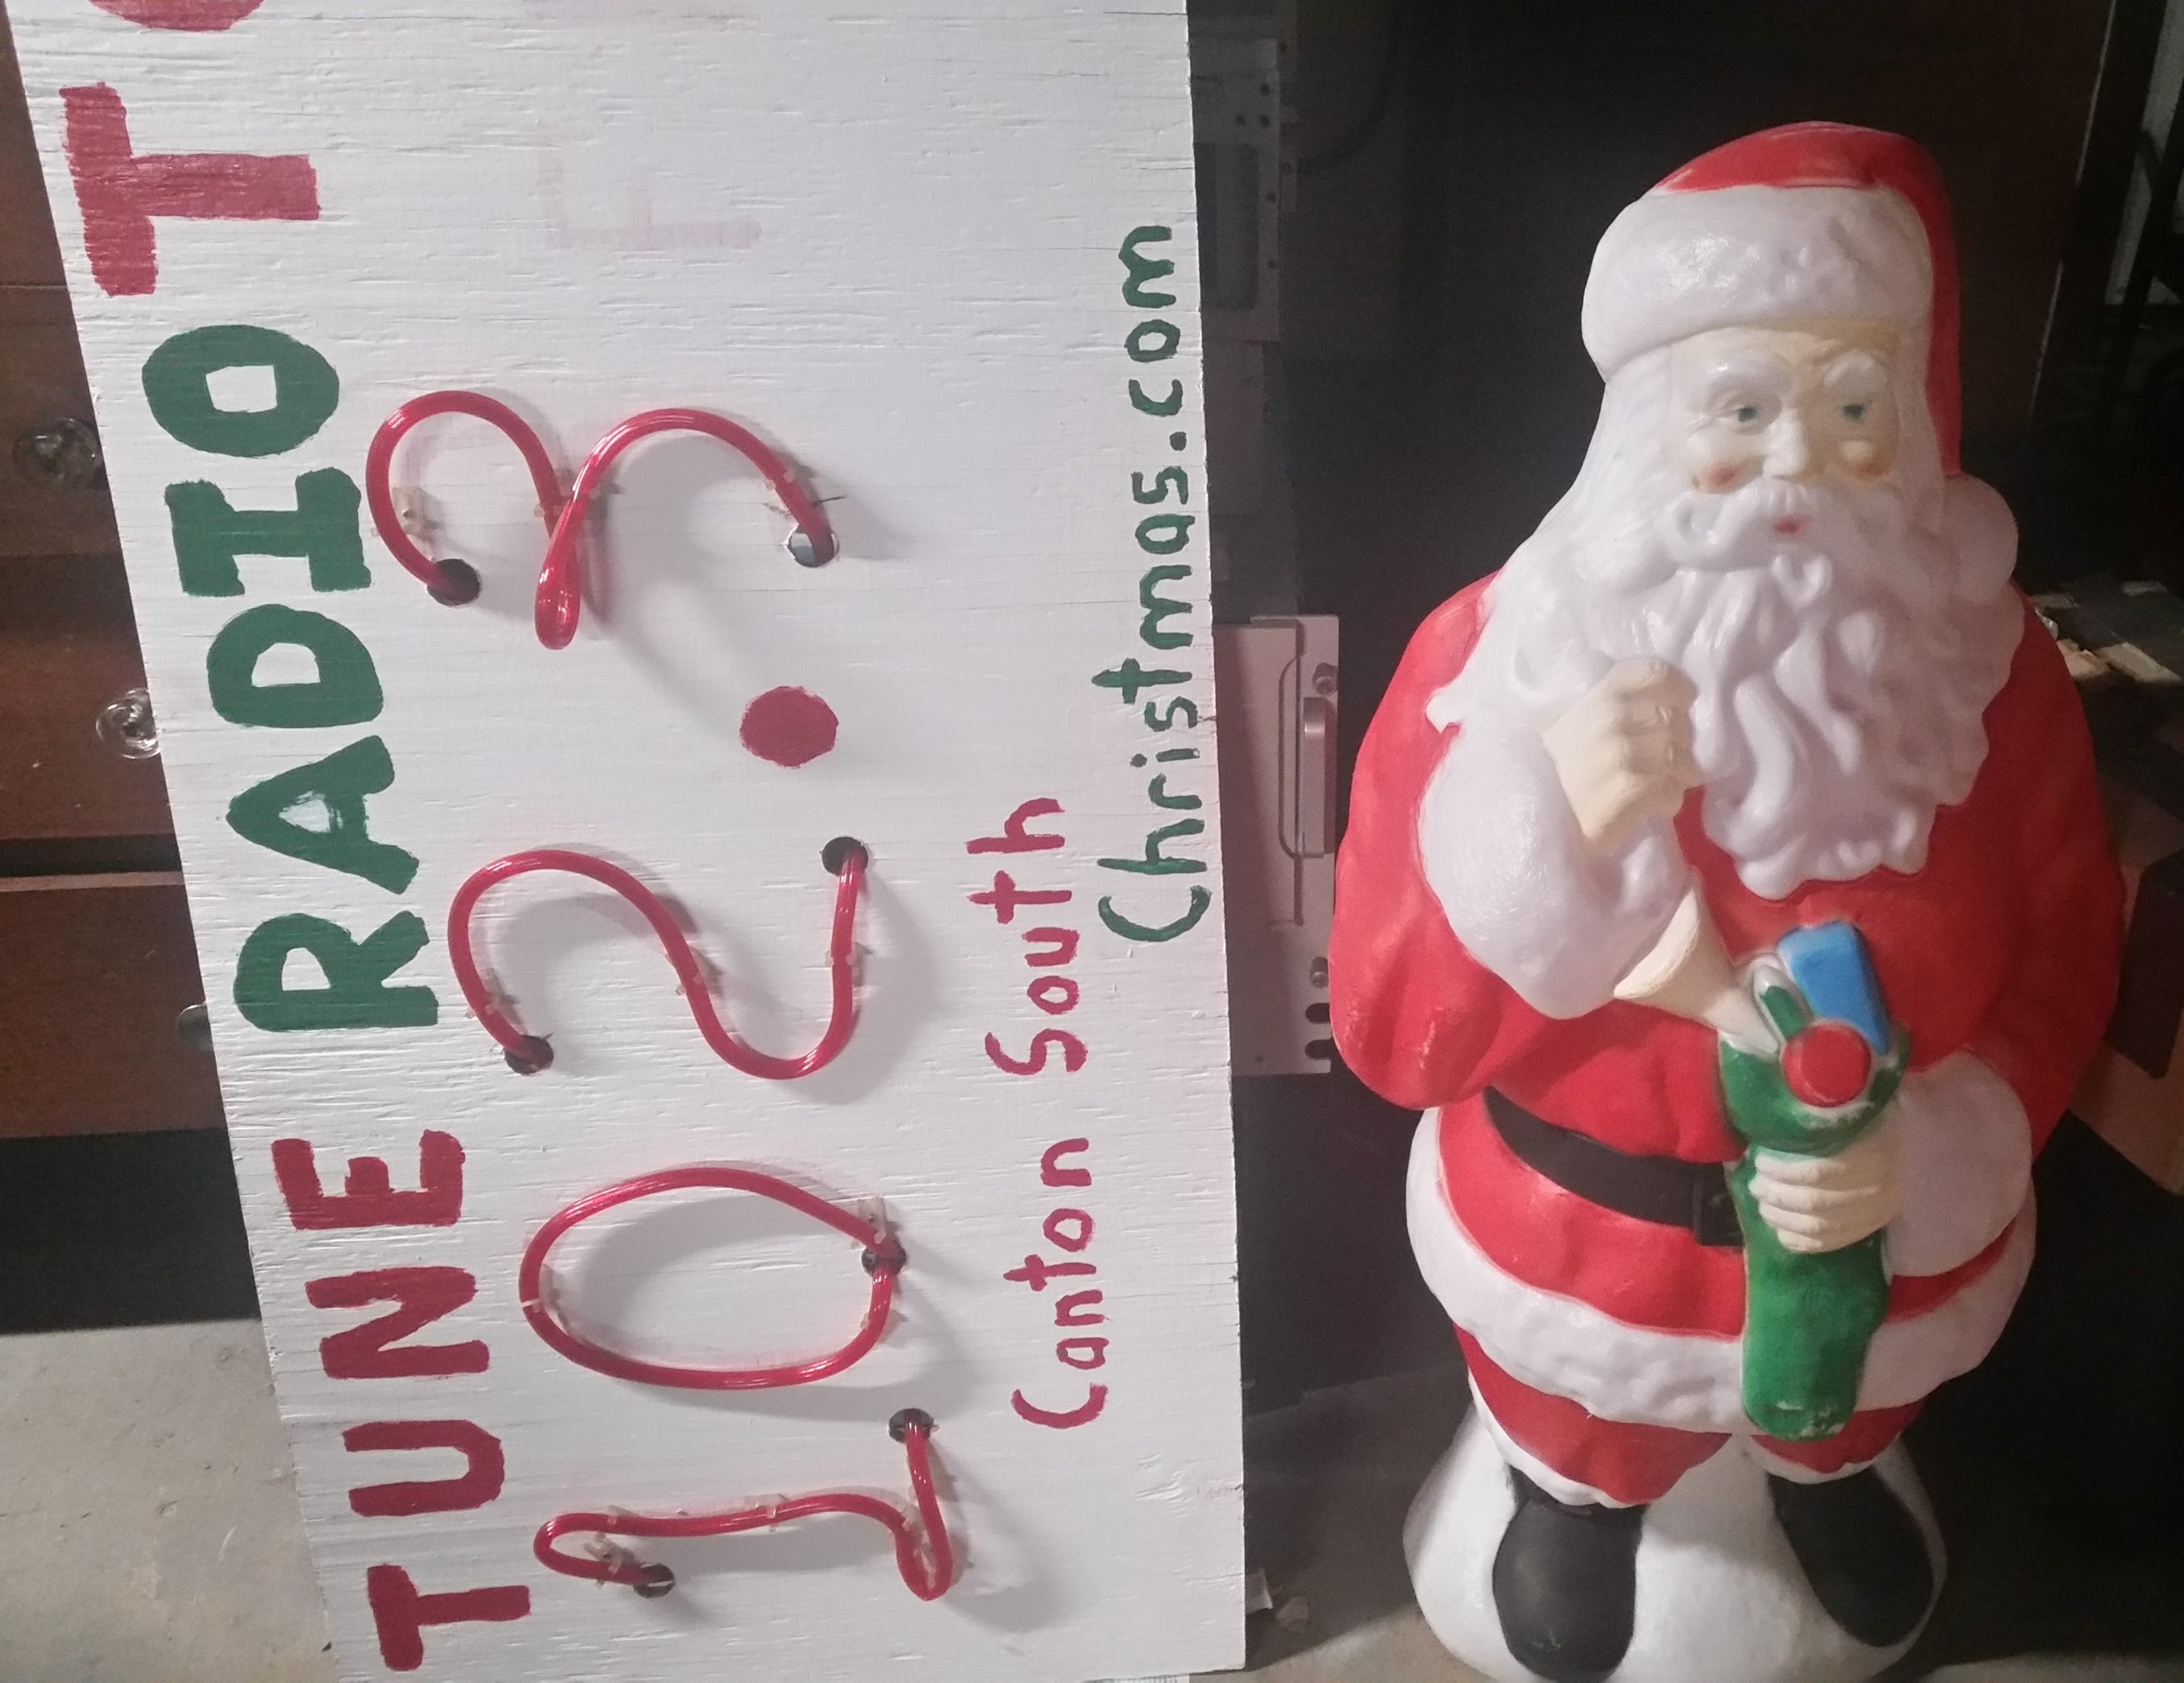
Radio Sign & Santa Blow Mold
Visiting Local Displays
We like to go and visit other displays/set-ups which are close to us during each season. It allows us to get ideas for sequencing, songs, and props; as well as “check out the competition” as they say. This year we made an extra trip down to Cambridge and checked out the Guernsey County Court House.

Guernsey County Court House
On the way back we stopped in Gnadenhutten and saw the Blickensderfer Family Christmas display.

Blickensderfer Family Christmas

Blickensderfer Family Christmas
We spent a second evening, earlier this week to go and visit smaller local displays here in Stark county as well. One of the displays that stood out to us here was the Barthels Garden Center in North Canton.
If you are in the area, we highly recommend visiting these displays, they are very well put together, and we had a great time visiting them.